Step-by-Step Guide for Mounting Air Purifier on Wall
When it comes to mounting an air purifier on the wall, ensuring a proper installation is key to reaping the benefits of cleaner indoor air. From selecting the ideal spot to securely attaching the mounting bracket, each step plays an essential role in the process.
However, there is one often overlooked factor that can greatly impact the effectiveness of your air purifier. Let’s explore this important aspect further to make sure your wall-mounted air purifier functions efficiently and enhances your indoor air quality.
Selecting the Suitable Location
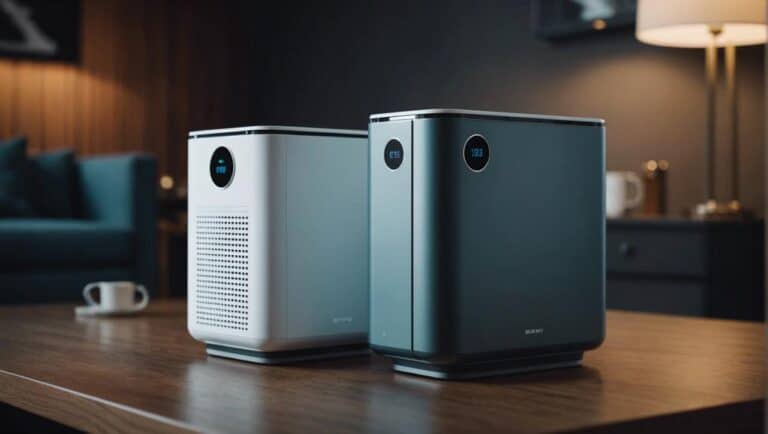
When mounting an air purifier on the wall, we should first identify a sturdy location that can support its weight and provide easy access for maintenance. Air purifiers require a stable mounting surface to guarantee they remain securely in place while in operation.
Install an Air Purifier in a location that allows for proper circulation of clean air, improving indoor air quality effectively. Consider the proximity to power outlets so that the air purifier can be conveniently connected for operation. Unlike portable units, wall-mounted air purifiers need a dedicated spot that maximizes their efficiency in purifying the air.
By choosing a suitable location for the air purifier, we take the first step in creating a clean and healthy environment. Remember to refer to the manufacturer’s recommendations for specific guidelines on wall mounting locations to ensure top-notch performance.
Prioritizing the right spot for the air purifier sets the foundation for successfully enhancing the air quality within the room.
Locating and Marking the Wall Stud
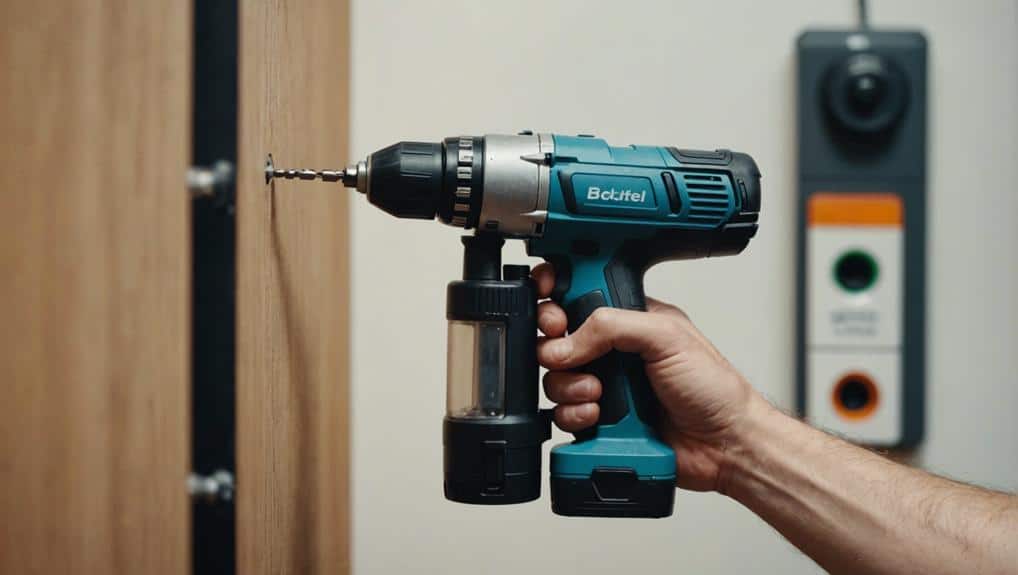
To guarantee a secure mounting for the portable air purifier, we start by using a stud finder to locate the wall studs. Wall studs are essential for providing strong support and stability during installation. By identifying these studs, we establish a sturdy attachment that can withstand the weight of the air purifier. Using a stud finder, scan the wall horizontally to detect the location of the studs. Once located, mark these positions with a pencil or tape to guide the drilling process accurately.
Studs are typically spaced either 16 or 24 inches apart in standard construction, so it’s important to locate multiple studs for secure mounting of the air purifier. Aligning the mounting screws or brackets with these studs is crucial to ensure a stable installation. Marking the wall studs beforehand will prevent any guesswork during the drilling process, making the installation of the air purifier a controlled and precise task.
Attaching the Mounting Bracket Securely
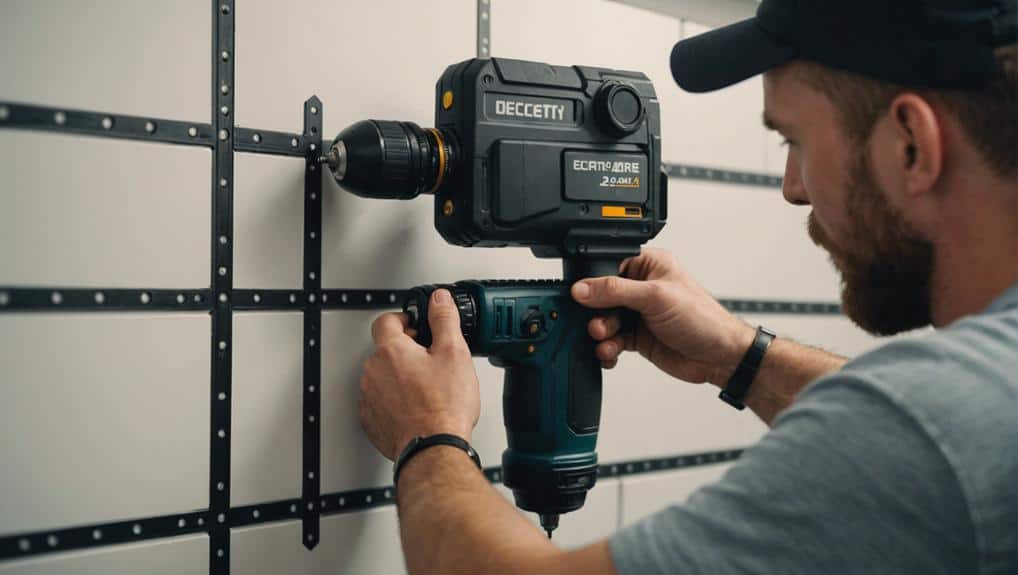
After locating and marking the wall studs, we proceed to attach the mounting bracket firmly to guarantee a stable foundation for the air purifier installation. To make sure a secure attachment, it’s essential to utilize the appropriate screws and anchors that match the weight of your air purifier.
Prior to tightening the screws, make certain the bracket is level and properly aligned to avoid any instability issues. For enhanced air purification performance, consider incorporating spacers to create a gap between the wall and the bracket, facilitating better air circulation and providing easier access for maintenance tasks.
It’s vital to double-check the weight capacity of the bracket to confirm that it can effectively support the air purifier without any risk of damage. Additionally, for a neat and organized appearance, conceal any visible cables or cords using covers.
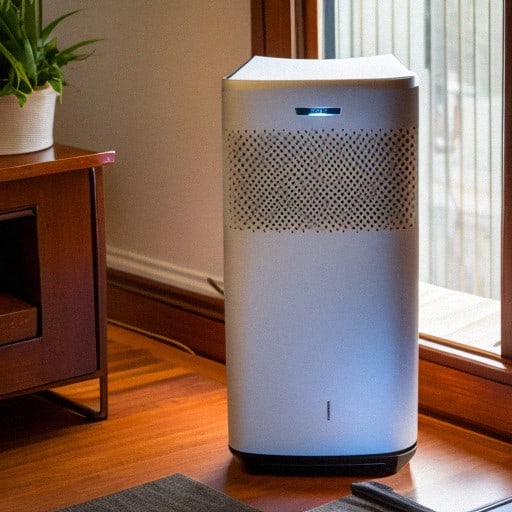
Hanging the Air Purifier on the Wall
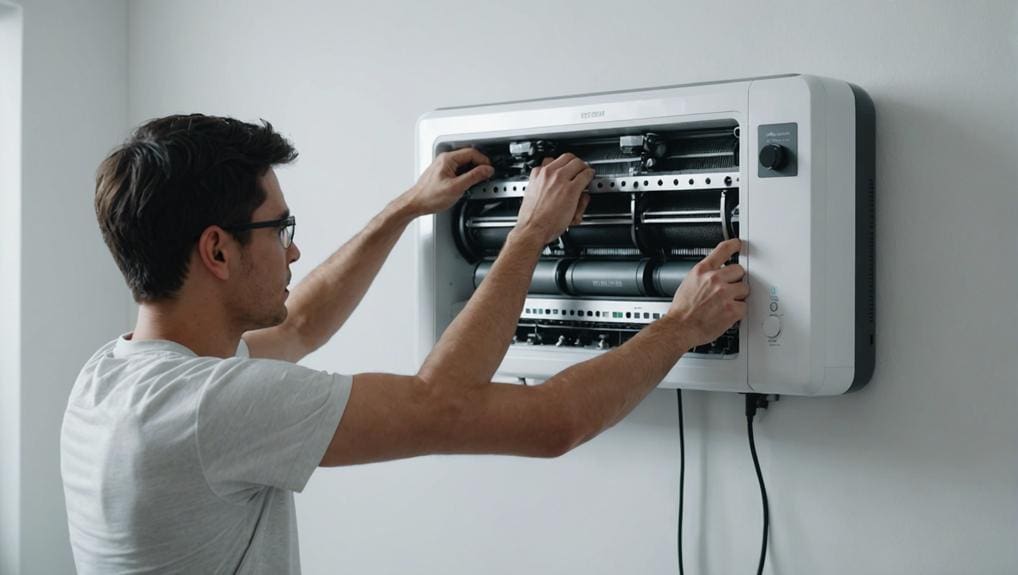
Utilizing a secure mounting bracket, we can now hang the air purifier on the wall to maximize space efficiency and enhance the room’s aesthetic appeal. When installing an air purifier near volatile organic compounds, it is important to secure it properly for best performance. Below is a table outlining the steps for hanging the air purifier on the wall:
| Steps to Hang Air Purifier on Wall |
|---|
| 1. Choose the desired location on the wall. |
| 2. Mark the spots for drilling holes. |
| 3. Drill holes according to the mounting bracket measurements. |
| 4. Securely attach the mounting bracket to the wall. |
| 5. Hang the air purifier on the bracket securely. |
This installation method is ideal for those who prefer a portable air purifier that doesn’t take up floor space. By following these steps, you can efficiently mount your air purifier on the wall, ensuring cleaner air and a visually appealing living space.
Testing and Enjoying Cleaner Air
After hanging the air purifier on the wall, we can now explore testing and enjoying the benefits of cleaner air in the room.
To guarantee peak performance, refer to the user manual for guidance on monitoring air quality indicators.
Measure the air quality before and after mounting the purifier to track improvements in dust particles, allergens, and odors.
Keep an eye on indicators such as filter replacement alerts to maintain the purifier’s efficiency.
Conclusion
Now that the air purifier is securely mounted on the wall, we can enjoy cleaner and healthier air in our indoor environment. By following the step-by-step guide, we guaranteed a stable installation and proper air circulation.
Testing the air quality and monitoring filter efficiency will help us maintain a healthier living space. With the purifier in place, we can breathe easier knowing we’ve taken steps to improve our indoor air quality.