How to Organize Your Air Purifiers With a Step-By-Step Rack Installation
When it comes to organizing your air purifiers with a step-by-step rack installation, the key lies in thorough exploration and meticulous execution. As we explore the intricacies of selecting the best location, preparing the rack, and ensuring proper placement for efficient air purification, a seamless process unfolds. Stay tuned as we uncover the essential steps for a well-organized and effective air purifier setup that promises cleaner, healthier air in your space.
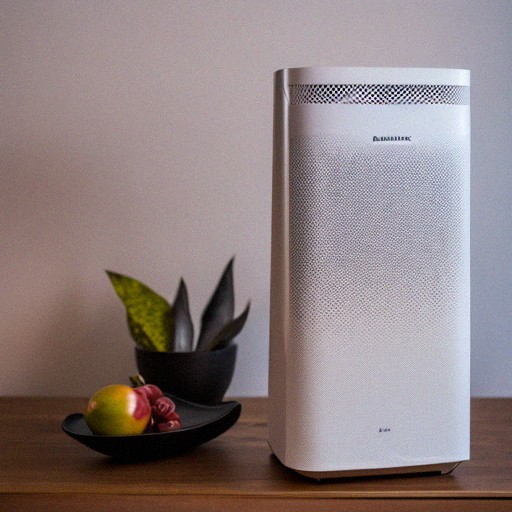
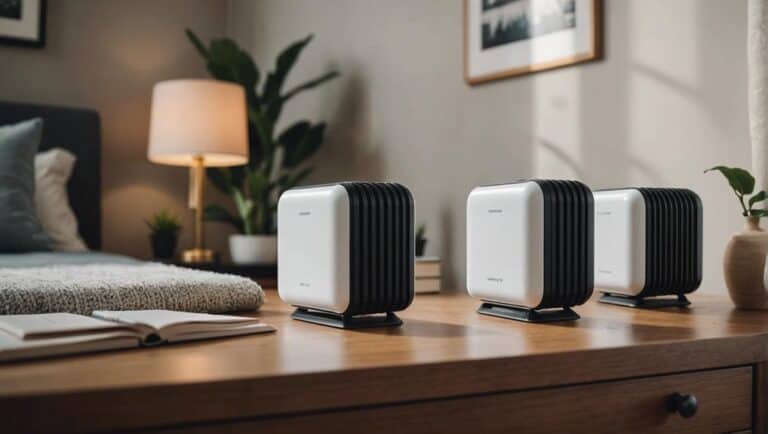
Location Selection
When setting up air purifiers, we typically aim to choose a central location in the room. Placing the air purifier centrally ensures even air distribution and maximum coverage, effectively purifying the entire space. Additionally, consider situating the air purifier near potential pollutant sources like cooking areas or pet zones for targeted purification in areas where contaminants are more concentrated.
It is important to avoid placing the air purifier near air vents, windows, or doors to prevent interference with proper air circulation. By maintaining a distance from these elements, the air purifier can operate efficiently without any obstructions. Make sure that the air purifier has access to a power outlet for continuous operation and has sufficient space around it to function effectively.
Moreover, take the room layout and size into account when selecting the location for the air purifier. By considering these factors, you can optimize the performance of the air purifier and improve the overall air quality in the room.
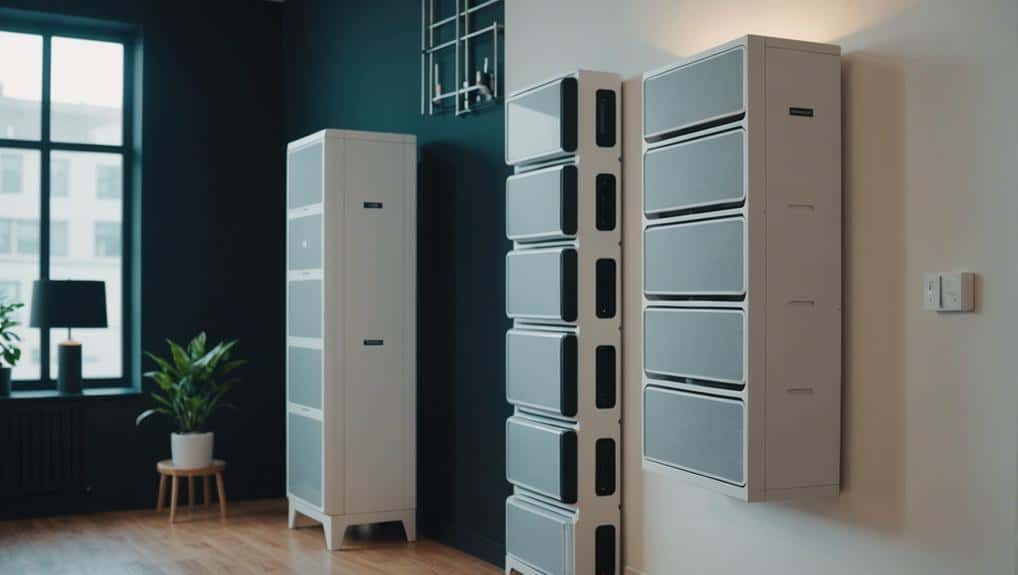
Rack Installation Preparation
To guarantee a seamless integration of air purifiers into your space, the first step is to properly prepare for rack installation by measuring the designated space and selecting a sturdy rack that can adequately support the weight of the purifiers. Consider the height of the rack to make sure it accommodates the size of the air purifiers and allows for proper ventilation for ideal air circulation around them. Position the rack strategically in a convenient location that provides easy access for maintenance and operation of the air purifiers.
| Rack Installation Preparation | Recommendations | Details |
|---|---|---|
| Measure space for rack | Check dimensions | Make sure it fits air purifiers |
| Select sturdy rack | Material matters | Support purifiers’ weight |
| Consider ventilation | Airflow is key | Ideal air circulation |
| Choose convenient location | Accessibility | Easy maintenance access |
Air Purifier Placement
Let’s discuss the importance of placing air purifiers in key zones with ideal airflow.
This essential step can greatly improve the efficiency of the air purifiers by enabling them to effectively cleanse the air.
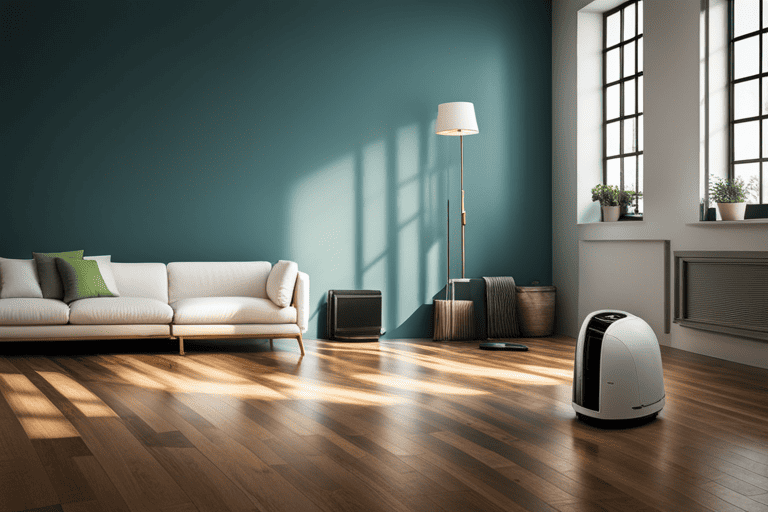
Ideal Placement Zones
Considering ideal air purifier placement involves strategically selecting areas with good air circulation to maximize effectiveness. To help you visualize the best zones for placing your air purifiers, we have outlined some key placement tips below:
| Placement Zone | Description |
|---|---|
| Near Windows | Allows for fresh air intake and improved airflow |
| Doorways | Enhances circulation throughout the room |
| Elevated Areas | Targets a wider range of air particles |
Consider Airflow Patterns
Analyzing airflow patterns is crucial when determining the best placement of air purifiers to guarantee effective circulation and purification within a room. To guarantee efficient airflow distribution, position the air purifier centrally in the room. Avoid placing it near corners or behind furniture to prevent blockages.
Elevated positions like shelves or racks can help maximize the air purifier’s coverage area. Check for obstructions above the air purifier that could impede upward airflow. Experiment with different placements to find the most effective position for air circulation and purification.
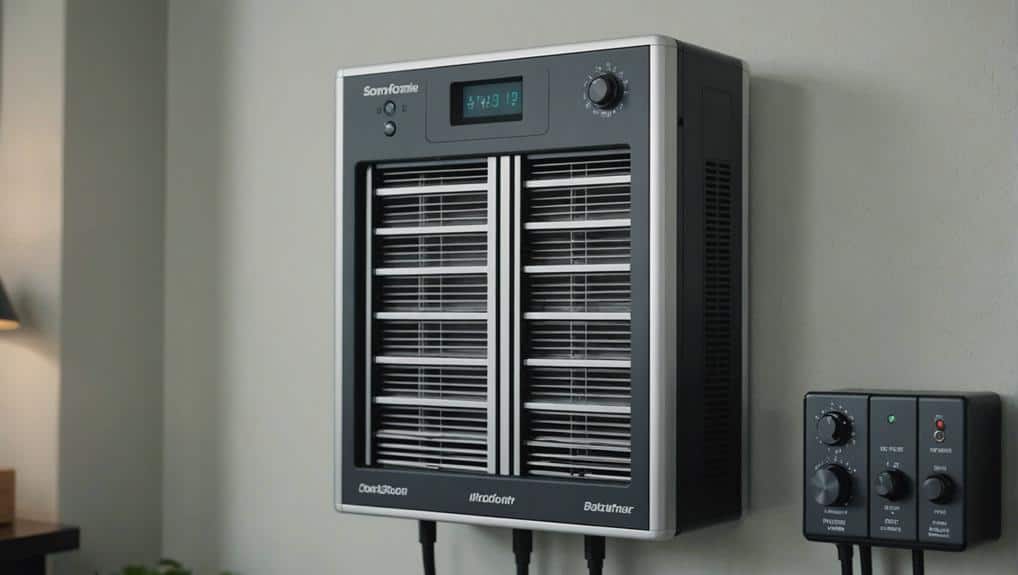
Filter Installation
When installing a new filter in your air purifier, carefully follow the manufacturer’s instructions to guarantee proper replacement. Begin by removing the old filter as directed to make sure a smooth switch.
Next, insert the new filter into the designated slot, ensuring a secure fit. It’s important to check that the filter is facing the correct direction, following indications from the packaging or user manual.
Gently press down on the filter to seat it properly, preventing any dislodgment during operation. Confirm the secure placement of the filter before turning on your air purifier to maintain peak performance.
Adhering to these steps will help maintain the efficiency of your air purifier and ensure the filtration system operates effectively. Remember, a correctly installed filter is key to cleaner air in your space.
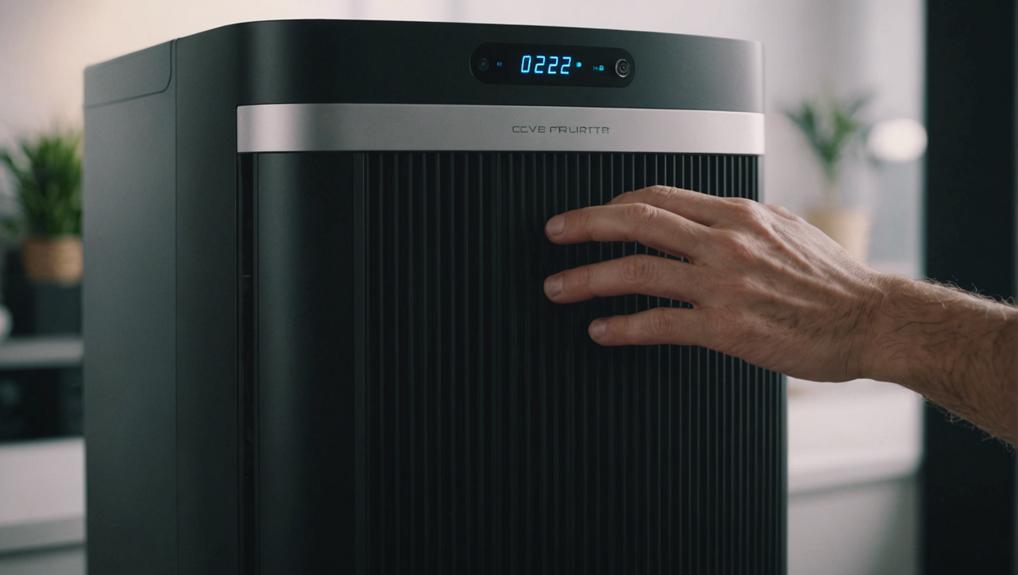
Grille Clearing
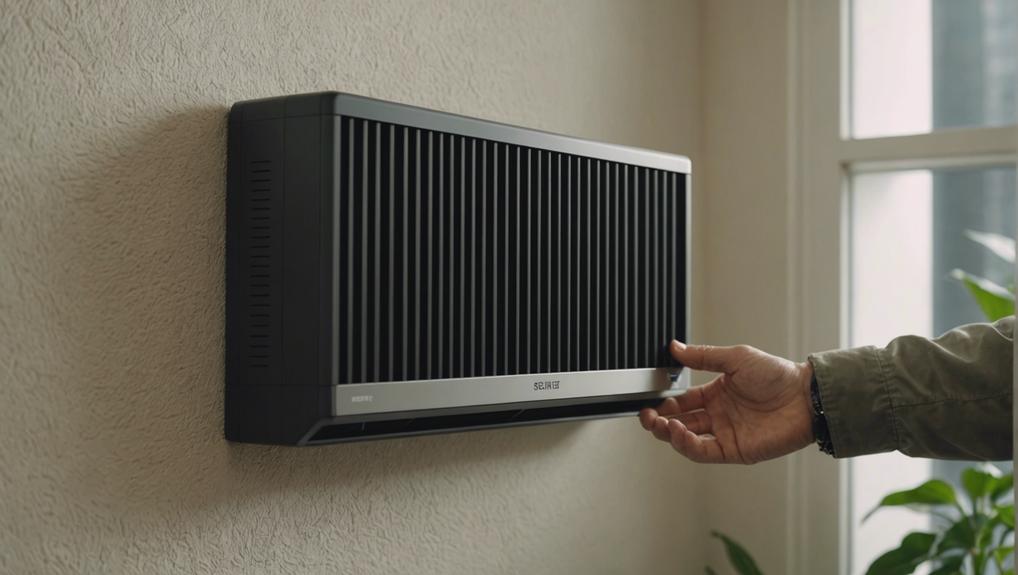
To ensure maximum airflow and efficiency, regularly check and clean the intake grille of your air purifier to prevent blockages or obstructions. Dust and debris can accumulate on the grille, impeding the air purifier’s performance over time. It’s crucial to maintain a clear grille to allow the air purifier to effectively draw in and filter air from the room.
Any obstructions on the grille can strain the purifier’s motor, potentially reducing its lifespan. By ensuring that the intake grille is free from any blockages or obstructions, you can maintain peak airflow and efficiency of your air purifier. Make it a part of your routine maintenance to inspect and clean the grille, as this simple task can greatly impact the performance and longevity of your air purifier.
Power Connection
Guaranteeing that each air purifier’s power cord reaches the nearest outlet is essential for efficient operation. When organizing the power connections for your air purifiers, there are specific steps to follow:
- Check Cord Length: Verify that the power cords are long enough to comfortably reach the nearest outlet without stretching or causing hazards.
- Utilize Surge Protectors: Connect multiple air purifiers to a single outlet using a surge protector or power strip to avoid clutter and ensure safe power distribution.
- Prevent Overloading Circuits: Distribute the air purifiers across different outlets to prevent overloading the electrical circuit and maintain a stable power supply.
- Label Cords: Labeling the power cords of each air purifier can help you easily identify and manage the connections, reducing confusion and troubleshooting time.
Final Adjustments
For best results, we recommend securing the air purifiers on the rack firmly to prevent any potential accidents or damage. Using a level to verify the alignment of the rack will provide a professional and organized appearance. Adjust the spacing between air purifiers on the rack to allow for peak airflow and efficiency. It’s important to make final adjustments to the angle of the purifiers for maximum coverage and effectiveness in the room. By verifying that all connections and power cords are properly secured and organized, you can avoid tangling or tripping hazards.
When positioning the air purifiers, pay attention to the direction of airflow and ensure that they aren’t obstructed by any obstacles. This will help the purifiers operate at their best capacity, keeping the air in your space clean and fresh. Additionally, double-check that the power cords aren’t stretched too tightly or hanging loosely, as this could lead to potential safety risks. Taking the time to make these final adjustments will guarantee that your air purifiers are functioning efficiently and effectively.
Conclusion
To sum up, by following these step-by-step instructions for organizing your air purifiers with a rack installation, you can create a more efficient and effective air purification system in your home or office.
By selecting the right location, properly installing the rack, placing the purifiers strategically, and maintaining them regularly, you can guarantee cleaner and healthier air for you and your family.
Stay proactive in improving your indoor air quality for a better living environment.