10 Steps for Setting Up Your Air Purifier
Setting up an air purifier can make a significant difference in the quality of the air we breathe indoors. From choosing the ideal location to properly maintaining filters, each step plays an essential role in ensuring top performance. However, there’s one particular step that often gets overlooked but can greatly impact the effectiveness of your air purifier. By paying attention to this step, you can enhance the purification process and enjoy cleaner air in your home.
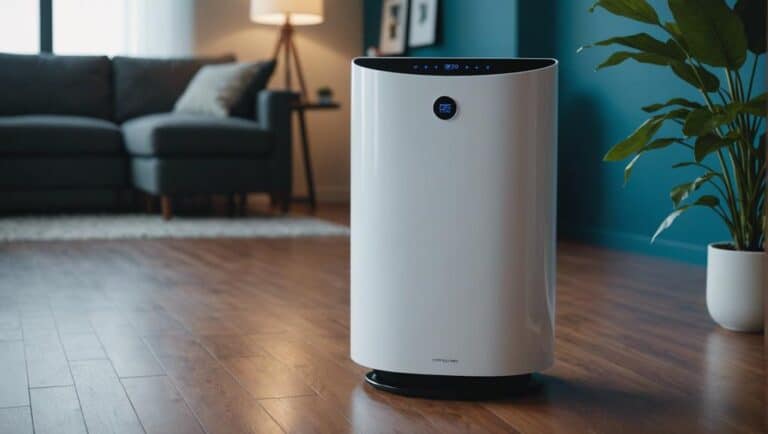
Choose the Right Location
Let’s pick the best spot for your air purifier. To guarantee top performance, place the air purifier in a central location within the room. This positioning allows for better air circulation and efficient cleaning. Avoid obstacles such as curtains, furniture, or walls that can impede airflow around the air purifier. For improved air intake, consider positioning the air purifier at a height of about 2-3 feet above the floor.
It is vital to keep the air purifier away from direct sunlight or heat sources. Exposure to these elements may damage the purifier and affect its functionality. Additionally, position the air purifier away from electronic devices or appliances that emit heat. This precaution prevents any interference with the air purifier’s operation and ensures it works effectively to purify the air in your space.
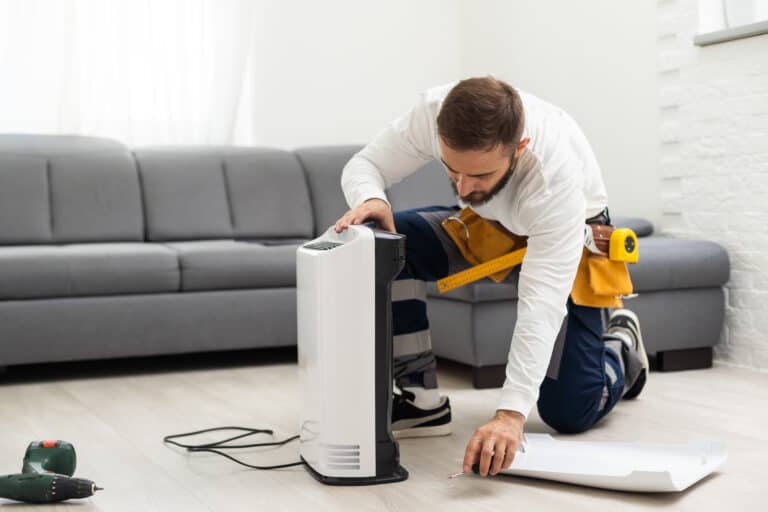
Unbox Your Air Purifier
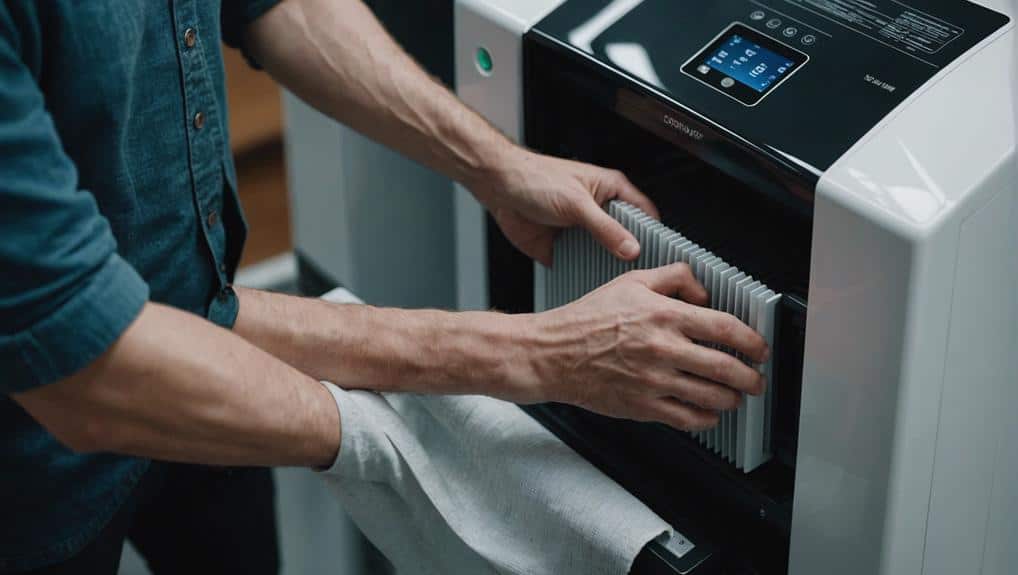
Upon unboxing your air purifier, handle the components carefully to avoid any damage to the filters or other parts. It’s important to unpack the air purifier with precision to prevent any mishaps that could affect its performance.
Before proceeding, make sure to remove all packing materials to guarantee a clear path for setting up the device without any obstructions. Slide out the back panel of the air purifier to access the individual filters that play an essential role in purifying the air.
Take each filter out of its packaging and insert them correctly following the manufacturer’s instructions. Proper placement of the filters is necessary for the air purifier to function efficiently.
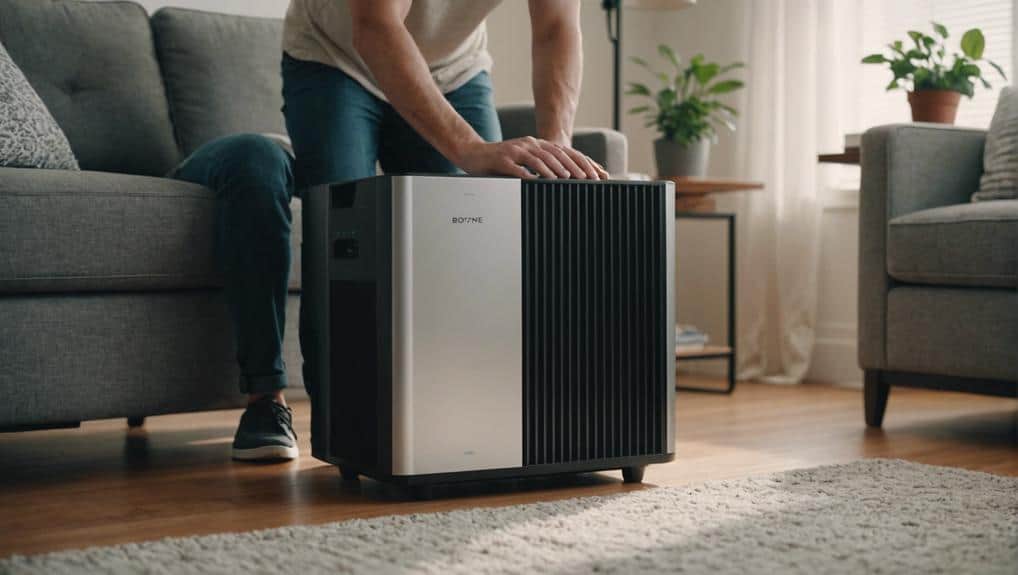
Assemble the Air Purifier
After unboxing and preparing the filters, the next step in setting up your air purifier is to assemble the components according to the user manual instructions. Begin by sliding out the back panel and individual filters from the air purifier, making sure they’re unwrapped and undamaged. Carefully insert the filters in the correct order as specified in the manual. Make sure they fit securely to ensure peak performance.
Next, connect the power adapter firmly to the air purifier and plug it into a power source. This step is essential for the air purifier to function correctly and efficiently. Once the power is connected, you can power on the air purifier and adjust the settings as desired.
Lastly, don’t forget to reset the filter reminder function on the air purifier. This will help you keep track of when the filters need replacement or cleaning, ensuring that your air purifier continues to purify the air effectively. By following these steps to assemble your air purifier, you’re one step closer to enjoying cleaner and fresher indoor air.
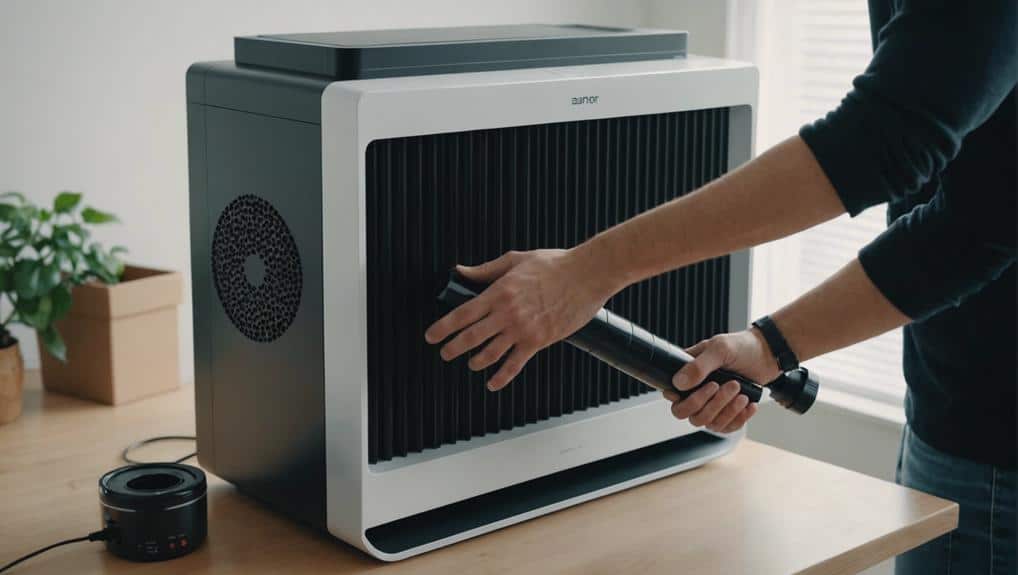
Install Filters and Seals
For essential air purification, meticulously insert the prefilter, HEPA filter, and deodorization filter in the correct order with a snug fit. Proper installation of these air filters is important for maintaining the efficiency of your air purifier. Make sure that each filter is securely placed to prevent air leakage, which can diminish the purifier’s performance.
Additionally, seal any gaps or openings around the filters using the provided seals or tape to prevent unfiltered air from bypassing the filtration system. This meticulous approach guarantees that the air passing through the purifier is thoroughly cleaned.
To maintain the quality of the purified air, regularly inspect the seals and filters for any signs of wear or damage. Replace them as necessary to uphold optimal performance. Checking for a secure connection of the filters is essential to prevent them from dislodging during operation, as this could compromise the air quality.
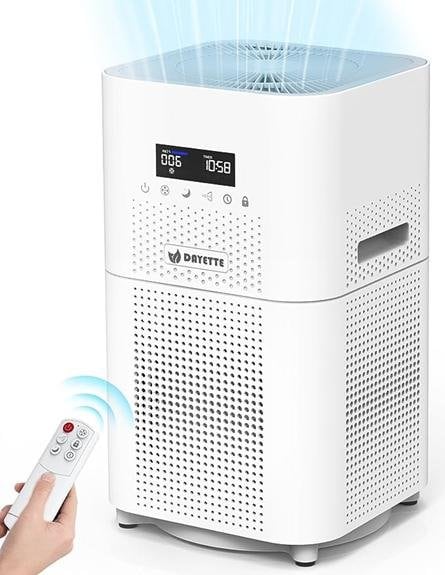
Power Up the Air Purifier
Let’s get the air purifier up and running smoothly by following these steps:
- Plug in the power source and ensure a stable connection.
- Once securely connected, turn on the air purifier using the power button.
- Adjust settings as needed for efficient air purification.
It’s important to ensure a secure power connection before operating the air purifier for optimal performance.
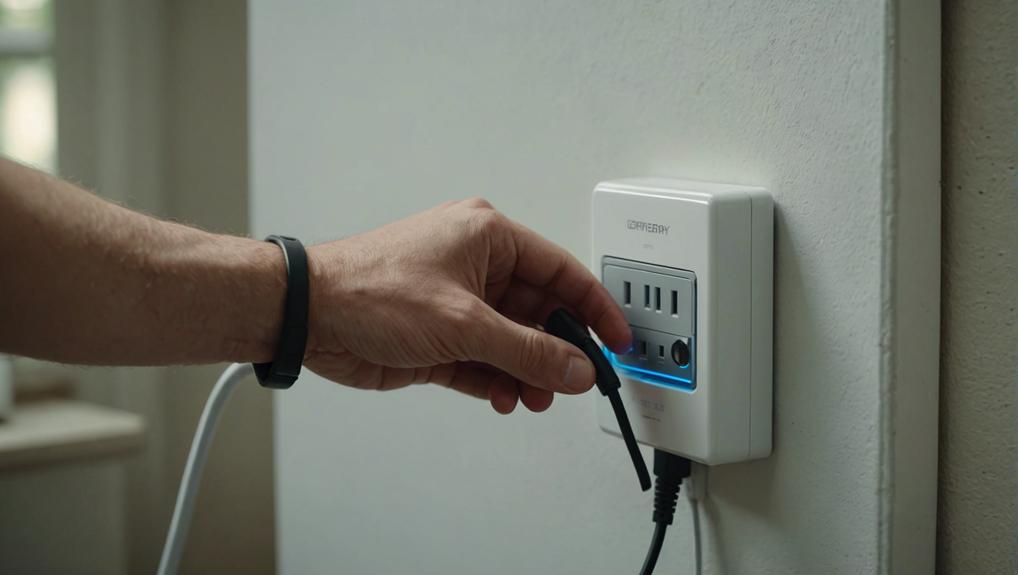
Plug in Power Source
To activate the air purifier, make sure that it’s connected to a compatible power source using the provided adapter. Before plugging in, verify that the power outlet meets the air purifier’s voltage requirements for safe operation.
Once connected, press the power button on the control panel or use the remote control if available to power up the unit. Wait for the indicator lights or display to signal that the air purifier is receiving power and is ready to function.
Remember to double-check that the air purifier’s filters are correctly installed before starting it to guarantee it operates at its best and provides top-notch air cleaning performance. Following these steps will ensure a smooth setup process for your air purifier.
Turn on Air Purifier
Upon plugging in the power cord of your air purifier, locate the power button on the control panel to initiate its operation. Here are four simple steps to power up your air purifier:
- Plug in the power cord into a suitable electrical outlet.
- Locate the power button on the control panel of the air purifier.
- Press and hold the power button for a few seconds to turn on the air purifier.
- Wait for the indicator lights or display screen to illuminate, indicating that the air purifier is powered up.
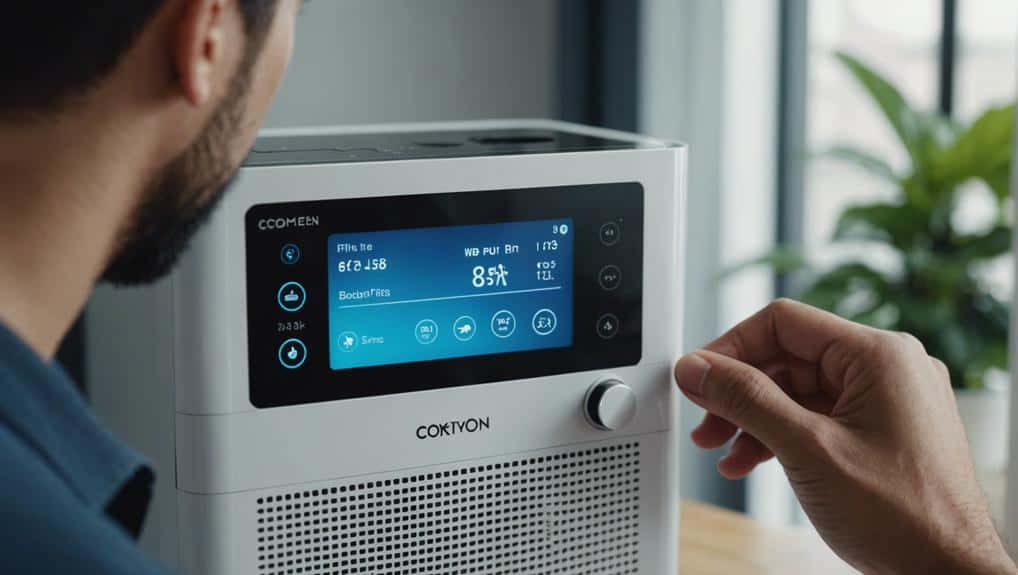
Adjust Settings as Needed
After activating your air purifier, the next step is to adjust the settings as needed to optimize its performance. To guarantee the best indoor air quality, you can customize the fan speed, activate special modes, and utilize features like Lock mode for added control. Here’s a table to help you understand the available settings:
| Setting | Description |
|---|---|
| Fan Speed | Adjust to Low, Medium, or High based on air quality |
| Special Modes | Activate Sleep mode for quiet nights or Wind-free mode for gentle airflow |
| Lock Mode | Prevent accidental changes in settings |
Set Operating Preferences
Let’s talk about setting your air purifier’s operating preferences.
We’ll cover important aspects like the filter replacement schedule and selecting the appropriate fan speed for your needs.
These points are essential in ensuring efficient and tailored air purification in your space.
Filter Replacement Schedule
To guarantee peak performance of your air purifier, it’s crucial to follow the manufacturer’s recommendation of replacing the filters annually. Here are steps to set up your filter replacement schedule:
- Check Filter Condition: Regularly inspect the filter for dust buildup or damage.
- Mark Replacement Date: Note the installation date to guarantee timely replacements.
- Purchase Filters in Advance: Have replacement filters ready to maintain continuous air purification.
- Set Reminder Alarms: Use calendar alerts or smart home features to ensure you of upcoming filter replacements.
Fan Speed Selection
When setting your operating preferences for your air purifier, consider selecting from a range of fan speeds to suit your specific needs. The air purifier offers options like Low, Medium, High, or Auto fan speeds, each catering to different scenarios.
Opt for Low fan speed for quiet operation during sleep or in noise-sensitive environments. If you seek a balance between noise level and air purification efficiency, Medium fan speed is ideal for daily use. In heavily polluted areas, High fan speed provides maximum air circulation and purification for swift results.
Alternatively, the Auto fan speed setting adjusts automatically based on air quality sensors, ensuring peak performance while conserving energy. Choose the fan speed that aligns best with your air purification requirements.
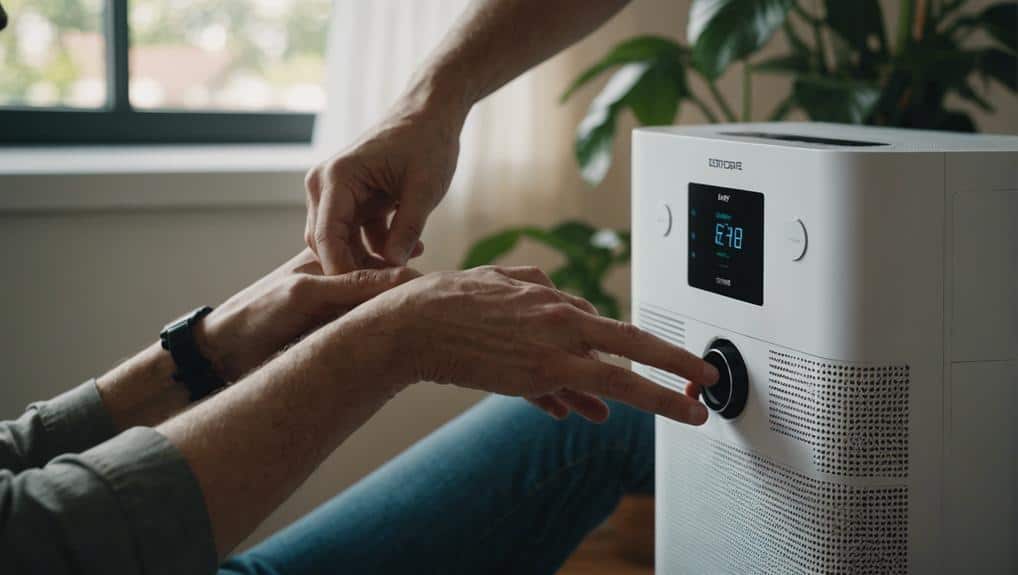
Monitor Performance Regularly
Frequently monitoring the air purifier’s filter indicator light is vital to staying informed about when the filter needs replacement. Here are key steps to guarantee excellent air purifier performance:
- Check Filter Indicator Light: Regularly inspect the filter indicator light to promptly replace filters when necessary.
- Use Particle Counter: Measure air quality before and after using the air purifier to evaluate its performance.
- Monitor Noise Levels: Ensure the air purifier operates at an acceptable noise level for a comfortable environment.
- Track Energy Consumption: Keep an eye on energy usage to assess the air purifier’s efficiency and cost-effectiveness.
Maintain and Clean Filters
Let’s talk about the essential aspects of maintaining and cleaning your air purifier filters.
Keeping a regular filter replacement schedule, learning proper filter cleaning techniques, and understanding the importance of clean filters are key points to make sure your air purifier functions effectively.
Filter Replacement Schedule
To maintain peak air purification efficiency, we recommend following the manufacturer’s recommendation to replace filters annually. Adhering to a filter replacement schedule is vital for maximizing the air purifier’s performance and prolonging its lifespan.
Here are some key points to keep in mind for maintaining your air purifier’s filter system effectively:
- Refer to Manufacturer’s Guidelines: Always check the manufacturer’s guidelines for the recommended filter replacement schedule.
- Set Reminders: Create reminders or mark your calendar to make sure timely filter replacements.
- Inspect Filters Regularly: Periodically examine the filters for any signs of wear or clogging.
- Purchase Filters in Advance: Keep spare filters on hand so that replacements can be done promptly.
Filter Cleaning Techniques
Regularly cleaning the filters of your air purifier is essential to guarantee peak performance and maintain air quality.
To clean the prefilter, use a soft brush or vacuum cleaner with a brush attachment monthly. Gently remove dust and debris to prevent clogging and ensure ideal airflow. Avoid water or harsh chemicals that can harm the filter material.
Importance of Clean Filters
Ensuring clean filters in your air purifier is essential for maintaining peak performance and air quality. When it comes to the maintenance of your air purifier, clean filters play an important role. Here are some key reasons why clean filters are important:
- Optimal Performance: Clean filters guarantee that your air purifier functions efficiently, providing you with clean and fresh air.
- Contaminant Removal: Regular filter maintenance helps in eliminating dust, pollen, pet dander, and other harmful particles from the air you breathe.
- Preventing Strain: Clogged filters can strain the air purifier’s motor, leading to increased energy consumption and potential long-term damage.
- Longevity: Following the manufacturer’s cleaning instructions ensures that your air purifier remains effective and lasts longer.
Troubleshoot Common Issues
When troubleshooting common issues with your air purifier, start by checking the power source and making sure a secure connection. Properly plugged-in air purifiers avoid power and connectivity problems.
Additionally, confirm that the filters are correctly installed and free from blockages to maintain peak airflow and efficiency. If you encounter minor technical glitches, try resetting the air purifier by turning it off, unplugging it for a few minutes, and then restarting.
Regularly cleaning the sensors and vents prevents blockages and ensures the precise operation of your air purifier. Should common issues persist despite your troubleshooting efforts, consider reaching out to customer support or referring to the user manual for specific guidance.
Enjoy Clean Indoor Air
To experience improved indoor air quality, position your air purifier at least 18 inches away from walls and furniture for efficient circulation and filtration.
Here are some steps to guarantee you enjoy clean indoor air:
- Use one air purifier per room: For effective and thorough air cleaning, especially in larger spaces, it’s recommended to have a dedicated air purifier in each room.
- Opt for oversized air purifiers: Choosing larger air purifiers not only provides better coverage for your room size but also operates more quietly and efficiently.
- Run your air purifier continuously: Set your air purifier to a medium setting and let it run 24/7 to maintain consistent clean air quality in your home.
- Keep doors and windows closed: Prevent unfiltered air from entering the room by making sure that doors and windows are sealed shut while the air purifier is in operation.
Conclusion
In summary, setting up your air purifier properly is vital for clean indoor air. By following these 10 steps, you can guarantee peak performance and longevity of your purifier.
Remember to choose the right location, assemble it carefully, install filters correctly, and regularly monitor its performance.
Maintaining and cleaning filters according to the manufacturer’s guidelines is essential.
Enjoy the benefits of fresh, purified air in your home!