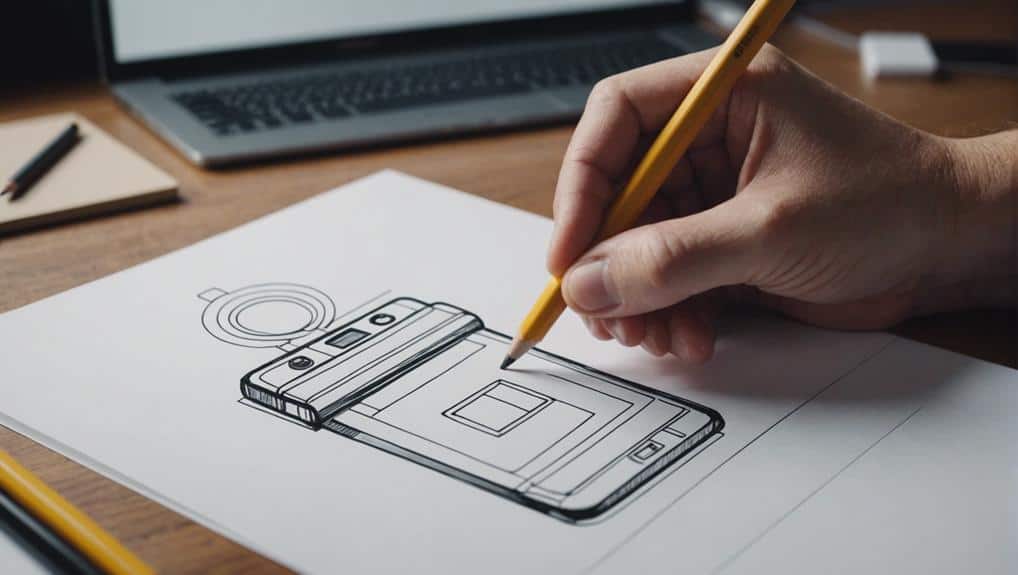
Easy Steps for Sketching an Air Purifier
Let’s explore the essential steps for capturing the sleek design and functionality of an air purifier through sketching. Beginning with outlining the basic shape, we lay the foundation for a detailed representation that effectively conveys its purpose.
As we progress to adding key components and focusing on intricate details, a clearer image starts to emerge. However, it is the incorporation of textures, shading, and refining touches that truly bring the sketch to life, making it a compelling visual showcase of innovation and practicality.
Outline the Basic Shape
Let’s begin by sketching a rectangular box shape as the foundational structure for our air purifier design. When outlining the basic shape of our air purifier, it’s important to make sure that the dimensions are proportional and well-suited to house the filter and fan components effectively. By focusing on capturing the structural elements and design features of a real air purifier, we can create a sketch that reflects the functionality and aesthetics required.
In our sketch, we should pay attention to adding details such as vents, buttons, and indicator lights. These design features not only enhance the realism of the drawing but also provide a clearer visualization of how the final product will look and operate. Utilizing shading and highlights will give depth and dimension to the sketch, making it more lifelike and engaging for our audience.
Add Key Components
Let’s now focus on adding key components to our air purifier sketch. We’ll be looking at essential components placement, detailing filters and fans, and finalizing the control panel.
These components are vital for ensuring top-notch air purification and improving indoor air quality. Let’s delve into how each of these elements contributes to the functionality of our DIY air purifier.
Essential Components Placement
Placing the HEPA filter on the intake side of the air purifier is essential for effectively trapping harmful particles. This strategic positioning guarantees that the air drawn into the purifier first passes through the filter, capturing pollutants and allergens.
Simultaneously, positioning the exhaust fan on the opposite side of the HEPA filter allows for proper airflow through the device, facilitating the circulation of purified air back into the room.
It’s vital to securely hold both the HEPA filter and the exhaust fan within the framework of the air purifier to maintain their functionality. Additionally, directing the exhaust fan towards the power source enhances the efficiency of the air purifier.
Proper placement of these key components is fundamental for achieving excellent air purification performance.
Detailing Filters and Fans
Detailing the key components of air purifiers involves focusing on the filters and fans, which play critical roles in ensuring efficient air purification. Filter efficiency is essential as HEPA filters can remove up to 99% of particles, such as dust, pollen, and smoke.
Understanding fan power is important for proper airflow dynamics, ensuring clean air is circulated effectively. Noise reduction is also a significant consideration, as fans can generate sound while operating.
Monitoring energy consumption helps maintain cost-effectiveness and sustainability. Additionally, being aware of maintenance requirements for filters and fans is crucial for long-term functionality.
Finalizing Control Panel
When finalizing the control panel for the air purifier, we must incorporate essential components such as power switches, fan speed controls, and filter replacement indicators. The panel design should prioritize a user-friendly interface, ensuring easy access to monitor and adjust purifier functions.
A well-thought-out control layout is vital for efficiency and convenience. LED indicators for power status and filter replacement can enhance functionality, while a timer or programmable settings offer added control over air purification cycles.
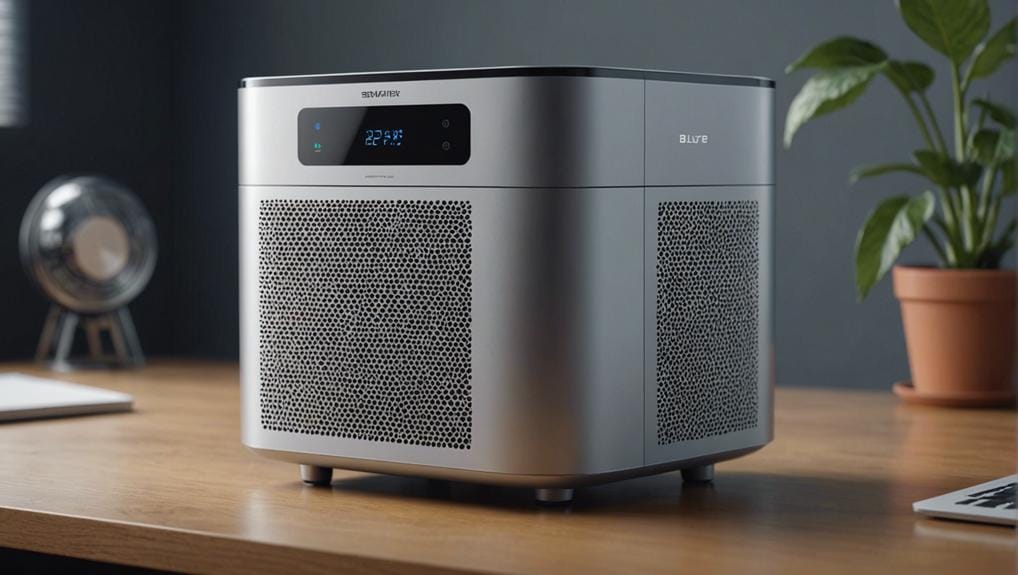
Focus on Details
As we explore the intricacies of sketching an air purifier, our focus sharpens on capturing the essential features with precision and attention to detail. When considering color selection, opt for a palette that complements the sleek design of the air purifier, enhancing its modern appeal.
Utilize perspective techniques to convey depth and dimension, ensuring that each component fits seamlessly within the sketch. Lighting effects play a significant role in highlighting key elements like the fan and filter, adding realism to your illustration. Experiment with different background options to create contrast and draw focus to the air purifier itself.
Incorporating the right sketching tools is essential for achieving accuracy and finesse in your drawing. Choose tools like fine liners or digital software that allow for intricate detailing. When it comes to presentation styles, consider showcasing the air purifier in various settings to demonstrate its versatility and functionality.
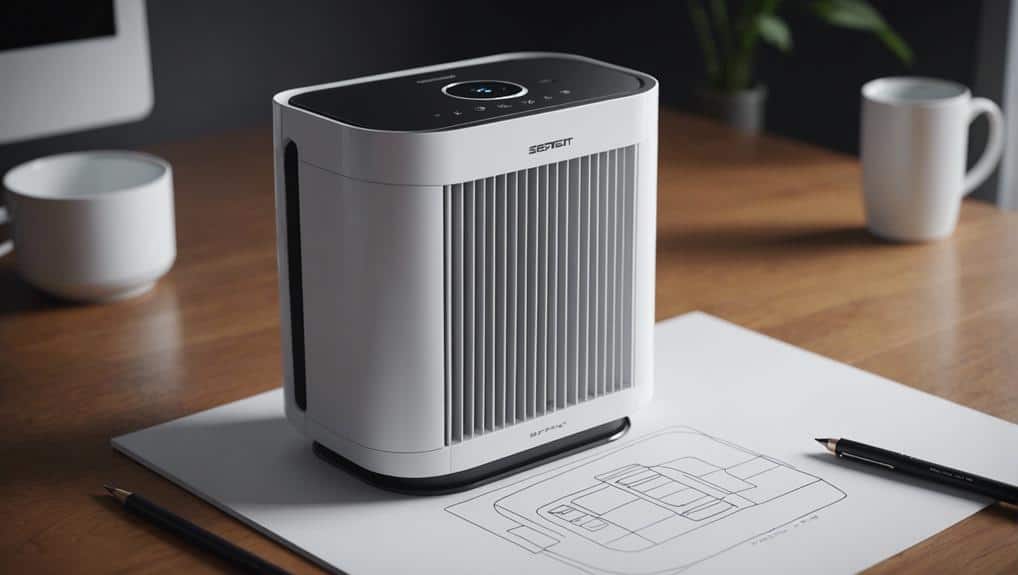
Incorporate Textures
Let’s explore the importance of incorporating textures into our air purifier sketch.
Textures add depth and realism to the design, helping us convey the material and surface qualities of various components.
Choose Diverse Textures
Incorporating diverse textures into our air purifier sketch elevates its visual appeal and depth, enhancing the overall design. Texture selection plays an essential role in creating a realistic representation of materials within the sketch.
By creatively combining different textures, we can effectively enhance the visual interest of the air purifier drawing. These varied textures not only add depth to the design but also help in highlighting key features of the air purifier.
The use of textures allows for the creation of contrasts, adding to the overall appeal of the sketch. Experimenting with diverse textures offers a platform for creativity and expression, enabling us to depict intricate details and surfaces realistically in our air purifier design.
Experiment With Different Materials
Experimenting with a variety of materials such as fabric, metal, or plastic can enhance the texture and visual appeal of our air purifier sketch. Fabric exploration allows us to capture the softness of the filter material or the sleekness of a cover.
Metal experimentation can convey the durability of the casing or the industrial look of some components. Plastic variations help us represent the lightweight nature of certain parts or the modern design of the air purifier.
Blend Textures Creatively
As we blend textures creatively in our air purifier sketch, we infuse depth and realism into the design. By exploring texture combinations, such as using smooth surfaces for the body and creative patterns for the air intake grill, we can achieve visual depth that enhances the overall aesthetic.
Strategic mixing of textures allows us to differentiate between various components of the air purifier, creating a visually engaging composition. Experimenting with shading techniques to highlight raised areas and add shadows can further emphasize the textures, making the sketch more dynamic.
Incorporating these elements thoughtfully not only adds realism but also enhances the appeal of the design, captivating viewers with a blend of creativity and visual interest.
Enhance With Shading
To add depth and realism to your air purifier sketch, shading techniques like hatching, cross-hatching, and stippling can be employed effectively. These methods help in creating realistic shadows and adding dimension to your drawing. When shading, consider the placement of light sources to determine where shadows fall on your air purifier. By gradually building up the shading, you can control the contrast levels and achieve the desired look. Start with light shading and then darken areas as needed to create a sense of depth.
Experiment with different shading techniques on simple shapes to understand how they interact with light sources before applying them to your air purifier sketch. This practice will help you refine your skills and make sure that the shading enhances the overall quality of your drawing. Remember, shading plays a vital role in bringing your air purifier sketch to life, so pay attention to details and aim for a balanced composition.
Review and Refine
Upon reviewing the design of the air purifier, we identified areas for potential enhancement to guarantee top performance and functionality. To secure the air purifier operates at its best, we focused on three key aspects:
- Performance optimization and Material selection: We analyzed the efficiency of the components used in the air purifier and explored alternative materials that could improve its overall performance.
- User feedback and Real-world constraints: Incorporating feedback from users allowed us to address specific needs and constraints faced in real-world environments, ensuring the air purifier meets practical requirements.
- Integration testing and Usability enhancements: Through rigorous integration testing, we verified that all components work seamlessly together. Additionally, we refined the design for enhanced usability, making it easier for users to interact with the air purifier effectively.
Conclusion
Overall, sketching an air purifier is a fun and creative process. It involves outlining the basic shape, adding key components, focusing on details, incorporating textures, enhancing with shading, and reviewing and refining.
By following these easy steps, you can create a realistic and visually appealing representation of an air purifier. This will showcase its functionality and design elements. Let your imagination soar as you bring your sketch to life!