3 Essential Steps to Clean Your Dehumidifier Easily
Did you know that nearly 40% of dehumidifier owners never clean their units, leading to decreased efficiency and potential health risks?
Taking care of your dehumidifier is essential for maintaining a healthy home environment.
We can show you three straightforward steps to keep your dehumidifier in top condition, ensuring it works effectively and lasts longer.
Preparation for Cleaning
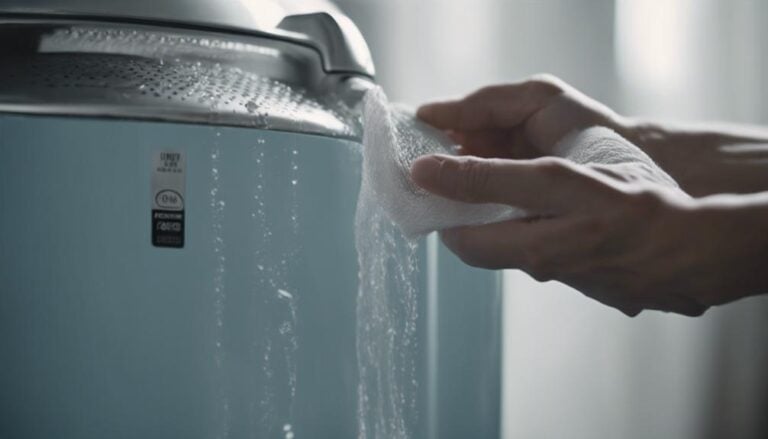
Before you begin the cleaning process, gather all the necessary tools and materials to secure a smooth and efficient cleaning experience for your dehumidifier. You’ll need a sponge, soft scrub brush, spray bottle, microfiber cloths, and dish soap. Make sure the dehumidifier is turned off and unplugged to prevent accidents.
Start by emptying the water tank and removing the filter for thorough cleaning. Check the manufacturer’s instructions for specific cleaning steps. Create a safe, spacious cleaning area to protect surrounding surfaces from spills.
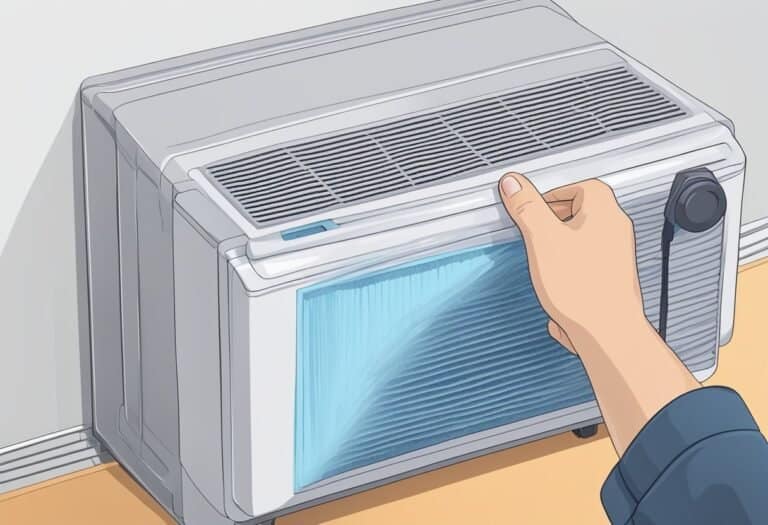
To clean the coils, use warm soapy water or a mixture of white vinegar and water. Use a scrub brush or hose attachment to remove dirt and debris. Clean the filter with soapy water, rinse it thoroughly, and let it dry completely before reinserting it. It’s essential to clean your dehumidifier regularly to prevent excess moisture buildup and maintain its efficiency.
Following these steps will help keep your dehumidifier in its best condition.
Disassembling Your Dehumidifier
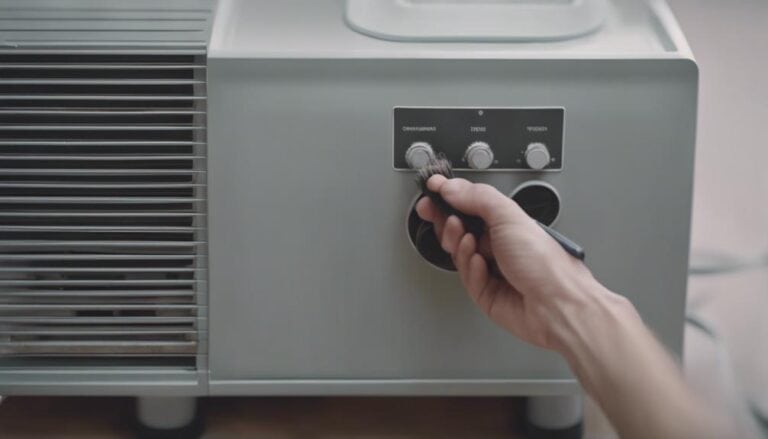
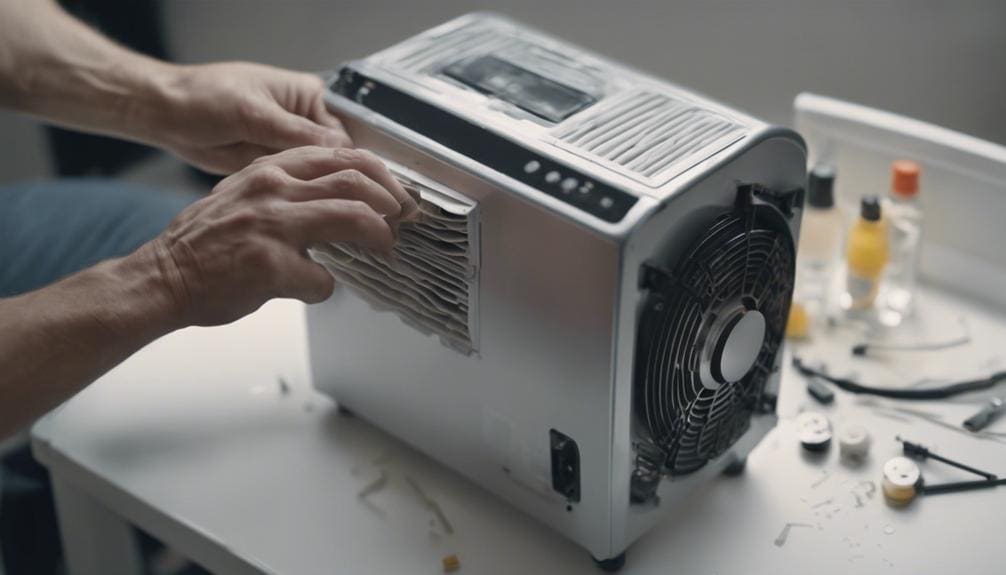
To disassemble your dehumidifier effectively, carefully unplug the unit and begin removing all external components following the owner’s manual instructions. It’s important to adhere to the provided instructions to prevent any damage to the unit.
Make sure to take note of the location and order in which you remove the various parts, as this will greatly assist in the reassembly process later on. Some dehumidifiers may have hidden screws or clips that need to be located and removed before you can fully disassemble the unit. By paying close attention to these details, you can guarantee a smooth disassembling process.
Cleaning and Reassembling Components
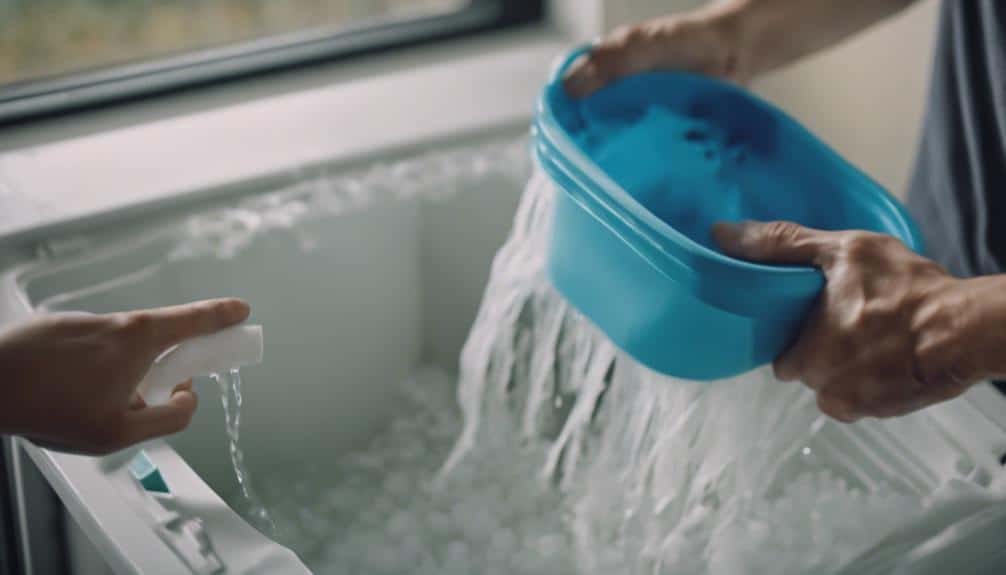
After disassembling your dehumidifier, thoroughly clean the bucket with warm, soapy water to remove any dirt or debris. Here are some essential steps to effectively clean and reassemble the components:
- Use a Gentle Scrubbing Tool: Employ a sponge or soft scrub brush to clean the interior surfaces of the bucket. This will help in removing any stubborn dirt or grime without damaging the bucket’s material.
- Rinse Thoroughly: After cleaning with soapy water, make sure to rinse the bucket thoroughly. This step is important to make sure that all soap residue is eliminated, preventing any potential contamination when the dehumidifier is in use.
- Dry Completely: Allow the bucket to dry completely before reassembling it back into the dehumidifier. Ensuring the bucket is thoroughly dry helps prevent moisture buildup, which can lead to mold and mildew growth inside the dehumidifier.
Conclusion
To sum up, by following these three essential steps to clean your dehumidifier regularly, you can guarantee top performance and air quality in your home. Proper maintenance, including disassembling, cleaning, and reassembling the components, is vital for the efficiency and longevity of your dehumidifier.
Remember to always use mild detergent and water, and make sure all parts are completely dry before putting your unit back together. Keep your dehumidifier clean to enjoy its benefits for years to come.