7 Easy Steps to Clean Your Dehumidifier Coils
Imagine your dehumidifier coils as the heart of your device, pumping efficiency through its veins. But just like a heart needs care, so do these coils.
We recently discovered 7 easy steps to keep them clean and your dehumidifier running smoothly. From unplugging to reassembling, each step plays an essential role in ensuring your device performs at its best.
So, are you ready to learn the secrets to maintaining your dehumidifier’s health and maximizing its lifespan?
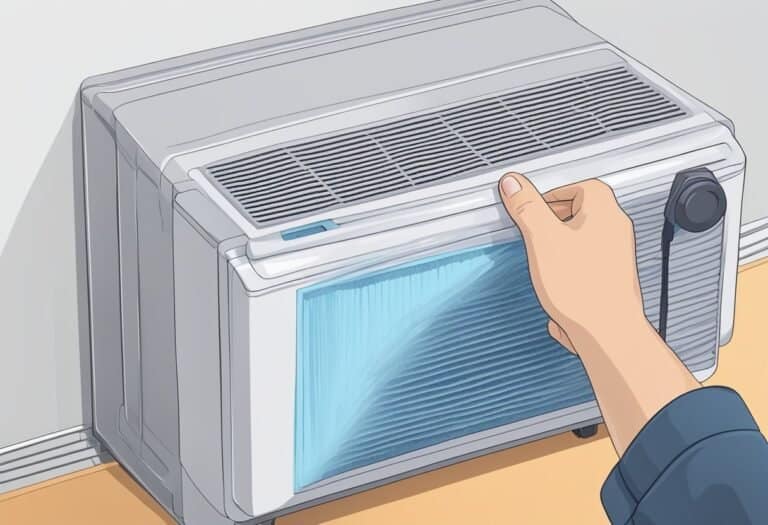
Turn Off and Unplug Dehumidifier
Before beginning the cleaning process, make sure to turn off and unplug the dehumidifier to prevent any potential electrical hazards. Disconnecting the power source is a critical step in ensuring safety while working on the coils. Unplugging the unit is essential to reduce the risk of electric shock and damage during cleaning.
By turning off the dehumidifier before starting the coil cleaning, we prevent accidental activation that could lead to injury. This initial action of ensuring the dehumidifier is disconnected from the power source is fundamental for safely accessing and cleaning the coils. Prioritizing safety by following these steps not only protects us from potential electrical accidents but also safeguards the dehumidifier from damage.
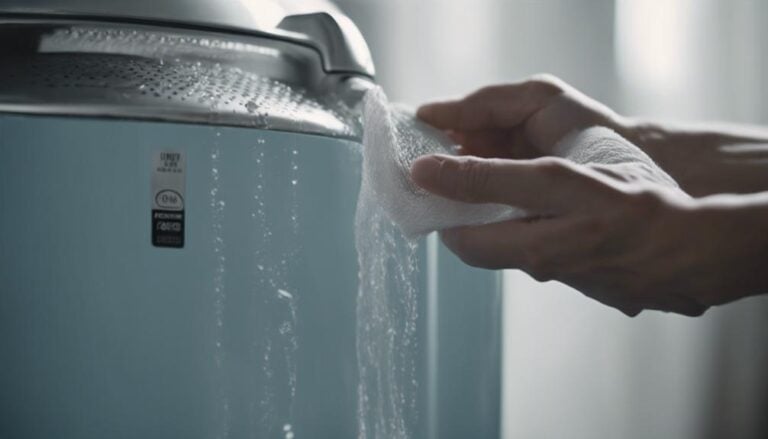
Wipe Down Exterior
After making sure the dehumidifier is turned off and unplugged, the next step is to use a soft cloth to wipe down the exterior to remove dust and dirt buildup. Wiping the exterior is essential for maintaining the appearance of the dehumidifier and preventing debris from entering the unit.
Here are some key points to keep in mind when wiping down the exterior:
- Efficiency Enhancement: Regularly cleaning the exterior of the dehumidifier enhances its overall efficiency and performance. By keeping the exterior free of dust buildup, the unit can operate at its best, ensuring it functions effectively.
- Healthier Indoor Environment: A clean exterior contributes to a healthier indoor environment by reducing the spread of dust and allergens. This simple step helps in maintaining cleaner air quality within your living space.
- Maintenance Importance: Wiping down the exterior is a quick and easy aspect of dehumidifier maintenance. It’s a preventive measure to uphold the condition of the unit and ensure it continues to operate effectively.
Remove and Clean Filter
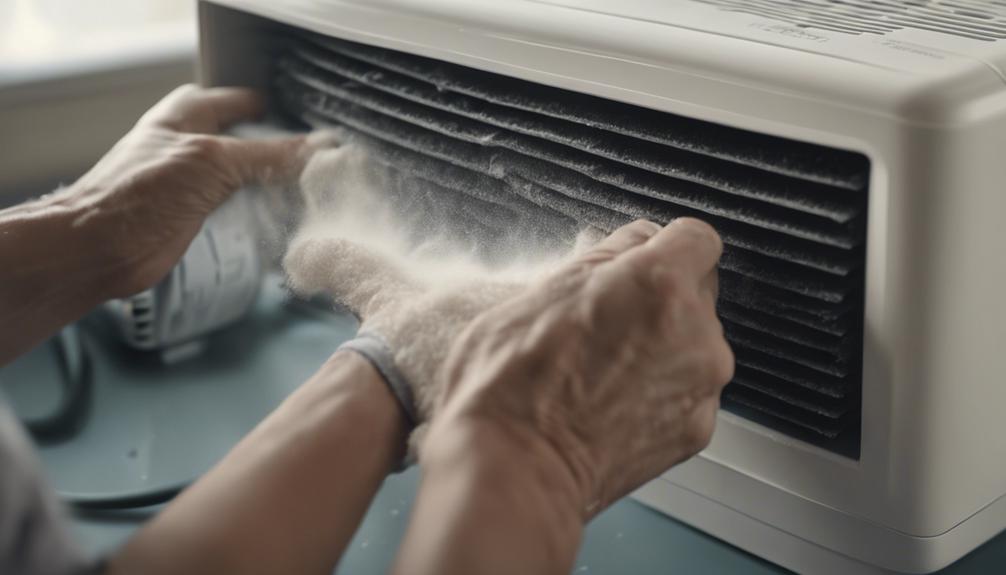
To properly maintain your dehumidifier, it’s essential to regularly remove and clean the filter to guarantee ideal air quality and efficient operation. The filter plays an important role in trapping dust and debris, preventing them from circulating back into the air. A clogged or dirty filter can obstruct airflow, leading to decreased performance and potential mold growth.
To prevent these issues, it’s recommended to vacuum the filter regularly and wash it in soapy water to remove any accumulated dirt and particles. Proper filter maintenance not only guarantees cleaner air but also prolongs the lifespan of your dehumidifier.
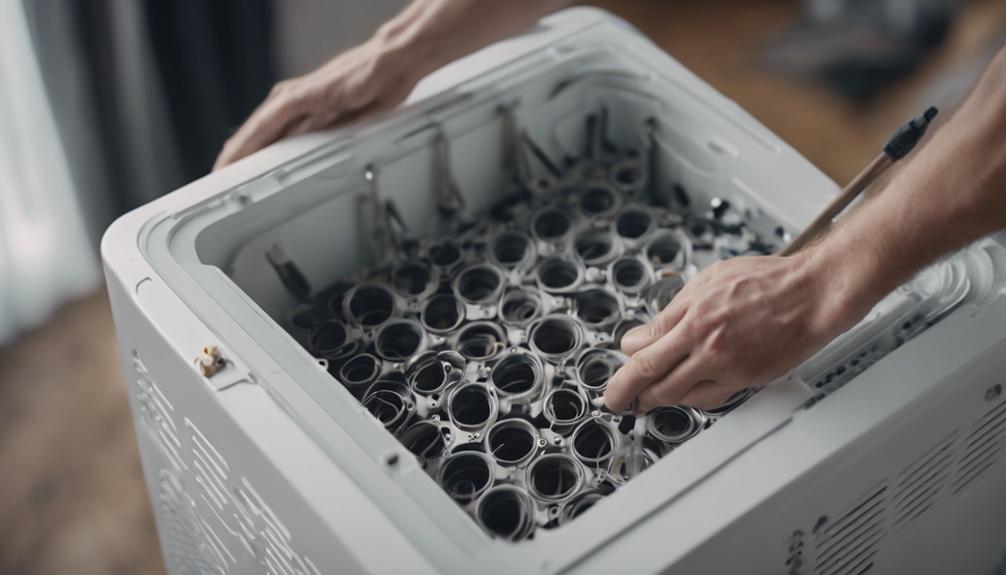
Clean Coils Thoroughly
When it comes to cleaning dehumidifier coils thoroughly, it’s essential to pay attention to specific techniques that guarantee top performance. Proper maintenance of coils includes removing dirt and debris efficiently to prevent blockages and maintain efficient condensation.
Neglecting thorough cleaning may lead to decreased effectiveness in moisture removal and potential strain on the dehumidifier unit.
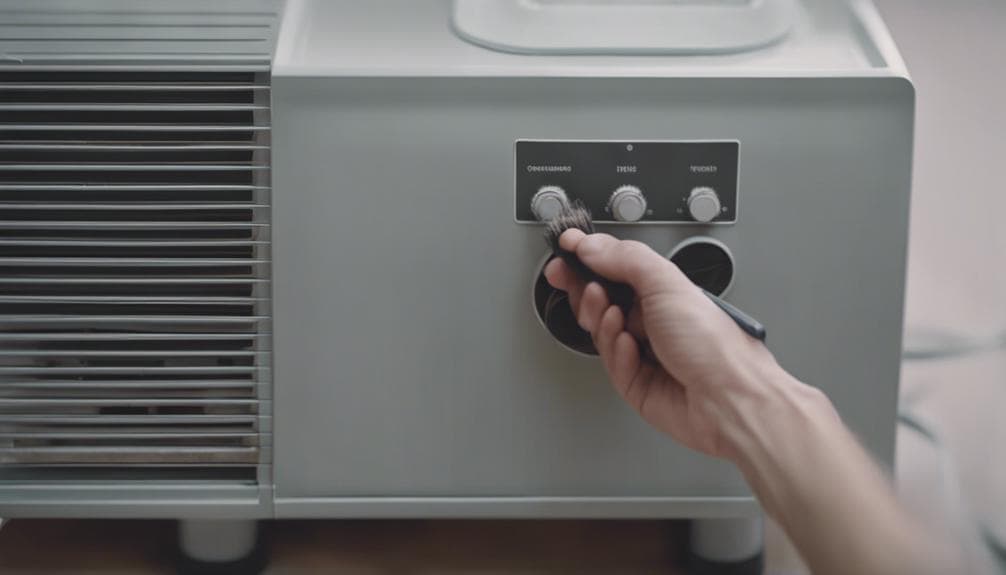
Coil Cleaning Techniques
To guarantee efficient moisture removal and prevent malfunctions, thoroughly clean the dehumidifier coils using a soft brush and a water-vinegar mix to eradicate accumulated dust and debris. Proper coil cleaning is vital for maintaining the performance of your dehumidifier. Follow these steps for effective coil cleaning:
- Use a Soft Brush: Gently brush off any visible dust and debris from the coils to prepare them for a deeper clean.
- Apply Water-Vinegar Mix: Create a solution of water and vinegar in equal parts and carefully apply it to the coils to remove stubborn dirt and grime.
- Rinse and Dry Thoroughly: After cleaning, rinse the coils with water and make sure they’re completely dry before reassembling them into the dehumidifier for best function.
Importance of Maintenance
After thoroughly cleaning the dehumidifier coils, it’s essential to understand the significance of maintaining their cleanliness to guarantee excellent performance and longevity of the unit. Clean coils are vital for proper condensation and dehumidification, ensuring top-notch efficiency and preventing increased energy consumption.
Regular coil cleaning is important to prevent mold and bacteria growth, promoting clean air circulation within the environment. Clogged coils can impede the dehumidifier’s ability to effectively remove moisture from the air, hampering its efficiency.
Empty Water Basin
Guarantee that the water basin of the dehumidifier is completely emptied before proceeding with cleaning the coils to prevent any potential leaks or mishaps. Regularly emptying the water basin is essential to prevent spills, accidents, mold growth, and bacteria growth inside the dehumidifier. This step is critical in maintaining the efficiency and performance of the dehumidifier.
Here are some key reasons why emptying the water basin is vital before cleaning the coils:
- Prevent Spills and Accidents: A full water basin can lead to leakage during coil cleaning, potentially causing spills and accidents that can damage the surroundings.
- Avoid Mold and Bacteria Growth: Regularly emptying the water basin helps prevent the growth of mold and bacteria inside the dehumidifier, ensuring a clean and hygienic environment.
- Enhance Efficiency and Performance: Emptying the water basin before cleaning the coils contributes to the overall efficiency and performance of the dehumidifier, allowing it to operate at its best.
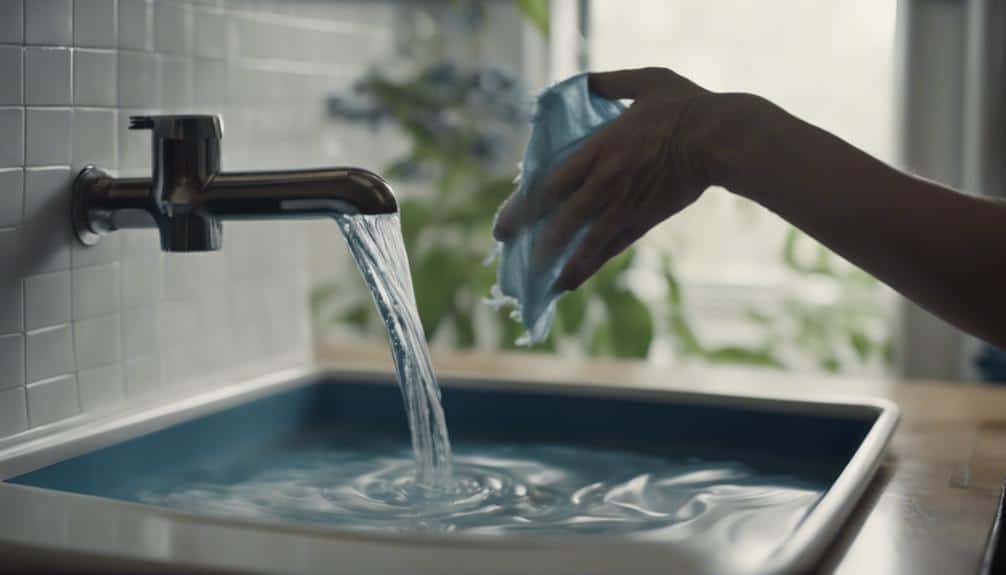
Clean Basin With Vinegar or Soap
For effective cleaning of the dehumidifier basin, start by using white vinegar to kill mold and mildew. White vinegar is a natural and effective way to break down mineral deposits and grime buildup in the basin.
To clean the basin thoroughly, soak it in a vinegar solution for a period of time to allow the vinegar to penetrate and loosen any stubborn residue. After soaking, scrub the basin with a mild soap to remove dirt, grease, and other residues that may have accumulated.
Pay close attention to areas with mold or mildew growth, ensuring they’re well cleaned. Rinse the basin thoroughly with clean water to remove any remaining vinegar or soap residue. Proper rinsing is essential to prevent any unwanted residue that could affect the dehumidifier’s performance.
Once cleaned and rinsed, dry the basin completely before reassembling the dehumidifier to avoid mold growth.
Reassemble Dehumidifier
Let’s reassemble the dehumidifier by carefully reattaching all removed parts, making sure a snug fit to prevent any potential leaks.
Check each component for tightness and secure them in place to guarantee top performance.
Once everything is properly in place, power on the dehumidifier and test its functions to make sure it’s working efficiently.
Reattach Removed Parts
After carefully cleaning the dehumidifier coils, we must now securely reattach the removed coil panel following the manufacturer’s instructions to guarantee peak functionality of the unit.
- Follow Manufacturer’s Instructions: Adhere strictly to the guidelines provided by the manufacturer during the reassembly process.
- Secure Screws and Fasteners: Make sure all screws are tightened properly to prevent any loose components while the dehumidifier is in use.
- Check Connections and Fittings: Double-check all connections and fittings to make sure there are no leaks and that the dehumidifier operates efficiently.
Once everything is securely reattached and in place, plug the dehumidifier back in and test its operation to confirm that the reassembly was successful and the unit is functioning as expected.
Check for Tightness
Now, ensuring all screws and bolts are securely tightened is important when reassembling the dehumidifier to prevent any loose parts during operation. Check that each component is back in its place, verifying a snug fit. Confirm that there are no gaps or misalignments which could lead to air leaks, compromising the unit’s efficiency. Each part must be correctly positioned to prevent damage and ensure best functionality.
After completing the reassembly, test the dehumidifier to verify that all parts are securely attached and operating as specified. Adhering to the manufacturer’s guidelines is critical to maintain the warranty and guarantee the dehumidifier’s proper performance. Following these steps will help in a successful reassembly process.
Power on Dehumidifier
To power on the dehumidifier after reassembling, make sure all connections are secure and plug the unit into a grounded outlet. Reassembling the dehumidifier correctly is important for best performance, efficiency, and safe operation. Follow these steps to make sure the cleaning process of the coils leads to a fully functional dehumidifier:
- Secure Connections: Double-check all parts to make certain they’re securely in place before powering on the dehumidifier.
- Plug into Grounded Outlet: Connect the unit to a properly grounded outlet to prevent electrical issues and ensure safe operation.
- Test Functionality: Turn on the dehumidifier to test its functionality post-reassembly, verifying that it operates efficiently and effectively for best performance.
Conclusion
To summarize, following these 7 simple steps to clean your dehumidifier coils will guarantee peak performance and efficiency of your unit. Regular maintenance is essential for extending its lifespan and keeping your indoor air clean and healthy.
By taking the time to clean the coils, you can prevent buildup of dirt and debris, maintain proper airflow, and enjoy the benefits of a well-functioning dehumidifier in your home.