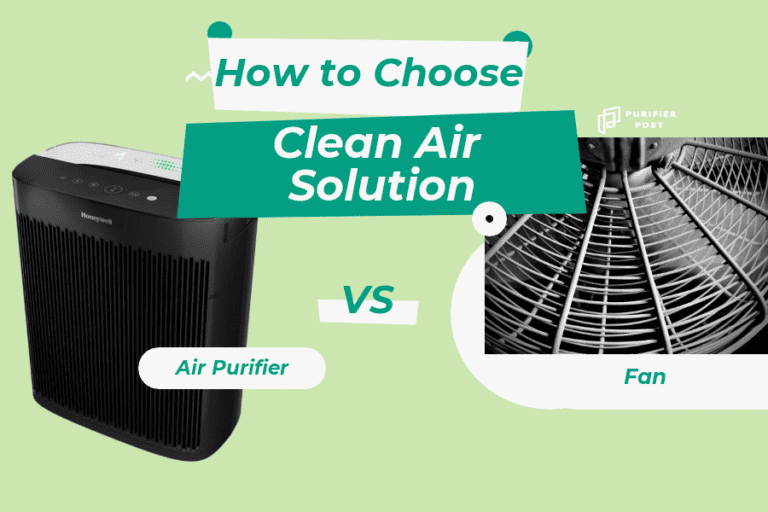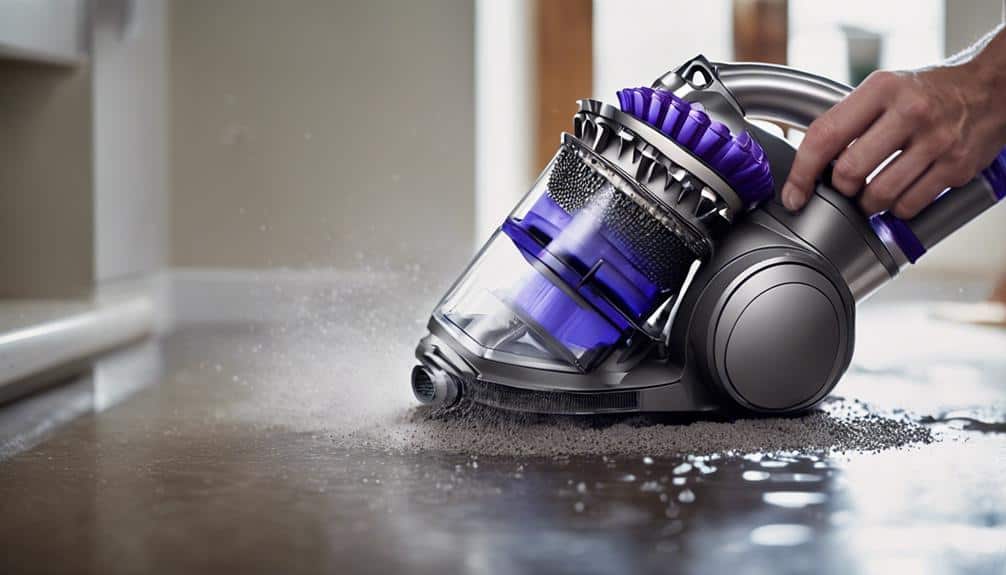
10 Steps to Clean Your Dyson Filter Easily
Let’s reveal the concealed secret to breathing new life into your Dyson vacuum – cleaning its filter.
Taking just a few simple steps can make a world of difference in the performance of your beloved appliance.
As we guide you through the process, you’ll realize how effortless it can be to maintain your Dyson filter, ensuring a fresh and powerful cleaning experience every time.
So, are you ready to elevate your vacuuming game and reveal the full potential of your Dyson?
Unplug Your Dyson Vacuum
Before proceeding with cleaning your Dyson filter, it’s important to unplug the vacuum from its power source to guarantee safety and prevent any potential accidents. Disconnecting the Dyson vacuum from electricity is a critical initial step in the filter cleaning process. Unplugging ensures that there’s no risk of electric shock or damage during maintenance. Remember, safety should always come first when dealing with electrical appliances like the Dyson vacuum.
To unplug the Dyson vacuum, locate the power cord and follow it to the outlet. Gently pull the plug from the socket to disconnect the vacuum from the power source completely. Confirm that the vacuum is turned off before unplugging to prevent any electrical mishaps. By taking this precaution, you create a safe environment to clean the filter effectively.
Always prioritize safety by unhooking the Dyson vacuum before embarking on any maintenance tasks. This simple yet important step sets the foundation for a successful and hazard-free filter cleaning process.
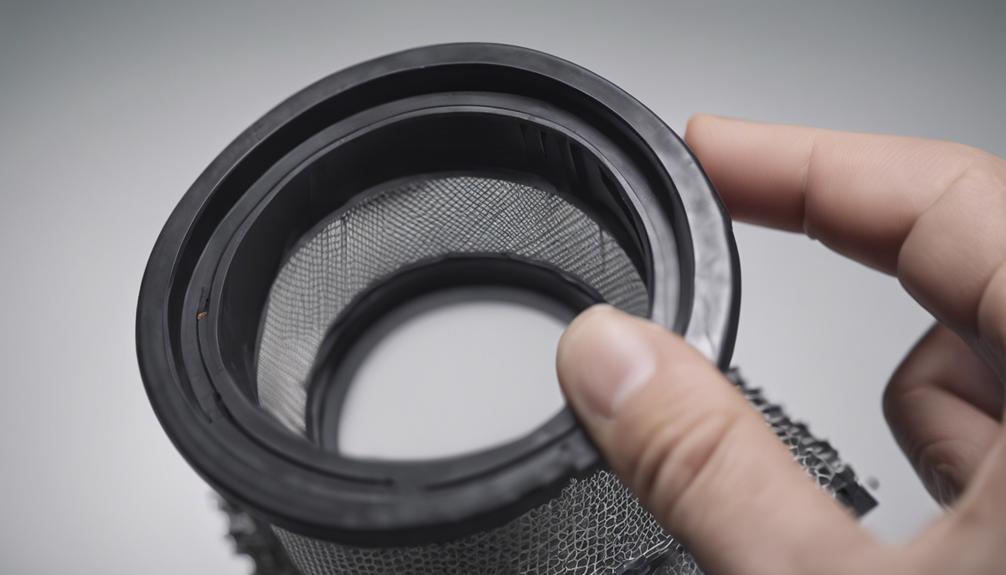
Locate and Remove the Filter
First, locate the filter in your Dyson vacuum, which is usually positioned near the base, behind the bin, or along the hose.
Next, gently remove the filter from its designated compartment, ensuring careful handling to prevent any damage.
Find Filter Location
To locate and remove the filter in your Dyson vacuum, carefully check behind the bin or near the base of the unit. The Dyson filter is important for trapping dust and maintaining ideal performance in your vacuum cleaner.
Regularly cleaning Dyson filters is necessary for sustaining suction power and air quality. By finding and cleaning the filter, you can extend the lifespan of your Dyson vacuum. Make sure to handle the filter gently and follow the manufacturer’s instructions for proper maintenance.
Proper maintenance of the filter is essential for the overall efficiency of your vacuum cleaner. Remember, a clean filter is key to keeping your Dyson running smoothly and effectively.
Remove Filter Gently
We’ll now proceed to carefully remove the Dyson filter from its location near the base or behind the bin. When removing the filter, follow these steps:
- Locate the Filter: Identify the filter’s position within the machine, typically near the base or behind the bin.
- Gently Detach the Filter: Apply light pressure to disconnect the filter from its placement in the vacuum.
- Guarantee Avoidance of Excessive Force: Guarantee a gentle touch to prevent any damage to the filter during removal.
- Handle with Caution: Take caution to prevent any breakage or tearing of the filter while extracting it.
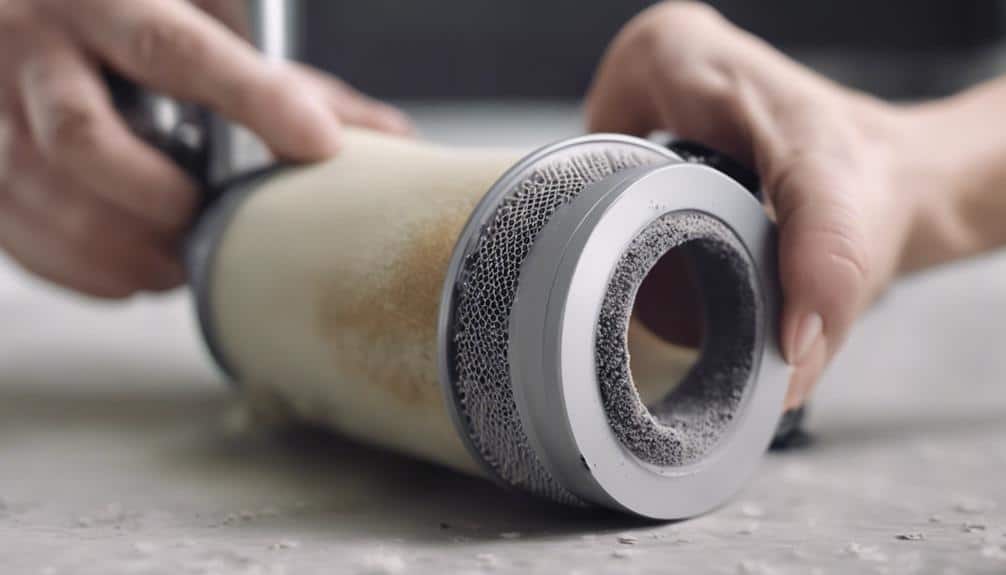
Inspect Filter for Dirt
Upon locating the filter behind the hose, at the base, or behind the bin of your Dyson vacuum, carefully remove it for inspection. To clean the Dyson filter effectively, inspect it for dirt, dust, and debris buildup that could impede the vacuum’s performance.
Remove any accumulated dirt by gently tapping the filter or using a soft brush to dislodge stubborn particles. Make sure the filter is completely dry before reinserting it back into the vacuum to prevent mold or mildew growth.
Regularly checking and cleaning the filter is essential to maintain peak suction power and air quality in your home. By following these steps, you can prolong the life of your Dyson vacuum and ensure it operates efficiently.
Dispose of Trapped Debris
When disposing of trapped debris from your Dyson filter, make sure that you handle it carefully to prevent any airborne release of contaminants. Here are the steps to dispose of trapped debris properly:
- Remove the Filter: Carefully detach the filter from your Dyson vacuum following the manufacturer’s instructions to avoid damaging it.
- Empty Debris Into a Trash Bag: Shake the filter gently over a trash bag to release the trapped debris. Avoid doing this in a windy area to prevent the debris from spreading.
- Seal the Bag Securely: Once you have emptied the debris, seal the trash bag tightly to contain the contaminants inside.
- Dispose of the Bag: Place the sealed bag in your household waste bin or follow your local regulations for disposing of household debris.
Rinse the Filter With Water
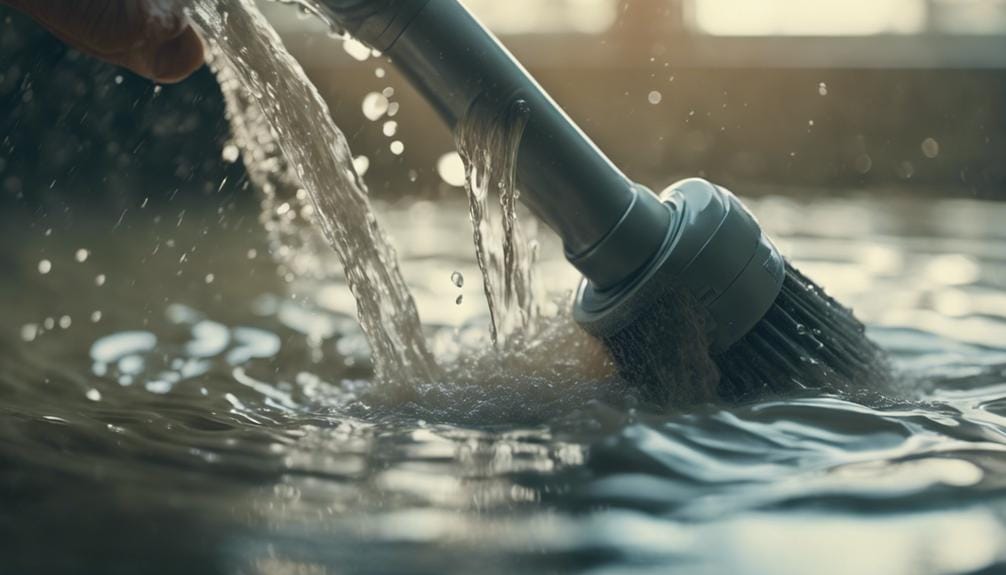
Let’s talk about the water rinsing method for cleaning your Dyson filter effectively.
Rinse the filter with cold tap water using gentle pressure to remove dirt and debris thoroughly.
Ensuring all sides of the filter are rinsed is important for maintaining best performance and suction power.
Water Rinsing Method
For a thorough cleaning of your Dyson filter, start by gently rinsing it with clean, cold water. Water rinsing is a critical step in maintaining your filter’s performance and longevity. Here’s how to effectively rinse your Dyson filter:
- Submerge the filter completely in clean, cold water to guarantee dislodging trapped dirt and debris.
- Use gentle water pressure to guarantee thorough cleaning without causing damage to the filter material.
- Rinse the filter thoroughly to wash away accumulated particles and maintain filtration efficiency.
- Water rinsing is a simple yet essential part of filter maintenance to uphold the cleanliness and suction power of your Dyson vacuum.
Drying the Filter
After rinsing the Dyson filter with water, the next critical step is making sure thorough drying to prevent motor damage and maintain vacuum efficiency. To dry the filter properly, gently squeeze out excess water without wringing it.
Allow the filter to air dry in a warm, dry place for at least 24 hours. It’s essential to make sure that the filter is completely dry before reassembling it into the vacuum to prevent operational issues. Avoid using heat sources to dry the filter, as this can damage it. The filter should be dried naturally with air circulation.
Make sure the water runs clear when rinsing the filter with cold water to guarantee all dirt and debris are removed before the drying process begins.
Gently Shake off Excess Water
To effectively remove excess water from the Dyson filter, gently shake it in a controlled manner. When shaking off excess water, follow these steps:
- Hold the filter securely with both hands to prevent it from slipping or getting damaged during the shaking process.
- Shake the filter gently from side to side in a smooth and controlled motion to allow the water to dislodge without putting excessive force on the delicate filter material.
- Avoid vigorous shaking or bending the filter, as this could compromise its structure and reduce its effectiveness in filtering out dust and debris.
- Continue shaking the filter until no more water drips from it, ensuring that it’s sufficiently dried before moving on to the next step in the cleaning process.
Allow Filter to Air Dry
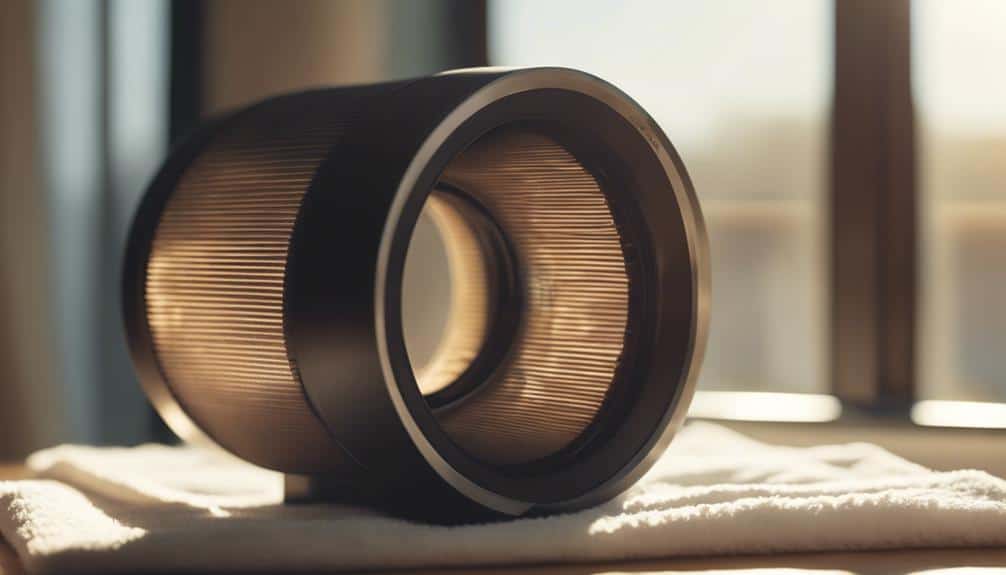
Once the excess water has been gently shaken off the Dyson filter, the next essential step is allowing the filter to air dry completely for at least 24 hours to prevent any moisture-related damage. Ensuring the filter is completely dry is essential to avoid motor issues that can arise from reinstallation of a wet filter. To highlight the importance of proper air drying, consider the following table:
| Importance of Air Drying Dyson Filter |
|---|
| Prevents moisture-related damage |
| Ensures the filter is completely dry before reinstallation |
| Maintains good airflow for optimum performance |
Drying the filter in a warm, dry location with good airflow is recommended to expedite the drying process. Refitting a wet filter into the vacuum can lead to potential damage and reduce the efficiency of the vacuum. By allowing the filter to air dry for the specified 24 hours, you can prevent damage and guarantee your Dyson vacuum continues to perform effectively.
Check for Complete Dryness
Checking for complete dryness of the Dyson filter is essential before reinstalling it to prevent motor damage and guarantee excellent vacuum performance. To make sure of proper drying, follow these steps:
- Remove your Dyson filter: After cleaning, detach the filter from your Dyson vacuum following the manufacturer’s instructions.
- Dry for at least 24 hours: Place the filter in a well-ventilated area and allow it to air dry completely for at least 24 hours.
- Check for dryness: Before reinserting the filter, make sure it feels completely dry to the touch to avoid any moisture-related issues.
- Filter with cold: Avoid using any methods like a hairdryer or direct sunlight to dry the filter, as excessive heat can damage the filter material.
Properly dried filters are essential for maintaining the efficiency and longevity of your Dyson vacuum. Taking the time to make sure the filter is completely dry before reassembly will help your vacuum perform at its best and prevent any potential damage to the motor.
Reassemble the Filter Components
After making sure the Dyson filter is completely dry, proceed to reassemble the filter components by aligning the tabs and securely pressing them into place. It is important to follow the reassembling instructions specific to your Dyson model to guarantee the components are correctly positioned for best vacuum performance and efficient dust separation.
| Filter Component | Assembly Instructions |
|---|---|
| Pre-filter | Align the tabs and press firmly until it clicks |
| Post-filter | Align the tabs and push down securely |
Correct reassembly of the filters is essential to maintain the suction power of your Dyson vacuum cleaner. By properly positioning the filter components, you ensure that the dust separation process operates efficiently, allowing your vacuum to perform at its best. Remember to handle the components carefully and firmly attach them according to the manufacturer’s guidelines to avoid any issues with the vacuum’s functionality.
Reinstall the Filter in the Vacuum
When reinstalling the filter in the vacuum, it’s important to confirm proper alignment for best performance.
Securely fasten the filter in its designated slot to prevent any issues during operation.
Following these steps will maintain the vacuum’s filtration efficiency and suction power.
Proper Alignment for Filter
How can we guarantee that the filter in your Dyson vacuum is correctly aligned for peak performance?
Proper alignment is essential for maintaining suction power and ensuring your Dyson functions at its best. Follow these steps for proper alignment:
- Check Alignment: Before reinserting the filter, make sure it aligns correctly with the designated slot.
- Secure Placement: Press down firmly on the filter to make sure it’s securely in place.
- Avoid Air Leaks: Ensure there are no gaps between the filter and its housing to prevent air leaks.
- Test Suction: After reinstalling, test the vacuum to ensure proper suction and performance.
Securely Fasten Filter
To guarantee optimum performance of your Dyson vacuum, carefully and securely fasten the filter back into place, following the specific instructions for your model. Make sure the filter is completely dry before reinstalling it to prevent damage.
Properly refitting the filter is essential for maintaining optimal vacuum performance and suction power. Check for any locking mechanisms or arrows that indicate the correct orientation for filter installation. By securely fastening the filter back in place, you prevent air leaks and maintain the vacuum’s filtration efficiency.
Failing to securely fasten the filter at least can lead to reduced suction power and potential damage to the vacuum. Take care to follow the manufacturer’s guidelines for properly refitting the filter to ensure your Dyson operates at its best.
Test the Vacuum for Improved Performance
To guarantee peak performance, regularly assess your Dyson vacuum for signs indicating the need for filter maintenance, such as reduced suction power or visible dirt buildup. Here are four key indicators to test your Dyson vacuum for improved performance:
- Reduced Suction Power: Check if the vacuum isn’t picking up debris as effectively as before. This could signal a clogged filter that needs cleaning.
- Visible Dirt Buildup: Inspect the dust canister and filter for a visible accumulation of dirt and debris. Cleaning the filter may be necessary to restore peak performance.
- Unusual Noises: Listen for any unusual sounds during operation, as these could indicate a blockage or a malfunction that requires attention.
- Strong Odors: If you notice strong or unpleasant odors while vacuuming, it may be a sign that the filter needs washing to maintain air quality.
Regularly testing your Dyson vacuum for these performance indicators will help ensure that it operates efficiently, traps allergens effectively, and has an extended lifespan.
Conclusion
To conclude, following these 10 steps to clean your Dyson filter will help maintain peak performance and longevity of your vacuum.
By regularly cleaning and properly drying the filters, you can make sure that your Dyson continues to effectively remove dirt and debris from your home.
Remember to handle the filters with care and avoid using detergent or harsh cleaning methods to prevent damage.
Keep your Dyson running smoothly with these simple maintenance steps.