10 Steps to Clean Your Homedics Humidifier Easily
Maintaining a clean Homedics humidifier is both a simple task and a crucial one. Imagine effortlessly keeping your living space healthy and your air quality pristine with just 10 straightforward steps.
But what if there was a way to guarantee your humidifier not only runs efficiently but also extends its lifespan? Let’s explore how these steps can elevate your home environment and your overall well-being.
Turn off and Unplug the Humidifier
Before beginning the cleaning process, it’s important to promptly turn off and unplug your Homedics humidifier to guarantee safety and prevent any potential electrical hazards. By disconnecting the power source, you’re taking an essential step in ensuring a secure environment during the cleaning process. This action not only safeguards you from potential electrical accidents but also protects the humidifier from any malfunctions that could occur if it were still connected to electricity.
Turning off the humidifier allows it to cool down completely, reducing the risk of burns or injuries while handling it for cleaning. Unplugging the unit is equally important as it eliminates the possibility of electric shock, ensuring a safe cleaning experience. These initial steps are critical in maintaining the proper functioning of your Homedics humidifier and prolonging its lifespan. Remember, always prioritize safety by turning off and unplugging the device before commencing on the cleaning process.
Disassemble the Humidifier
To properly clean your Homedics humidifier, the first step is to disassemble the unit by unplugging it and separating its components for thorough cleaning.
- Disconnect the Humidifier: Make sure the humidifier is turned off and unplugged from the power source before starting the disassembly process to avoid any electrical hazards.
- Detach the Water Tank: Remove the water tank from the base of the humidifier. This allows you to clean the tank separately and ensures no water is left behind, reducing the risk of mold or bacteria growth.
- Access the Base Components: After removing the water tank, access the base of the humidifier. This area houses important components like the nebulizer and tank cap, which require proper cleaning to maintain the unit’s functionality.
Clean the Water Tank
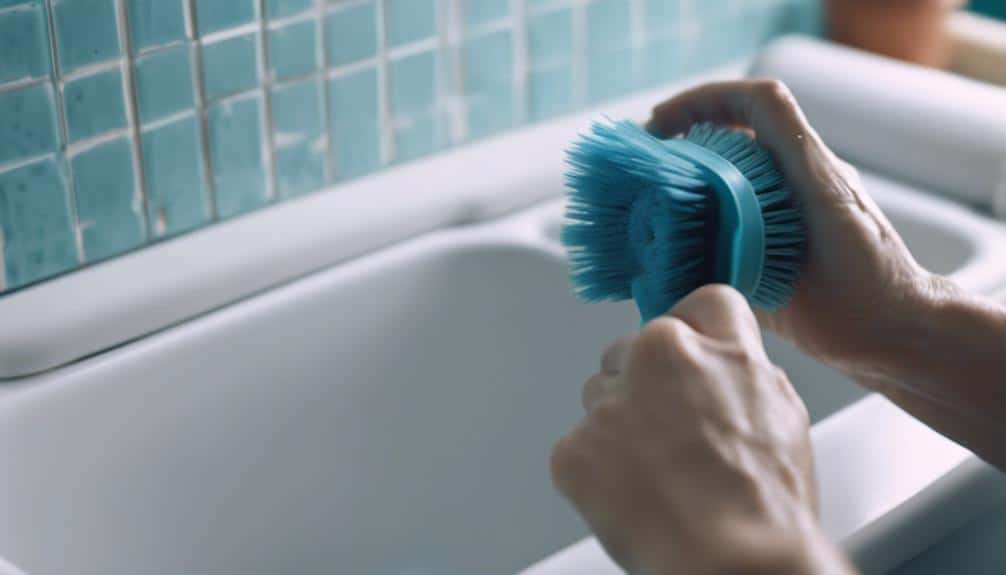
When cleaning the water tank of your Homedics humidifier, it’s important to start by emptying any remaining water from the tank and unscrewing the cap.
Once emptied, rinse the tank thoroughly using a mild detergent to remove any buildup or residue.
Make sure all soap is rinsed out completely to prevent any unwanted odors or tastes in the water used for humidifying.
Empty Water Tank
Regularly empty the water tank of your Homedics humidifier to prevent bacteria growth and maintain peak performance.
- Turn Off and Unplug: Before emptying the tank, make sure the humidifier is turned off and unplugged to avoid any electrical hazards.
- Remove Tank Carefully: Gently remove the water tank from the humidifier unit to prevent any spills or accidents.
- Empty and Rinse: Pour out any remaining water from the tank, and rinse it with clean water.
Emptying the water tank is an important step in the cleaning process, preventing the buildup of harmful substances. This simple task helps keep your humidifier running efficiently and ensures the air in your home remains fresh and healthy.
Use Mild Detergent
After emptying the water tank, the next step is to effectively clean it using a mild detergent to remove dirt, residue, and bacteria from your Homedics humidifier.
Choose a gentle detergent to make sure it effectively cleans without damaging the tank or affecting the humidifier’s performance. The cleaning solution should be mild yet powerful enough to eliminate any buildup inside the tank.
Gently scrub the interior of the tank with the detergent solution, making sure to pay attention to corners and crevices where dirt and bacteria may hide. This process helps maintain hygiene and guarantees the proper functioning of your humidifier.
Remember to thoroughly rinse the tank after cleaning to remove any soap residue that could potentially contaminate the water.
Rinse Thoroughly
To guarantee maximum cleanliness and performance, thoroughly rinse the water tanks by lifting them out of the base and emptying out any old water completely. Once you have the tanks removed, follow these steps:
- Rinse thoroughly with clean water to guarantee all residues are removed.
- Consider using white vinegar or hydrogen peroxide for enhanced cleanliness and disinfection.
- After rinsing, allow the tanks to air dry completely before reassembling them into the humidifier.
Clean the Base
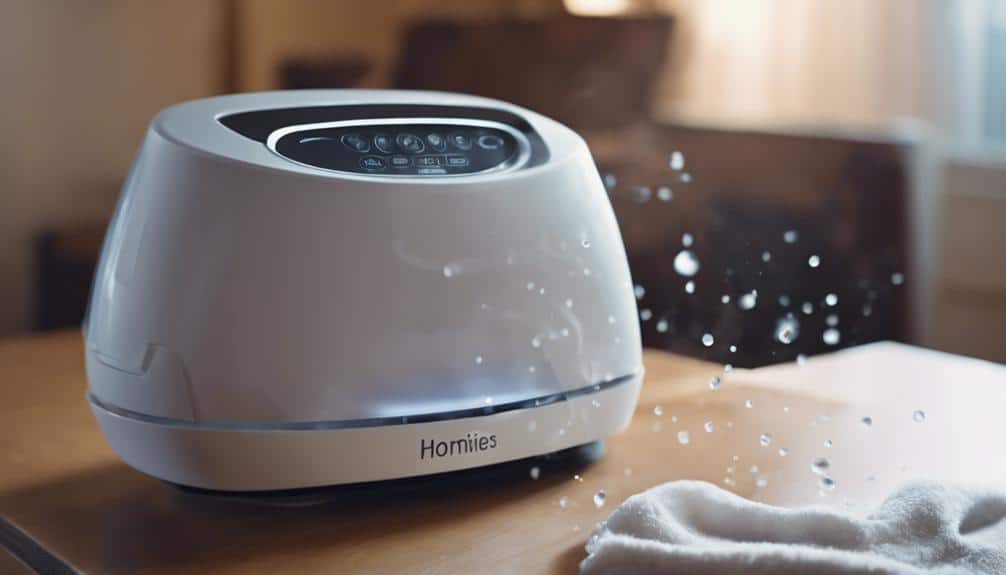
Let’s tackle the task of cleaning the base of your Homedics humidifier.
To start, we’ll remove and rinse the base to get rid of any loose particles.
Next, a vinegar soak will help break down mineral deposits and mold for easier scrubbing.
Remove and Rinse
For an effective cleaning process of your Homedics humidifier, the initial step involves removing the base as per the manufacturer’s disassembly guidelines.
- Rinse Thoroughly: Use clean water to rinse the base, removing any dirt, mineral buildup, or residue.
- Gentle Scrubbing: Employ a soft-bristle brush to gently scrub the base, ensuring all surfaces are clean.
- Air Dry: After cleaning, allow the base to air dry completely before reassembling it back to the humidifier.
Use Vinegar Soak
Submerge the base of your Homedics humidifier in a solution of distilled white vinegar to effectively loosen mineral deposits. The vinegar soak is important in breaking down stubborn buildup, making the cleaning process easier.
Make sure the entire base is immersed in the vinegar solution for the best results. Let it soak for at least 30 minutes to allow the vinegar to dissolve the mineral deposits thoroughly.
After soaking, use a soft brush to gently scrub the base and remove any remaining residue. This step is vital to guarantee that your humidifier is free from mineral deposits, which can affect its performance.
The vinegar soak is a simple yet effective method to maintain the cleanliness of your Homedics humidifier.
Scrub With Brush
To thoroughly clean the base of your Homedics humidifier, utilize a soft-bristle brush to scrub away dirt, dust, and mineral deposits, guaranteeing peak performance.
- Start by unplugging the humidifier and disassembling the base for easy access.
- Gently scrub the base with the brush, focusing on hard-to-reach areas like crevices and corners.
- Rinse the base thoroughly with clean water to remove any loosened debris and residue.
Regularly cleaning the base with a brush helps maintain a hygienic environment inside the humidifier and guarantees efficient operation. By incorporating this step into your cleaning and maintenance routine, you can prolong the life of your Homedics humidifier and enjoy clean, moisturized air.
Clean the Nebulizer/Tank Cap
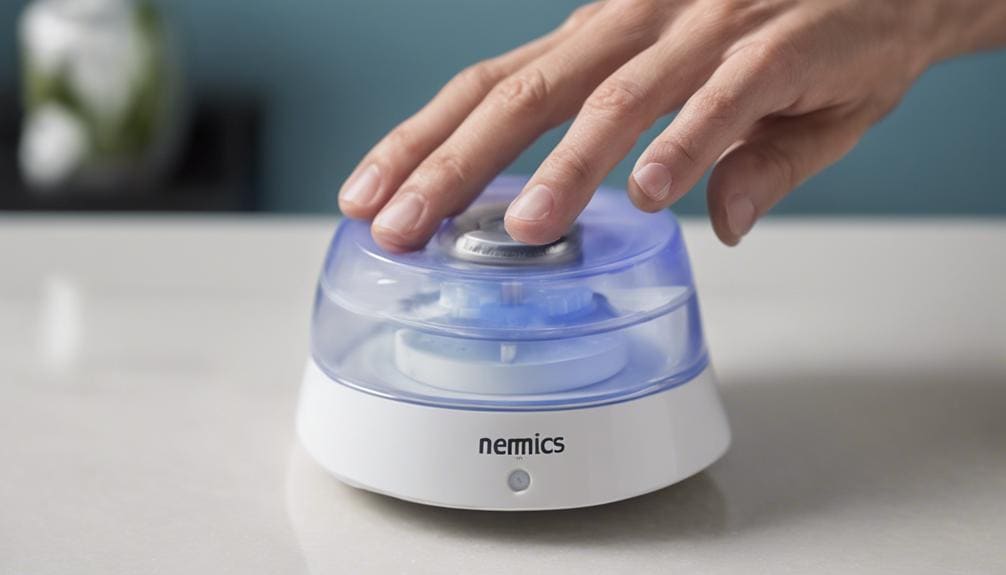
When cleaning the nebulizer/tank cap of your Homedics humidifier, make sure to remove and thoroughly clean it using a mild dish soap and warm water solution. This component is important for the proper functioning of your humidifier, so it’s necessary to maintain it regularly.
Begin by gently scrubbing the nebulizer/tank cap with a soft-bristle brush to eliminate any residue or build-up that may have accumulated over time. Once you have scrubbed it clean, rinse the nebulizer/tank cap with clean water to make sure all soap residue is removed.
After rinsing, it’s important to let the nebulizer/tank cap dry completely before reassembling it into your humidifier. Properly drying the cap helps prevent mold and bacteria growth, ensuring that your Homedics humidifier continues to operate effectively.
Rinse and Dry All Components
Let’s make sure to thoroughly rinse all the components of the Humidifier with clean water to eliminate any cleaning agents or residues. This step is important to prevent any potential contamination of the water or air during operation.
It’s necessary to air dry all the components completely before reassembly to avoid the growth of mold or bacteria in damp areas.
Thoroughly Rinse Components
We thoroughly rinse all components with clean water after cleaning to guarantee no residue or cleaning agents are left behind that could impact the humidifier’s performance.
- Use clean water: Rinse all the parts with fresh, clean water to ensure thorough removal of any remaining cleaning solution.
- Prevent residue: Thoroughly rinse all components to prevent any residue buildup that may lead to mold or mildew.
- Ensure effectiveness: Rinsing with water after cleaning ensures the humidifier functions optimally without any hindrances.
Air Dry Components
After thoroughly rinsing all components with clean water, the next step is to air dry them completely before reassembling the humidifier. Proper air drying is important to guarantee all parts are completely dry, preventing mold and bacteria growth.
To dry all components effectively, place them on a clean towel in a well-ventilated area. It’s essential to allow each piece to air dry fully to maintain the efficiency and longevity of the humidifier. Check that no moisture remains on any part before putting the humidifier back together.
Ensuring thorough air drying after components have been thoroughly rinsed is crucial for the proper maintenance of your Homedics humidifier.
Ensure All Dry
Thoroughly rinsing and drying all components of your Homedics humidifier is essential to prevent mold and bacteria growth and maintain its efficiency.
- Make sure the tank is empty before starting the rinsing process.
- Clean the interior of the tank and all other components thoroughly with water to remove any cleaning agents.
- Allow all components to air dry completely before reassembling the humidifier.
Reassemble the Humidifier
To reassemble the humidifier properly, make sure all components are securely attached in their correct positions to prevent leaks or malfunctions. Before assembling, make sure there is no residual water or cleaning solution left inside the unit. It is important to follow the manufacturer’s instructions for the precise alignment and assembly of each part. Here is a table highlighting key steps to bear in mind during the reassembly process:
| Reassembly Steps | Details |
|---|---|
| Check Components | Make sure all parts are present and undamaged before reassembly. |
| Proper Alignment | Align each component correctly as per the manufacturer’s guidelines. |
| Secure Attachment | Make sure all parts are securely attached to prevent leaks or malfunctions. |
| Double-Check Connections | Verify all connections are tight and secure before refilling the tank. |
Refill and Restart the Humidifier
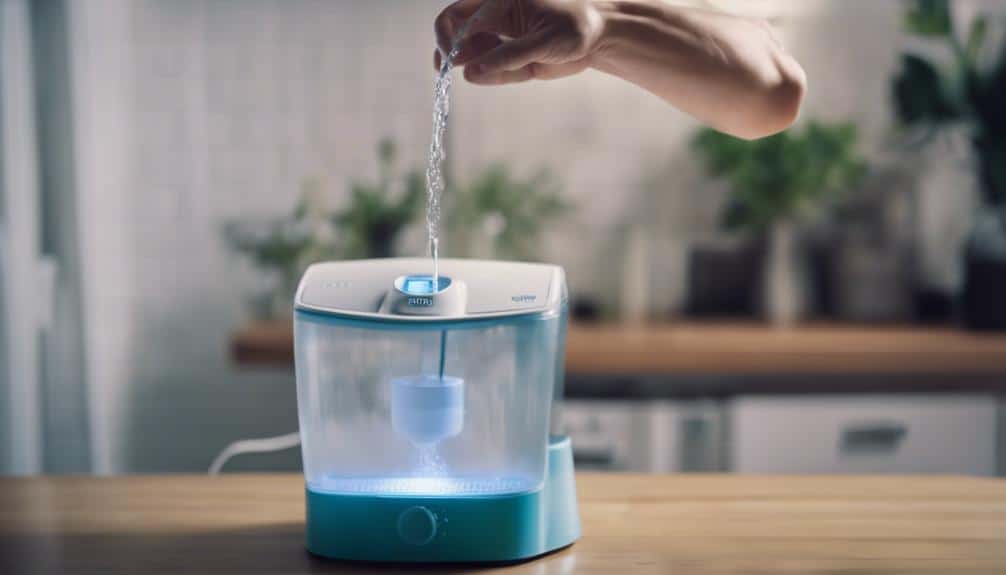
Upon completing the reassembly process of your Homedics humidifier, the next step is to refill the water tank and restart the unit to resume peak mist production.
- Refill the Water Tank: Use clean, distilled water to refill the tank up to the recommended level. Avoid using tap water or any additives that may cause mineral buildup inside the humidifier.
- Confirm Components: Before plugging the humidifier back in, verify all components are securely in place. This includes the water tank, mist nozzle, and any filters or wicks that were removed during the cleaning process.
- Restart According to Manufacturer’s Instructions: Follow the manufacturer’s guidelines to restart the humidifier properly. This may involve pressing certain buttons or allowing the unit to run for a few minutes before adjusting settings.
Use Vinegar for Extra Cleaning Power
After reassembling and restarting your Homedics humidifier, harness the cleaning power of vinegar to tackle stubborn mineral deposits effectively. Vinegar is the best way to clean your humidifier due to its natural acidity, which helps break down mineral buildup in the water tank and base.
To begin, remove the water tank and base from the humidifier. Create a solution of equal parts vinegar and water, ensuring there’s enough to fully submerge the parts. Let the tank and base soak in the vinegar solution for at least 30 minutes to dissolve the mineral deposits effectively.
After soaking, use a soft brush or cloth to gently scrub away any remaining residue. Rinse the parts thoroughly with clean water to remove any vinegar residue. Once cleaned, reassemble the humidifier and refill it with fresh water. Using vinegar regularly for cleaning not only removes mineral deposits but also prevents mold and bacteria growth, ensuring the air in your living space remains clean and healthy.
Regular Maintenance Tips
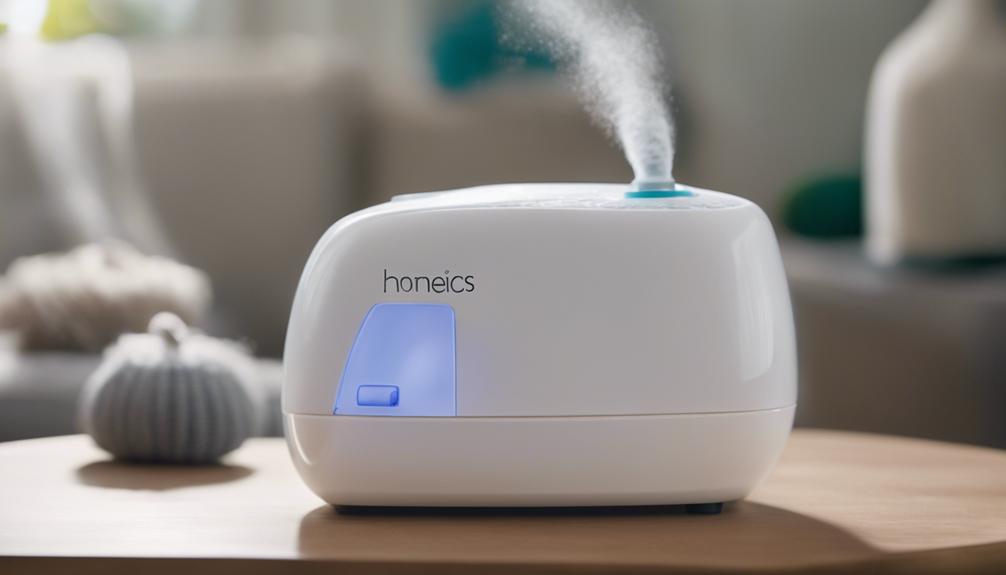
For optimal functioning, weekly maintenance of your Homedics humidifier is essential to guarantee clean and healthy air in your living space.
Here are some regular maintenance tips to keep your humidifier in top condition:
- Weekly Cleaning: Regularly clean your Homedics humidifier to prevent mineral buildup and bacterial growth. Follow the manufacturer’s instructions for proper cleaning procedures.
- Use Distilled Water: To avoid mineral deposits that can affect the performance of your humidifier, use distilled water instead of tap water. Distilled water is free of minerals that could accumulate in the machine over time.
- Consider Bacteriostatic Treatment: Incorporating a bacteriostatic treatment in your maintenance routine can help inhibit the growth of harmful organisms within the humidifier. This extra step can ensure that the air emitted by the humidifier remains clean and safe for you and your family.
Regular maintenance, including weekly cleaning, the use of distilled water, and possibly a bacteriostatic treatment, is essential for the efficient and hygienic operation of your Homedics humidifier.
Conclusion
In conclusion, following these 10 steps to clean your Homedics humidifier will guarantee peak performance and a healthier living environment. Regular maintenance is key to preventing mold and bacteria buildup, prolonging the humidifier’s lifespan, and maintaining cleaner air in your home.
Remember to use a water and vinegar mixture for effective cleaning and always thoroughly dry all components before reassembling. By taking these simple steps, you can keep your humidifier running smoothly and your air quality at its best.
