5 Easy Steps to Clean Your Honeywell Humidifier
When it comes to cleaning your Honeywell Humidifier, as the saying goes, ‘A stitch in time saves nine.’ We all know the importance of maintaining our appliances, and your humidifier is no exception.
By following these 5 straightforward steps, you can make sure that your unit functions efficiently and provides clean, healthy air for your home.
Let’s explore the first step together and uncover the secrets to effortless humidifier maintenance.
Gather Necessary Cleaning Supplies
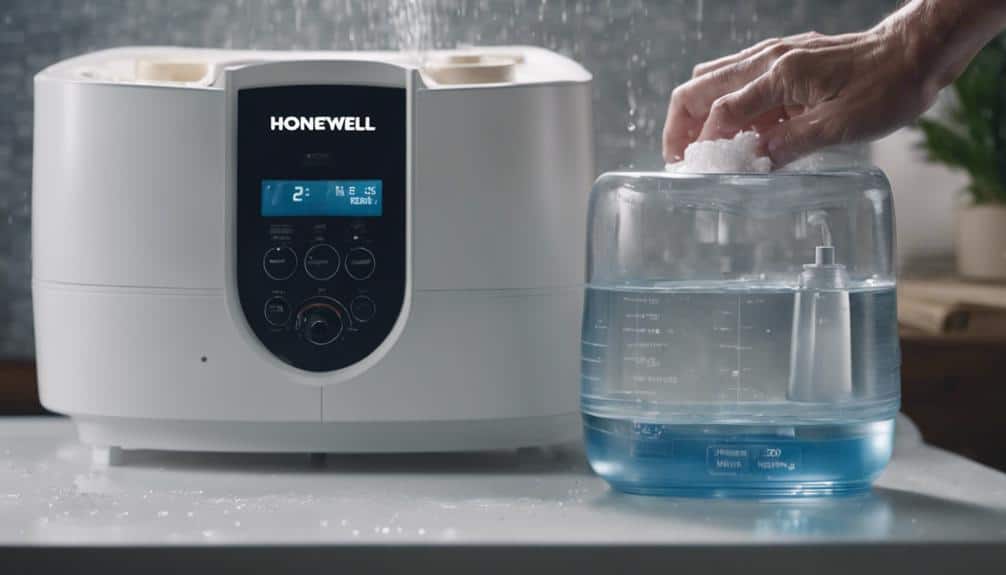
To effectively clean your Honeywell humidifier, gather the necessary cleaning supplies as listed above, ensuring you have everything on hand for a thorough and efficient cleaning process. Begin by preparing a mixture of water and distilled white vinegar, a powerful combination for combating mineral buildup in your humidifier. The white vinegar works effectively to dissolve any deposits that may have accumulated over time, ensuring best functioning of your device.
Additionally, have bleach or hydrogen peroxide ready for disinfection purposes. These agents are essential for killing any bacteria or germs present in the humidifier, promoting a healthier environment in your home. A scrubbing brush or sponge will be instrumental in reaching all the nooks and crannies of the humidifier, ensuring a deep and thorough clean. The mechanical action of scrubbing will help dislodge any stubborn dirt or residue that may be clinging to the interior surfaces.
Turn off and Unplug the Humidifier
Make sure the Honeywell humidifier is turned off and unplugged before proceeding with the cleaning process for safety and effectiveness.
Before starting the cleaning procedure, consult the user manual for specific instructions on safely turning off and unplugging your humidifier model. Ensuring the unit is powered down and disconnected from the electrical supply is vital to prevent accidents and ensure a secure cleaning environment.
Turning off the humidifier allows it to cool down, reducing the risk of burns or injuries when handling the device. Unplugging the unit is essential to eliminate any electrical hazards that may arise during the cleaning process.
This step is paramount for safe and effective cleaning to avoid any damage to the humidifier or harm to the user. By following these guidelines, you can maintain a safe and efficient cleaning routine, especially when dealing with mineral deposits or other maintenance tasks.
Disassemble and Clean the Components
Disassembling the Honeywell humidifier involves removing the water tank, essential oil tray, and any other detachable parts. To confirm a thorough cleaning process, follow these steps:
- Detach Components: Carefully remove the Humidifier Tank, essential oil tray, and any other removable parts from the main unit.
- Clean with Care: Use a mild soap or vinegar solution to clean each component, eliminating mineral deposits and residue effectively.
- Detail Cleaning: Pay close attention to crevices and corners where dirt and grime tend to accumulate, confirming a meticulous cleaning process.
- Rinse Thoroughly: After cleaning, rinse all parts with clean water to completely remove any cleaning agents before reassembling the humidifier.
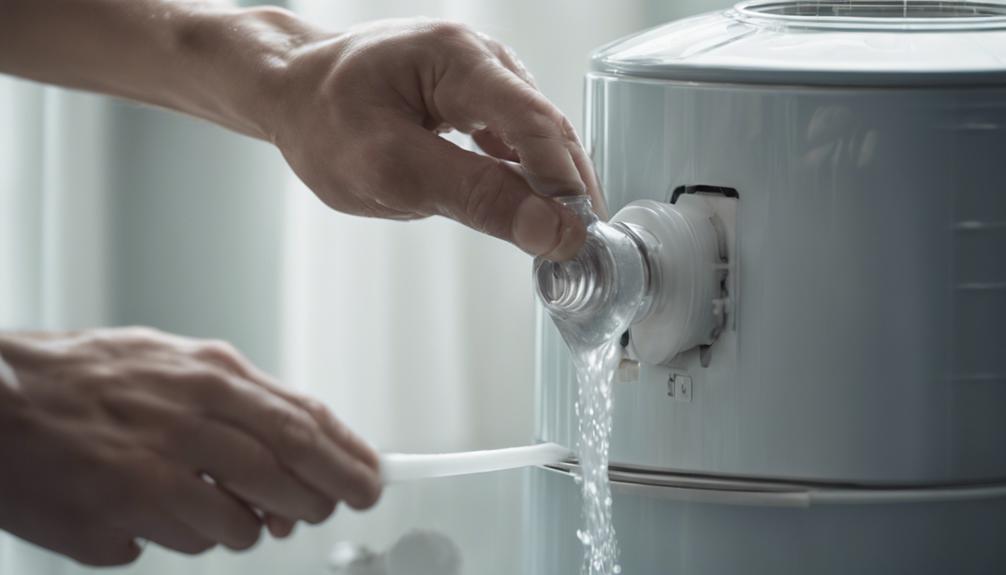
Clean the Water Tank and Base
When cleaning the water tank and base of your Honeywell humidifier, make sure you remove them from the unit before proceeding with the cleaning process. To effectively clean these components, create a mixture of water and vinegar to soak and loosen any mineral deposits. Use a brush or sponge to scrub the tank and base thoroughly, making all build-up is removed. After scrubbing, rinse both the tank and base with clean water to eliminate any remaining vinegar or debris. It is important to allow the tank and base to air dry completely before reassembling them onto the humidifier to prevent mold or mildew growth. Below is a table summarizing the key steps for cleaning the water tank and base:
| Steps | Description |
|---|---|
| Remove from humidifier | Take out the tank and base for cleaning |
| Soak in vinegar water | Create a mixture to soak and loosen mineral deposits |
| Scrub thoroughly | Use a brush or sponge to scrub the tank and base |
| Rinse with clean water | Make all vinegar and debris are rinsed off |
| Air dry completely | Let the tank and base dry fully before reassembling |
Reassemble and Restart the Humidifier
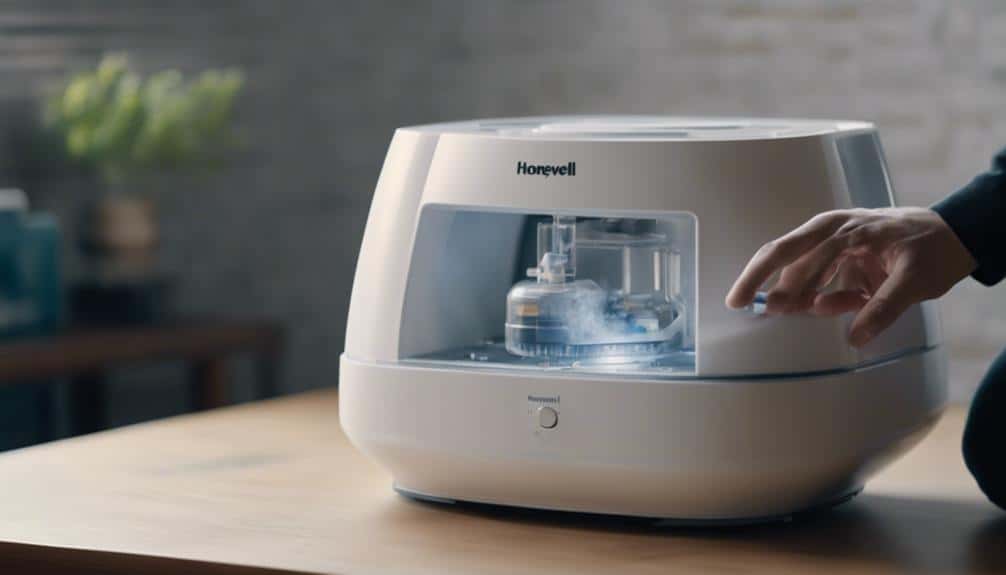
After thoroughly cleaning the water tank and base of your Honeywell humidifier, the next step is to reassemble and restart the unit. Here are the essential steps to follow:
- Reassemble the essential oil tray: Confirm the sponge is clean and properly inserted to allow for the even distribution of essential oils into the mist.
- Verify all components: Make sure all parts are securely snapped back into place after the cleaning process to prevent any leaks or malfunctions.
- Restart the humidifier: Turn on the unit and run a test cycle to confirm that it’s functioning correctly, producing a clean and healthy mist.
- Check for residual smells: After cleaning and restarting the humidifier, check for any lingering odors or signs of contamination to guarantee the unit is operating at its best.
Conclusion
To conclude, following these 5 easy steps to clean your Honeywell Humidifier will ensure top performance and longevity of your device. Regular maintenance is key to preventing mineral buildup, residue, and lingering smells.
By properly cleaning and maintaining your humidifier, you can enjoy clean and comfortable air in your home. Remember to always follow the manufacturer’s instructions for best results.