10 Steps to Install a Bathroom Fan Where One Does Not Exist
Let’s shed some light on transforming a stagnant bathroom into a breeze with the installation of a new fan.
From selecting the right tools to moving through the intricacies of wiring, each step in this process plays a vital role in ensuring a job well done.
As we move through the ten essential steps, we’ll uncover key insights that could make all the difference in the final result.
So, are you ready to upgrade your bathroom environment with a newfound sense of functionality and comfort?
Gather Necessary Tools and Materials
Before beginning the installation process, it’s important to gather all the necessary tools and materials required for installing a bathroom fan properly. Key tools include a screwdriver for removing the old fan, a circuit tester to ensure safety, a jab saw for cutting drywall, a reciprocating saw for larger cuts, and materials for patching drywall. Additionally, you’ll need the new bathroom exhaust fan, foil duct tape for sealing connections, screws for securing the fan in place, and spackling compound for finishing touches.
Ensuring that you have the correct size and type of fan for your bathroom is crucial to match the existing space effectively. By gathering all the essential tools and materials before starting the installation, you can streamline the process and avoid delays. Having everything ready not only makes the installation smoother but also ensures an efficient and successful outcome. Remember, preparation is key to a hassle-free installation of your new bathroom exhaust fan.
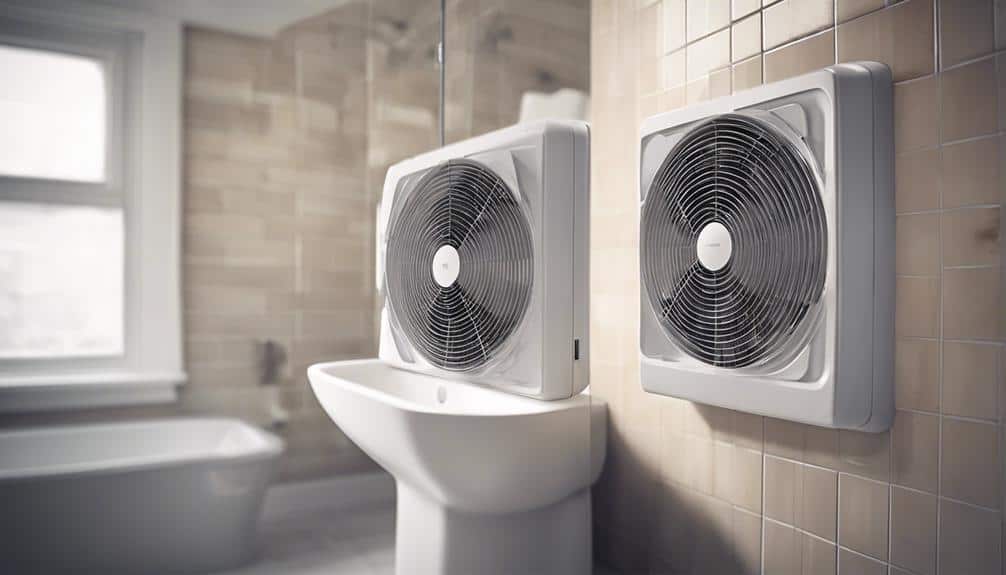
Determine Ideal Fan Size
To determine the ideal size for your bathroom fan, calculate the required CFM based on the bathroom size and fixtures. For bathrooms up to 100 square feet, a general rule of thumb is to aim for 1 CFM per square foot. However, for larger bathrooms or ones with additional moisture sources like a shower or bathtub, opting for a fan with a higher CFM rating is recommended. Evaluating the noise level of the fan, measured in sones, is also important to make sure a quieter operation. When selecting a fan size, choose one that meets or exceeds the calculated CFM requirement for effective ventilation.
| Bathroom Size (sq ft) | Required CFM |
|---|---|
| Up to 100 | 100 CFM |
| 100-200 | 1.5 x Bathroom Square Footage |
| 200+ | 2 x Bathroom Square Footage |
Turn Off Power Breaker
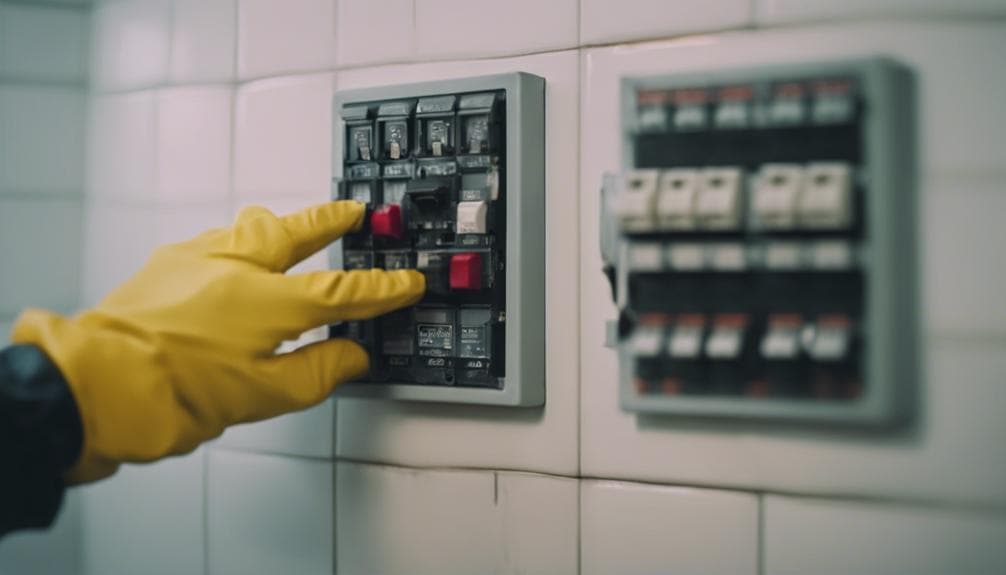
Before beginning the installation of a bathroom fan, the power breaker should be turned off to prevent electrical mishaps.
It’s essential to use a circuit tester to verify that the power to the existing fan has been successfully shut down.
Ensuring the power breaker is off is a fundamental safety measure to avoid any accidents when working on the bathroom fan.
Power Breaker Safety
Guaranteeing the power breaker is turned off before starting the installation process is important to prevent electrical accidents and maintain a safe working environment. Using a circuit tester is essential to confirm that the power is completely off before working on the bathroom fan.
It’s important to make sure the power breaker is switched off to safely disconnect and connect electrical components. Double-checking the power breaker status is a key safety measure before handling any wiring to avoid shocks. Always verify that the power breaker is off to eliminate the risk of injury or damage while working on the bathroom fan.
Taking these precautions ensures a secure environment for installing the new bathroom fan without any electrical mishaps.
Electrical Circuit Shutdown
Turning off the power breaker that supplies electricity to the bathroom fan is the initial step to guarantee safety during the installation process. When dealing with electrical circuits, safety should always be the top priority.
Here are some important steps to confirm a safe environment:
- Turn Off the Electrical Breaker: Locate the breaker that controls the bathroom fan and switch it off.
- Use a Circuit Tester: Verify that the power is indeed off before proceeding with any work.
- Prevent Accidents: Shutting down the power prevents potential shocks or mishaps.
- Double-Check the Power: Always verify that the power is off before starting any electrical work to maintain safety throughout the installation process.
Prioritizing safety by following these steps will help create a secure environment during the installation of the bathroom fan.
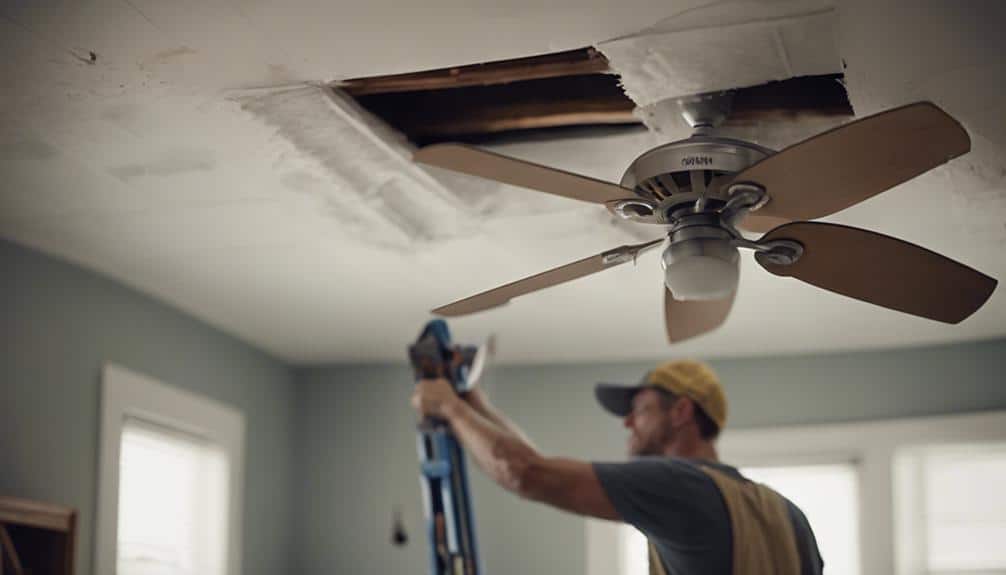
Remove Existing Exhaust Fan
To safely remove the existing exhaust fan, carefully disconnect the electrical wiring and exhaust duct before unscrewing the old fan housing from the ceiling. Start by turning off the power to the existing exhaust fan at the circuit breaker. Next, use a voltage tester to make certain the wires aren’t live. Once confirmed, detach the wires from the fan by unscrewing the wire nuts and separating the connections. Remember to label the wires to make reconnection easier later on.
After disconnecting the wiring, proceed to remove the exhaust duct by loosening the clamps or screws that hold it in place. Be cautious not to damage the ductwork during this process. Finally, using a screwdriver, carefully unscrew the fan housing from the ceiling. Make sure all screws are removed before lowering the fan housing down.
Disconnect Old Fan Wires
When disconnecting the old fan wires, first make sure that the electrical breaker is switched off to prevent any accidents. Here’s how to safely disconnect the old fan wires:
- Turn Off Power: Switch off the electrical breaker to cut power to the old bathroom fan.
- Test for Electricity: Use a circuit tester to verify there’s no electricity flowing through the wires.
- Detach Electrical Connections: Carefully remove the electrical connections from the old fan, adhering to color codes for proper reconnection.
- Label Wiring Configuration: Label the wires or take a photo of the wiring setup to aid in the installation of the new fan.
Before proceeding, it’s important to safely separate the exhaust duct from the old fan. By following these steps, you’ll be ready to install a new ventilation system efficiently and safely.
Adjust Ceiling Hole Size
To adjust the size of the ceiling hole for the new bathroom fan installation, accurately measure the diameter of the fan housing for a precise fit. When the existing ceiling hole is smaller than the new fan housing, use a jab saw to carefully enlarge it. Make sure to enlarge the hole evenly to guarantee a secure fit for the new fan housing.
After enlarging the hole, it’s essential to smooth out the edges to provide a clean and snug fit for the fan. This step is critical to prevent any gaps or instability in the installation.
Attach Duct for New Fan
After adjusting the size of the ceiling hole for the new bathroom fan, the next step is to securely attach the duct to the exhaust port of the fan using foil duct tape.
When attaching the duct for the new fan, make sure to follow these essential steps:
- Confirm Duct Size: Verify the duct is the correct size for the fan’s exhaust port to optimize airflow efficiency.
- Use Duct Tape: Seal any gaps or joints in the duct with duct tape to prevent air leakage and ensure proper ventilation.
- Secure Connection: Use foil duct tape to firmly attach the duct to the exhaust port of the fan, creating a tight and secure connection.
- Ventilation Direction: Position the duct to vent the humid air outside the home to prevent moisture-related issues and maintain a healthy environment.
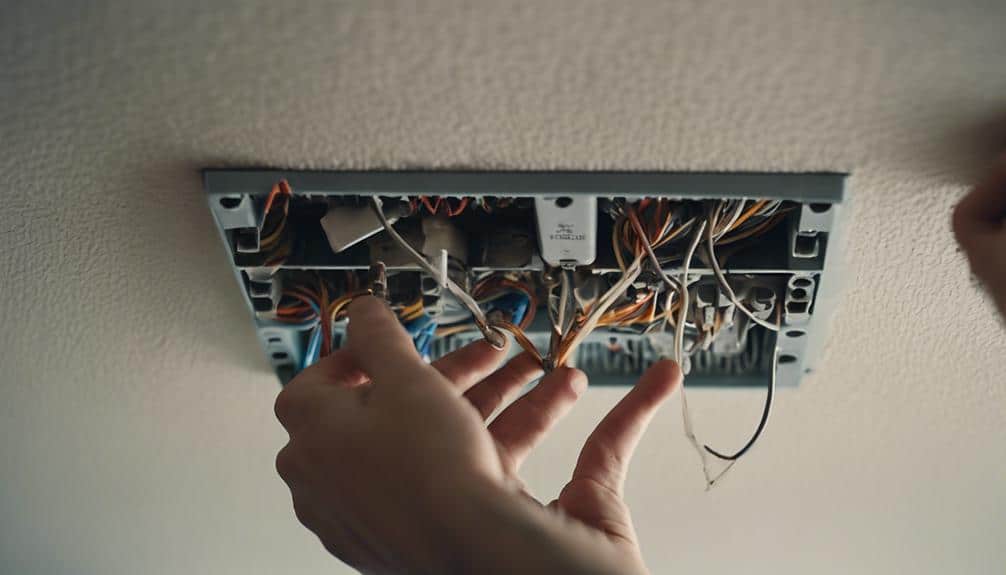
Connect Electrical Wiring
To connect the electrical wiring for the new bathroom fan installation, locate the power source and run the necessary wiring to the fan’s designated location. Make sure the power source is turned off before starting any electrical work.
Identify a nearby power outlet or connect to an existing light fixture circuit in the bathroom. When running the wiring, be mindful of ceiling joists to secure the wires properly and prevent any hazards.
Use appropriate electrical connectors to make secure and reliable connections between the power source, the fan, and any switches. It’s critical to follow local building codes and regulations when working on electrical installations to guarantee safety and compliance.
Test the connections using a voltage tester to confirm that the wiring is correctly set up before securing it in place. By following these steps diligently and attentively, you can safely and effectively connect the electrical wiring for your new bathroom fan.
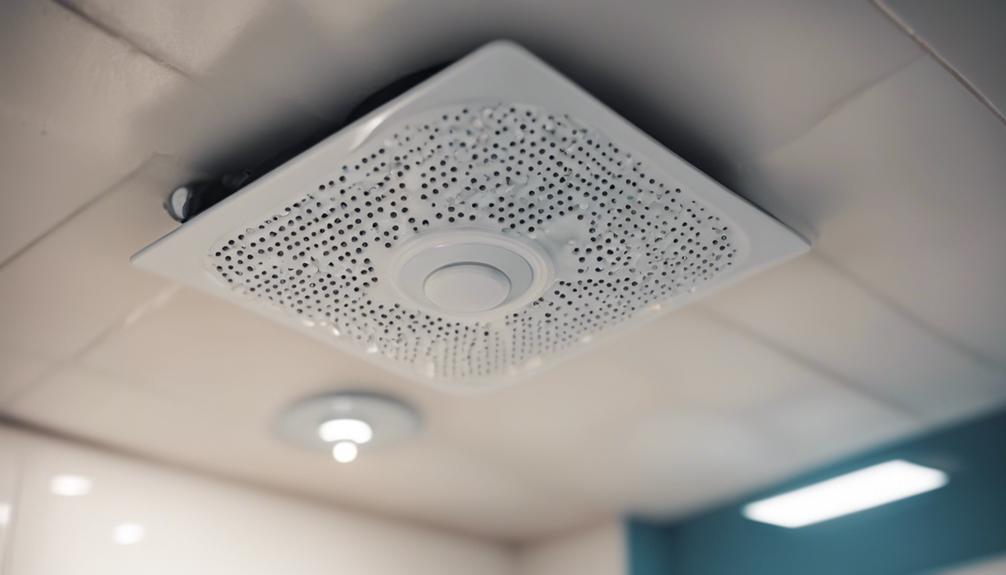
Position Fan in Housing
When positioning the fan in the housing,
it’s important to make sure it’s centered for best airflow distribution.
We must firmly place the fan to prevent any potential vibrations or noise while it operates.
It’s key to align the fan snugly in the housing
to guarantee efficient ventilation in the bathroom.
Fan Alignment Tips
Properly aligning the bathroom fan within the housing is important for best airflow efficiency and smooth operation. When positioning the fan, consider the following tips:
- Fan Blades: Confirm the fan blades are correctly placed in the housing to optimize airflow and extraction.
- Motor Shaft: Align the motor shaft properly with the fan blades to prevent any potential vibration or noise disturbances.
- Housing Installation: Verify that the fan is securely mounted within the housing to prevent any unbalanced operation.
- Central Positioning: Position the fan in the center of the housing to guarantee an even distribution of air extraction throughout the space.
Securing Fan in Place
Securing the bathroom fan in the housing is essential for ensuring proper ventilation and efficient operation. To position the fan securely, align it correctly within the housing to prevent air leaks and guarantee top performance. Centering and leveling the fan within the housing is critical for its effective functioning. Secure the fan in place using screws or brackets to avoid any movement or vibrations during operation. Ensuring the fan is securely fastened will contribute to its longevity and reliable performance. The table below summarizes the key steps to follow when securing the fan in place:
| Steps to Secure Fan in Place |
|---|
| Position fan securely |
| Align fan correctly |
| Center fan within housing |
| Secure fan with screws/brackets |
Wiring Connections Done
To guarantee the bathroom fan is accurately positioned within the housing after finishing the wiring connections, align the mounting holes of the fan with the corresponding holes in the housing for a secure installation.
Here are some key steps to make certain the fan is positioned correctly:
- Securely fasten the fan with appropriate mounting screws to prevent any movement.
- Double-check the alignment of the fan wires with the electrical connections to avoid any loose connections.
- Make sure the fan is centered within the housing to maintain proper balance and prevent operational issues.
- Verify that the fan is level and not tilted to promote efficient airflow within the ventilation system.
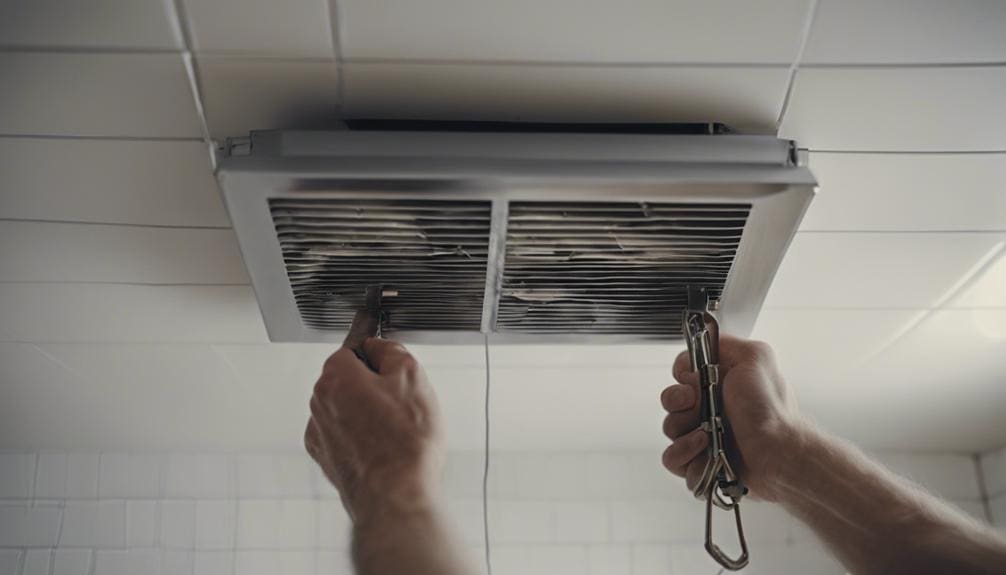
Secure Fan in Place
How can we guarantee the fan unit is securely attached to the ceiling joists?
To ensure the fan enclosure is properly secured, we need to use screws to attach it firmly to the joists in the ceiling. It’s important to maintain an insulation gap between the fan unit and any insulation present to prevent potential overheating issues. Blocking off the fan from insulation can be achieved by using wood pieces that are securely fastened with screws, effectively creating a barrier. This step is essential in ensuring the fan’s performance and longevity.
Properly securing the fan in place is crucial to prevent any movement or instability that could arise over time. Following the manufacturer’s instructions for securing the fan is highly recommended as it guarantees optimal performance and safety. By adhering to these guidelines, we can ensure that the fan is securely in place and functions efficiently.
Conclusion
To sum up, by following these 10 steps to install a bathroom fan where one doesn’t exist, you can guarantee a successful outcome.
Remember to prioritize safety, choose the right fan size, and test the fan after installation.
With the right tools and materials, careful planning, and attention to detail, you can enjoy a properly functioning bathroom exhaust fan for improved ventilation and air quality in your home.