7 Steps to Make Your Own Cooler at Home
As we were looking for ways to keep our beverages cold during our outdoor gatherings, we stumbled upon a fascinating DIY project that piqued our interest. Constructing your own cooler at home offers not only a sense of accomplishment but also a practical solution for maintaining chilled drinks.
By following these 7 methodical steps, we discovered a newfound appreciation for craftsmanship and innovation that transformed our ordinary box into a functional and customized cooler.
Gather Necessary Materials
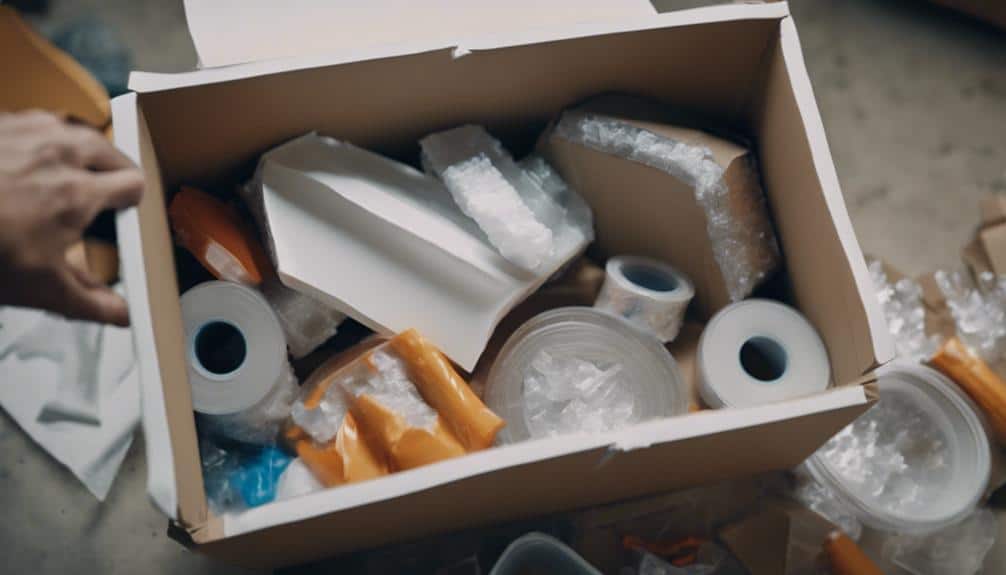
To create your own homemade cooler, we must gather essential materials for insulation and construction. For the DIY cooler project, you’ll need a sturdy cardboard box as the base. To insulate the box, gather foil, bubble wrap, and glue. The foil will help reflect heat, while the bubble wrap provides additional insulation by trapping air. Using glue, you can securely attach these materials to the interior of the cardboard box.
When selecting a cardboard box, make sure it’s large enough to accommodate your cooling needs. Consider the dimensions and the volume of items you plan to store in the cooler. Once you have the materials ready, make sure you also have scissors or a utility knife for cutting the box to the desired size.
Measure and Cut Insulation
Let’s make sure we choose the appropriate insulation thickness by measuring the dimensions of our cooler accurately.
Using a ruler or measuring tape, we can make precise cuts in the insulation material to fit snugly inside the cooler.
Double-checking our measurements before cutting will help us avoid errors and guarantee the best insulation coverage for all sides and the lid of the cooler.
Choose Appropriate Insulation Thickness
With precision and accuracy, measure the dimensions of your box to determine the required insulation thickness for best cooling efficiency. An insulation thickness of at least 6 inches is recommended to guarantee the most efficient cooling performance.
Cut the insulation material, whether it be foam board or bubble wrap, to fit securely inside the box. Precise trimming is essential to prevent gaps that could lead to air leaks. Double-check your measurements to guarantee a tight and secure fit for the insulation within the cooler.
Adequate insulation thickness plays a critical role in maintaining the desired temperature inside the cooler, so take the time to ensure a proper fit for efficient cooling.
Cut Insulation to Size
For precise insulation in your homemade cooler, accurately measure the interior dimensions and cut the insulation material to fit snugly inside.
- Measure the dimensions of the cooler interior accurately to determine the required insulation size.
- Use a sharp utility knife or scissors to cut the insulation material to fit snugly inside the cooler.
- Guarantee precise cutting to prevent gaps or air leaks that could reduce the cooling efficiency.
- Cut the insulation material slightly larger than needed for a tight and secure fit inside the cooler.
Assemble Cooler Box

Select a lidded container or box that accommodates your cooling requirements adequately. To assemble your homemade cooler, you will need to take into account the size needed for the items you plan to keep cool. Once you have the container ready, line the inside with insulating materials such as foil, bubble wrap, or fabric to help maintain the desired temperature. Ensuring a tight seal is essential to prevent heat exchange, so consider using foil or additional insulation to seal any gaps. To enhance insulation, create a gap within the box where you can insert foam insulation for best cooling efficiency. Customizing the cooler size and materials based on your specific needs will further improve its effectiveness as a DIY air conditioner.
| Insulating Materials | Tight Seal | Foam Insulation |
|---|---|---|
| Foil | Yes | Yes |
| Bubble Wrap | Yes | Yes |
| Fabric | Yes | Yes |
Attach Lid and Hinges
To attach the lid and hinges securely to the homemade cooler, align the hinges evenly on both sides of the container and fasten them with durable screws or bolts to guarantee stability. Here are some essential steps to make certain a successful attachment:
- Position Hinges Evenly: Place the hinges on both sides of the box in a symmetrical manner to distribute the weight of the lid evenly and provide balanced support.
- Select Durable Fasteners: Choose high-quality screws or bolts that are capable of withstanding the weight of the lid and the contents of the cooler. This will prevent any mishaps due to weak fastening.
- Secure Attachment: Fasten the hinges securely to the lid and the box using the chosen fasteners. Make certain they’re tightly in place to avoid any wobbling or loosening over time.
- Perform Operational Test: Before proceeding further, test the lid and hinges to confirm smooth operation. Open and close the lid multiple times to check for any issues and make adjustments if necessary.
Install Insulation
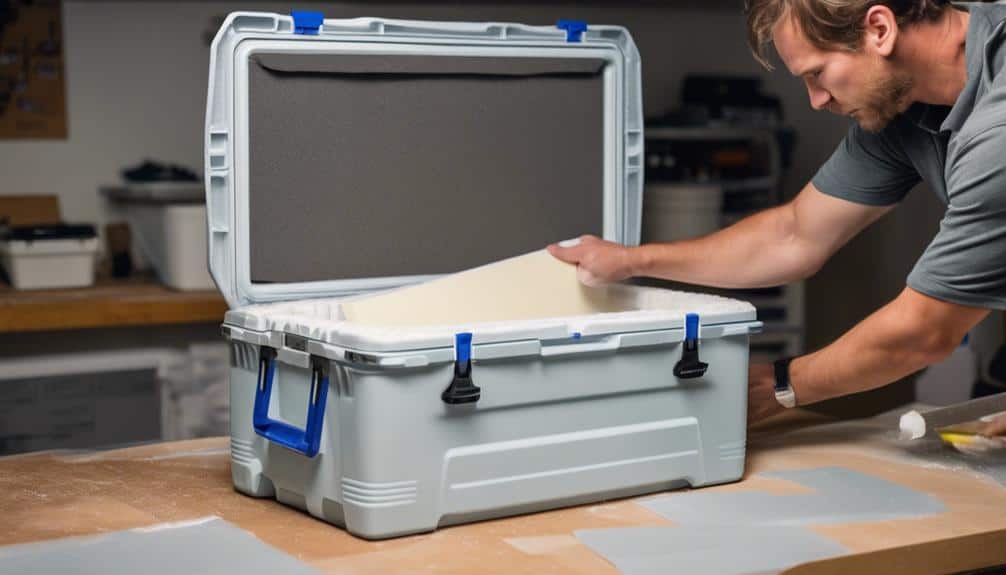
When insulating your homemade cooler, consider utilizing reflective bubble wrap or mylar blankets for best thermal efficiency. These materials effectively reflect heat, helping to maintain the internal temperature of your cooler.
For enhanced cooling properties, you can experiment with alternatives like foam board or recycled denim. Assure a snug fit of the insulation material inside the cooler to prevent any air leakage that could compromise its efficiency.
Opting for vacuum-sealed bags or wool provides compact and eco-friendly insulation options, ideal for smaller coolers. To take your insulation a step further, glue the inner foam box with a gap between panels and fill it with vermiculite.
This added layer of insulation will help trap cold air inside the cooler for longer periods. By carefully selecting and installing the right insulation materials, you can improve the cooling performance of your DIY cooler significantly.
Seal Edges and Gaps
When sealing edges and gaps in your DIY cooler, it’s important to use silicone caulk to prevent any air leakage.
This step guarantees a tight seal that maintains the cooler’s insulation properties effectively.
Weatherproofing Techniques
Sealing edges and gaps using silicone caulk is a fundamental step in weatherproofing techniques for maximizing insulation in your homemade cooler. To ensure effective weatherproofing, follow these steps:
- Seal edges with silicone caulk to prevent air and water infiltration.
- Use weatherstripping tape to enhance insulation by sealing edges securely.
- Apply adhesive foam strips to fill gaps and create airtight seals for improved insulation.
- Weatherproof seams with waterproof sealant to protect against moisture and maintain the cooler’s insulation properties.
Materials for Sealing
For sealing edges and gaps in your homemade cooler, consider utilizing a combination of aluminum foil, foil tape, weather-stripping, foam sealant, and silicone caulk to guarantee high-quality insulation and protection against heat transfer and air leakage.
Aluminum foil is excellent for preventing heat transfer, while foil tape provides a durable and secure seal, ideal for insulated coolers. Weather-stripping ensures a tight closure, minimizing air leakage, and foam sealant helps maintain consistent temperatures by insulating any gaps. Silicone caulk is perfect for creating waterproof and airtight seals on cooler lids.
Personalize and Decorate
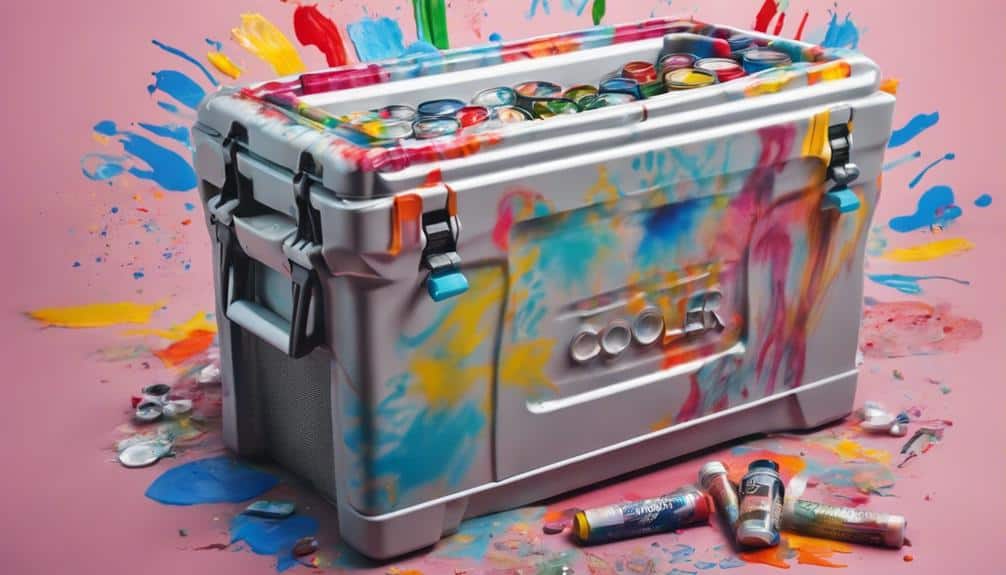
To personalize and decorate your homemade cooler, consider utilizing stickers, paint, or fabric to add a unique touch that reflects your individual style.
- Stickers: Choose stickers that resonate with your interests, whether they’re sports-related, artistic, or humorous. Make sure they’re waterproof to withstand any moisture.
- Paint: Use waterproof paint to create intricate designs, patterns, or even scenery on your cooler. Let your creativity shine by incorporating colors that speak to you.
- Fabric: Apply fabric patches or glue fabric onto your cooler for a textured look. This method allows for endless customization options, from floral patterns to geometric designs.
- Monogram or Waterproof Markers: Add a monogram or your initials using waterproof markers for a personalized touch. These markers are great for writing messages or labeling different compartments on the cooler.
Enhance the aesthetic appeal of your cooler further by decorating with colorful duct tape or attaching patches, pins, or keychains that showcase your unique style.
Conclusion
To sum up, by following these 7 steps, you can create a personalized and efficient cooler right at home. From gathering materials to adding insulation and sealing gaps, each step contributes to the overall functionality and effectiveness of your homemade cooler.
By customizing with personal touches and decorations, you can’t only enjoy the practicality of your cooler but also showcase your creativity and innovation. Create a cooler that’s both practical and stylish with these simple steps.