10 Steps to Recharge Your Window Air Conditioner Efficiently
Have you ever wondered if your window air conditioner could be running more efficiently?
We’ve all faced the frustration of a unit that just doesn’t seem to cool as well as it should. But fear not, as there are steps you can take to potentially recharge it and bring back its cooling power.
By following these 10 steps, you might be able to breathe new life into your window AC unit and enjoy a cooler, more comfortable space.
Check Air Conditioner Performance
To assess the efficiency of your window air conditioner, we must first evaluate its performance indicators such as airflow, cooling effectiveness, and potential refrigerant levels. When checking the AC unit’s performance, it’s essential to measure the temperature of the air coming out of the window AC and compare it to the room temperature to gauge cooling efficiency.
Reduced airflow or weak cooling performance could be signs of low refrigerant levels, impacting the AC’s ability to cool effectively. Inspecting for ice buildup on the coils is important as it can indicate refrigerant issues that affect performance.
Additionally, listening for unusual noises like hissing or bubbling is important, as these could signal a refrigerant leak, further compromising the air conditioner’s efficiency. By being vigilant about these factors, you can guarantee that your window AC is operating at its best level, providing you with the comfort and cooling you need.
Gather Necessary Supplies
Before commencing the recharge process for your window AC unit, make sure you have gathered all necessary supplies. It’s important to have protective eyeglasses and gloves to shield yourself from potential contact with refrigerant, preventing any harm during the recharge.
A leak detector is a valuable tool to identify any leaks in the system before adding more refrigerant. Additionally, having a screwdriver on hand is essential for accessing components of the unit to facilitate the recharge process.
Ensuring you use the correct refrigerant is important to the proper functioning of your window AC unit. Be prepared with all the required tools and safety equipment to complete the recharge efficiently and safely.
Turn off the Air Conditioner
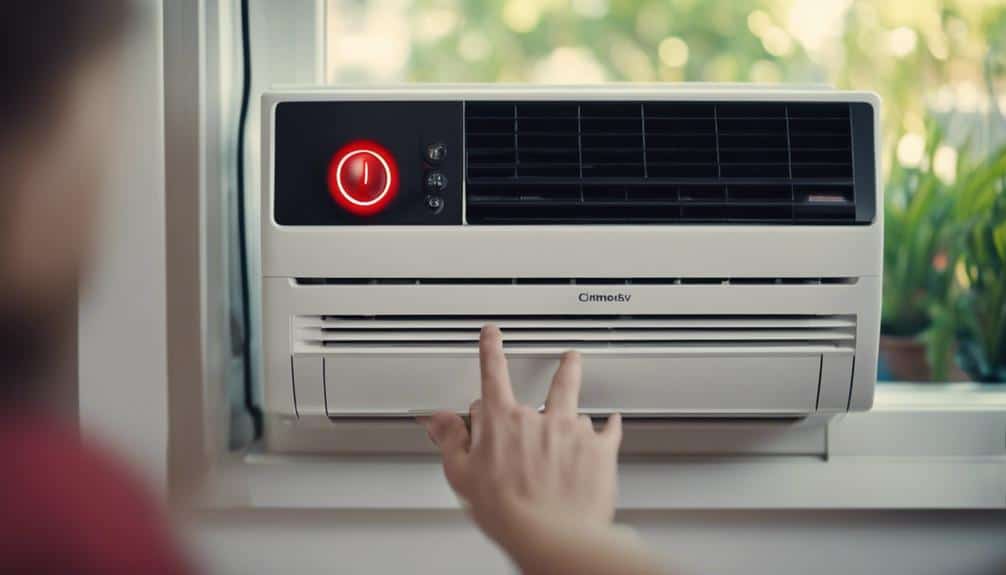
After gathering the necessary supplies, the next step in the process is to make sure the air conditioner is turned off to begin the recharge procedure for your window unit. Ensuring the unit is powered down is essential for safety and to prevent any electrical mishaps during maintenance.
Here are some essential steps to follow:
- Unplugging: Disconnect the air conditioner from the power source to eliminate the risk of accidental start-ups.
- Flipping the Circuit Breaker Off: Adding an extra layer of protection by turning off the circuit breaker associated with the AC unit.
- Confirming the Thermostat is Set to Off Mode: Preventing the system from turning on unexpectedly while you work on it.
Taking these precautionary measures not only safeguards you from potential electrical dangers but also creates a safe environment for effective maintenance. Remember, proper shutdown procedures are fundamental in any maintenance task to ensure a smooth and accident-free process.
Locate Service Valve
The service valve on a window air conditioner can typically be found on the high-pressure side of the unit. When looking to recharge your window AC unit, locating the service valve is essential. To do so, carefully inspect the back and sides of the unit, as this is where the service valve is usually situated.
The service valve plays an important role in the process of recharging your window air conditioner with Freon. It’s through this valve that you’ll attach the charging hose securely. Before doing so, it’s important to identify the high-pressure and low-pressure sides of the unit to make the correct connection.
Making sure the charging hose is properly connected to the service valve is necessary for a successful and efficient recharge. By following these steps and understanding the significance of the service valve, you can effectively recharge your window air conditioner and ensure peak performance.
Attach Charging Hose
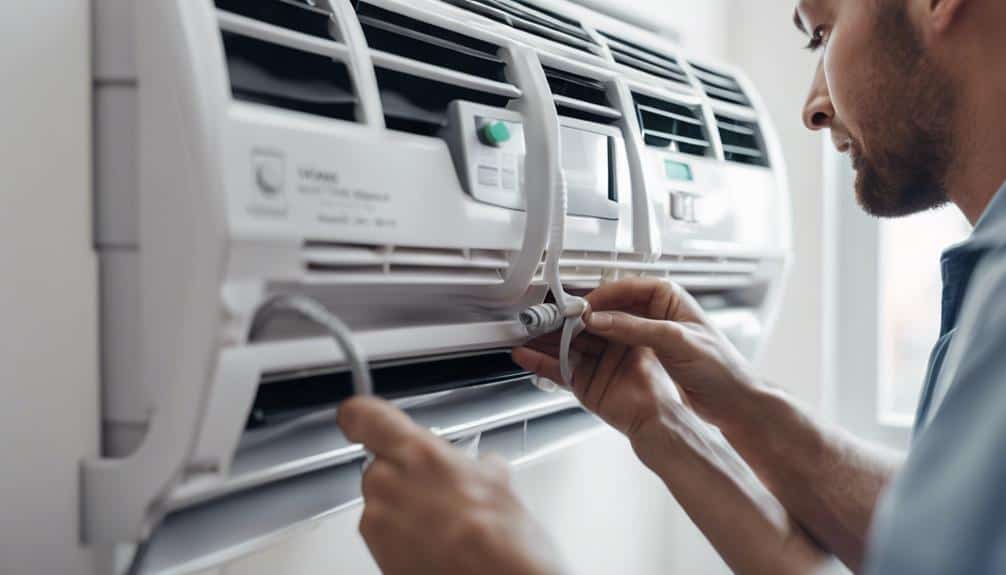
When attaching the charging hose, it’s important to check the connection and make sure it’s secure to prevent leaks.
A tight hose connection guarantees efficient refrigerant recharge and best performance.
Properly securing the hose allows for precise monitoring and adjustment of refrigerant levels during the recharge process.
Check Hose Connection
To guarantee a secure and effective attachment, carefully connect the charging hose to the service valve on your window air conditioner. Ensuring a proper connection is essential for an efficient recharge and safe refrigerant transfer. Here are some key points to keep in mind:
- Verify for any leaks or loose connections in the charging hose before starting the recharge process.
- Following the manufacturer’s instructions for attaching the charging hose can prevent potential issues during the recharge.
- The charging hose connection facilitates a controlled and precise transfer of refrigerant into the AC unit, enhancing the overall effectiveness of the recharge.
Secure Hose Tightly
After ensuring the hose connection is essential, proceed to securely attach the charging hose to the service valve on your window air conditioner for a successful recharge process. When connecting the hose, make sure it is tightly fastened to prevent any potential leaks. The tight connection will guarantee efficient transfer of the refrigerant into the AC unit, helping to recharge your window air conditioner effectively. Check that the hose is securely attached by giving it a gentle tug to confirm it won’t come loose during the recharge. This step is critical to avoid any refrigerant leaks during the process, especially if your window air conditioner has been experiencing low Freon levels.
| Steps to Secure Hose Tightly | Description |
|---|---|
| Check for leaks | Make sure no refrigerant leaks are present before attaching the hose. |
| Turn and secure | Tighten the hose onto the service valve to prevent any loose connections. |
| Verify attachment | Give the hose a gentle tug to confirm it is securely fastened. |
| Confirm tightness | Double-check the connection to prevent any potential leaks during the recharge. |
Check Refrigerant Levels
Evaluating the window AC’s airflow and room temperature allows us to gauge its cooling efficiency and determine if the refrigerant levels are low. To check the refrigerant levels effectively, we must consider various factors:
- Temperature Difference Calculation: Measure the temperature of the air entering the AC unit and the air exiting it. The variance indicates if the refrigerant levels are insufficient.
- Freon Leak Detection: Look for visible signs of refrigerant leaks, like oil spots or hissing sounds. Use a Freon detection kit for a more precise diagnosis.
- Professional Assistance: If you suspect a refrigerant leak, contact an HVAC technician to locate and repair it safely.
Recharge the System
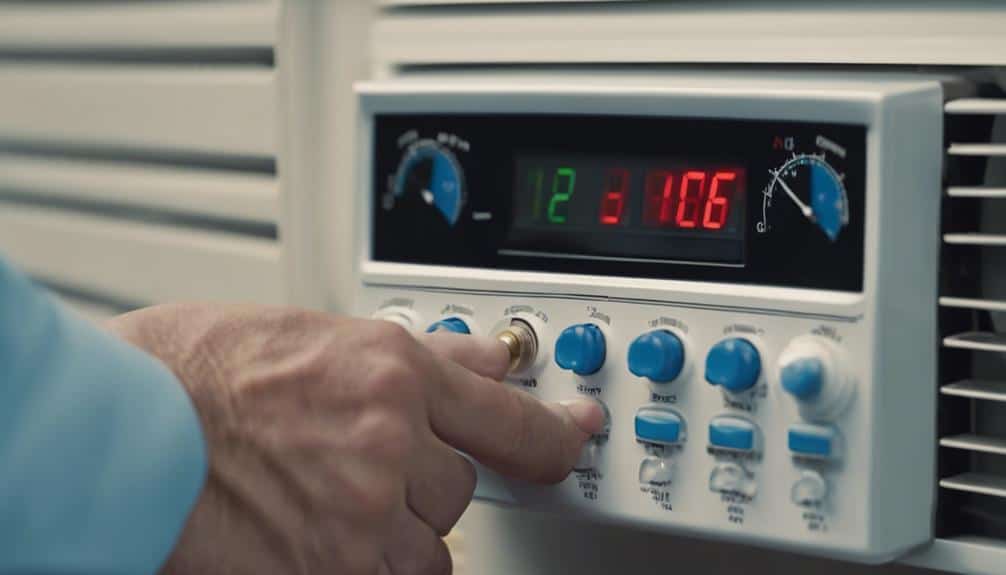
Checking refrigerant levels is essential for determining if a recharge of the system is necessary to maintain peak performance of your window air conditioner.
When recharging a window AC, it’s vital to first identify the refrigerant lines and locate the service valve. Properly connecting the refrigerant refill kit to the service valve is important for a successful recharge.
Before adding freon, make sure that the amount of freon to be added matches the manufacturer’s specifications for your unit. The proper type of freon must be used, and the Schrader valve on the service valve should be engaged to start the process. Measuring this accurately is key to preventing issues with overcharging or undercharging the system.
Necessary precautions, such as wearing safety gear and following instructions meticulously, must be taken when recharging your window air conditioner. If unsure, it’s advisable to seek the assistance of a licensed HVAC professional to ensure the recharge is done correctly.
Monitor Pressure Levels
When monitoring pressure levels in a window air conditioner, we utilize a pressure gauge to guarantee precise refrigerant quantities are added. This step is vital in preventing performance issues caused by either overcharging or undercharging the system.
Periodically checking pressure levels during the recharge process helps maintain peak cooling efficiency.
Check Refrigerant Levels
Monitoring pressure levels with a pressure gauge is essential to accurately assess the refrigerant levels in your window air conditioner. Observing fluctuations in pressure can indicate low refrigerant levels, necessitating a recharge for best performance. Additionally, checking the sight glass can provide valuable insights into the refrigerant status within the unit.
Proper monitoring of these levels is vital for maintaining efficiency and preventing potential cooling issues. By ensuring that the refrigerant levels are at their best point, you can enhance the overall effectiveness of your air conditioning unit. Regular maintenance and monitoring of these levels are key steps in keeping your window air conditioner operating smoothly.
Adjust Pressure Settings
To guarantee peak performance of your window air conditioner during the recharge process, precise adjustments to pressure settings are essential. Using a pressure gauge to obtain accurate readings is important for maintaining ideal pressure settings and regulating refrigerant flow within the system.
Fluctuations in pressure levels can indicate potential issues, necessitating immediate adjustments or further inspection. Proper pressure settings are crucial for ensuring efficient cooling performance and preventing damage to the AC unit.
Disconnect Charging Hose
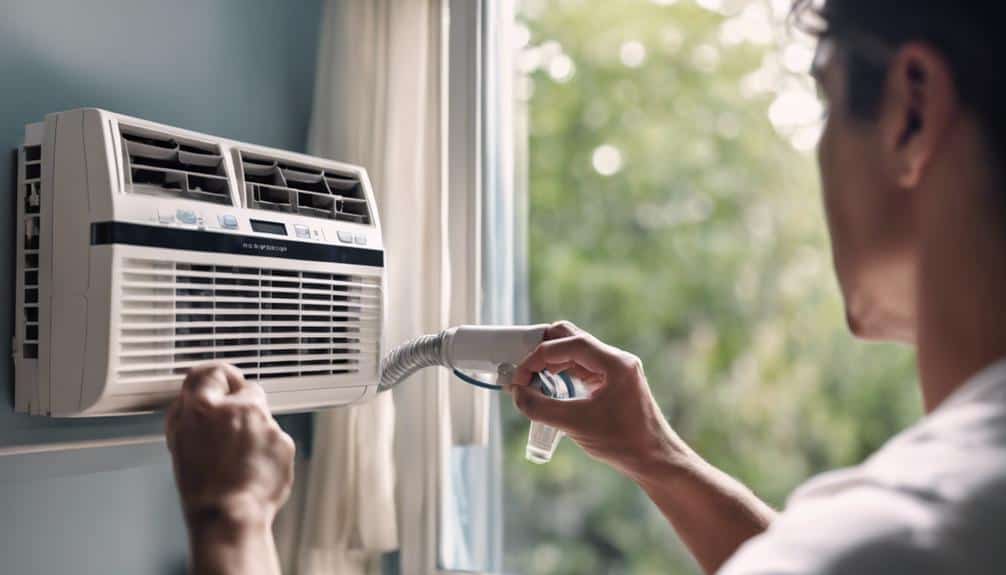
Before disconnecting the charging hose, make sure the refrigerant flow has been completely stopped to prevent leaks or spills. It’s essential to follow the manufacturer’s instructions meticulously to avoid any mishaps. Here are some key points to take into account:
- Slowly release any remaining pressure in the hose by using the appropriate method recommended by the manufacturer. This step helps prevent sudden bursts of refrigerant.
- Exercise caution when disconnecting the charging hose to avoid accidental contact with the refrigerant. Even a small leak can be harmful if not handled correctly.
- After disconnecting the hose, securely cap or seal the refrigerant canister to prevent any leaks or contamination. Following this step diligently ensures that the refrigerant remains in the system and doesn’t escape into the environment.
Test Cooling Output
We can assess the performance of the window air conditioner by measuring the temperature of the air it emits using a thermometer. By comparing this temperature to the room temperature, we can determine the cooling efficiency of the unit. A significant temperature difference indicates proper cooling output, while a minimal difference may signal low refrigerant levels. Monitoring the cooling output is important as it helps in identifying potential issues with the refrigerant and the need for a recharge. Regularly testing the cooling output guarantees that the window air conditioner is operating efficiently and effectively.
| Temperature Reading | Room Temperature | Cooling Efficiency |
|---|---|---|
| 55°F | 75°F | High |
| 70°F | 80°F | Moderate |
| 80°F | 85°F | Low |
| 60°F | 70°F | Normal |
Conclusion
After following these 10 steps to recharge your window air conditioner efficiently, you can enjoy a cooler and more comfortable indoor environment.
By checking performance, gathering supplies, locating the service valve, and recharging the system properly, you can guarantee peak cooling performance.
Remember to monitor pressure levels, disconnect the charging hose, and test the cooling output to confirm the success of the recharge process.
Stay cool and comfortable with a well-maintained window air conditioner.
