DIY Air Purifier Creation Guide
When it comes to creating an air purifier on your own, the possibilities are both practical and intriguing. We’ve all felt the impact of indoor air quality on our health, but have you considered the simplicity of crafting a solution?
Imagine the satisfaction of breathing cleaner air without breaking the bank. Join us as we explore the step-by-step process of assembling a DIY air purifier and unravel the secrets to achieving fresher indoor air.
Materials Needed
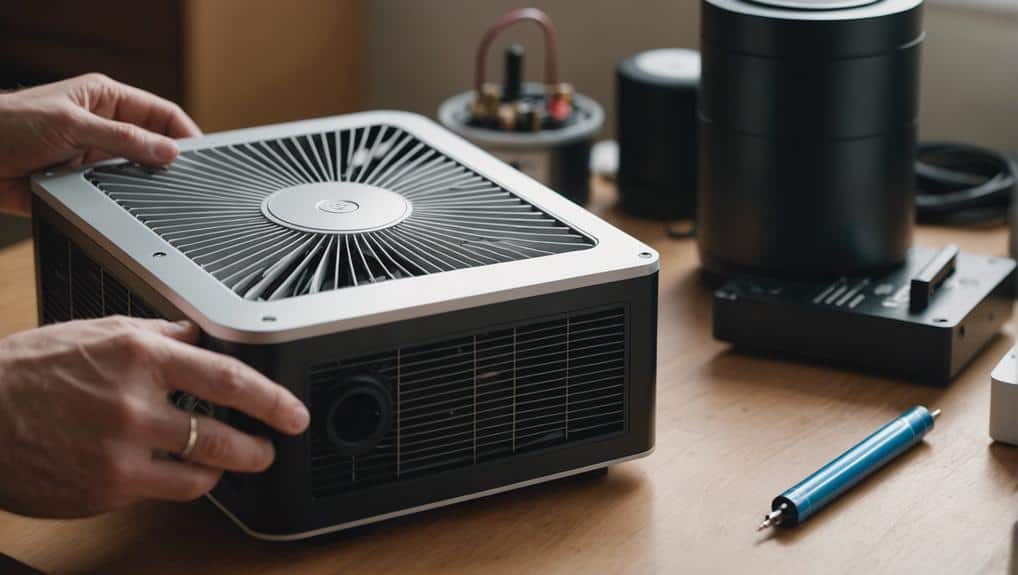
For our DIY air purifier project, we always rely on a 20×20 inch furnace filter and a 20×20 inch box fan. The combination of these two components forms the core of our air purifier system. We guarantee that the air filter we use is of the highest quality, opting for a white felt filter material with a Merv 10-12 rating. This guarantees excellent filtration efficiency, capturing a wide range of particles to improve air quality.
When setting up our DIY air purifier, we make sure to place the filter securely on the box fan using clear packing tape. This attachment is essential to prevent any air leakage and ensure that all the air passing through the fan is filtered effectively.
Additionally, we always run the fan on its highest setting to maximize air circulation and filtration. By maintaining these standards in selecting the air filter and operating the fan, we can create a reliable and efficient DIY air purifier system.
Choosing the Right Filter
When selecting the ideal filter for our DIY air purifier project, prioritize a 20×20 inch white felt filter material with a Merv 10-12 rating to guarantee maximum particle removal efficiency.
White felt filters excel in trapping smoke particles and improving air quality, making them a vital choice for our air purification needs. It’s essential to avoid blue or green nylon string filters, as they’re less effective in capturing particles, compromising the air purifier’s performance.
Ensuring the filter material is compatible with the fan size is necessary to create a snug fit for the DIY air purifier, optimizing its efficiency. By choosing the right filter, we can maximize the performance of our DIY air purifier, especially in emergency situations where clean air is paramount.
Assembling the Filter and Fan
Let’s start assembling the filter and fan by firmly attaching the furnace filter to the box fan using clear packing tape. We need to make sure there are no gaps between the filter and fan frame to prevent air leakage.
The goal is to create a sturdy and airtight assembly for maximum air purification efficiency.
Filter Attachment
Securing the furnace filter to the box fan frame with clear packing tape guarantees a snug fit for peak performance. To make sure of filter efficiency, it’s crucial to regularly maintain the filter attachment.
Check for gaps or loose areas in the attachment and reinforce with additional tape as needed to prevent air leakage. When it comes to filter replacement, opt for white felt filter material with a Merv 10-12 rating for best filtration effectiveness.
This meticulous filter attachment process plays a critical role in maximizing the DIY air purifier’s performance in particle removal. By paying attention to these details, you can take control of your air purification system and enjoy cleaner, fresher air in your space.
Fan Assembly
To complete the DIY air purifier setup, firmly attach the furnace filter to the box fan frame using clear packing tape. It’s important to make sure the tape completely seals the filter to prevent air leakage around the edges. Check for any gaps in the attachment and reinforce with additional tape as needed.
Opt for white felt filter material with a Merv 10-12 rating for best filtration effectiveness. Proper fan maintenance is essential for efficient air circulation and filtration performance. Regularly check the filter for replacement, as a clogged filter can hinder airflow and reduce purification efficiency.
With these steps, you can maintain your DIY air purifier’s effectiveness in filtering out particles and improving indoor air quality.
Securing the Filter to the Fan
Let’s make sure to attach the filter securely using clear packing tape and sturdy materials to prevent any air leakage.
It’s important to guarantee proper alignment between the filter and the fan frame for best performance.
Taking the time to seal any gaps with additional tape will help maximize the effectiveness of our DIY air purifier.
Attach Filter Securely
We recommend using clear packing tape to firmly attach a 20×20 inch furnace filter to the frame of a 20×20 inch box fan. Proper filter positioning is essential for optimizing airflow within the DIY air purifier.
When applying the tape, make sure it creates a tight seal around the edges to prevent any air leakage, which could compromise efficiency. Check meticulously for gaps between the filter and the fan frame, filling any spaces with additional tape to guarantee a secure attachment.
This meticulous approach won’t only prevent gaps but also ensure the efficiency of the air purifier. By following these steps, you can be confident that your DIY air purifier will perform effectively in removing smoke particles, providing you with cleaner air.
Use Sturdy Materials
Securing the filter to the fan frame with sturdy materials like clear packing tape guarantees a reliable attachment for high-quality filtration performance. Tape application plays an important role in ensuring attachment security and leakage prevention. By carefully applying the tape around the edges of the filter, you can prevent any gaps that might lead to air leakage.
This simple step is essential for maintaining the effectiveness of your DIY air purifier. Opting for a white felt filter material with a Merv 10-12 rating further enhances particle removal efficiency. Remember, the integrity and functionality of your air purifier depend on using proper materials and techniques, so take control by securing the filter with precision and care.
Ensure Proper Alignment
To guarantee peak performance, aligning the filter securely to the fan frame is essential for effective air purification. When securing the filter, consider airflow patterns to optimize efficiency.
Utilize clear packing tape for a tight seal, preventing air leakage. Check for gaps and reinforce with additional tape as needed. Position the filter meticulously to avoid bypassing air, enhancing overall performance.
Employ proper alignment techniques to make sure the filter is correctly positioned on the fan. Tape application is vital for sealing the filter securely in place.
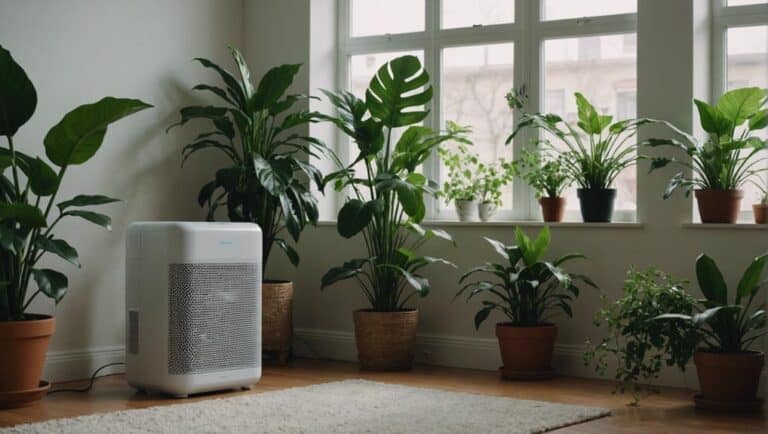
Placing the DIY Air Purifier
Positioning plays a crucial role in maximizing the efficiency of your DIY air purifier within a room. To guarantee peak air circulation and efficiency, place the purifier in a central location. Avoid positioning it close to walls or furniture, as this can obstruct airflow. Additionally, prevent potential damage to the fan by keeping the purifier away from direct sunlight or heat sources.
For improved air intake and distribution, consider placing the DIY air purifier slightly elevated. This elevation helps the purifier draw in air more effectively and distribute purified air throughout the room. Regularly assess the placement of the purifier to adjust its position based on the room layout and airflow patterns. By monitoring and optimizing the placement of your DIY air purifier, you can enhance its performance and ensure that it effectively purifies the air in your space.
Maintenance and Replacement
When maintaining your DIY air purifier, it’s essential to regularly inspect the filter for dirt and debris accumulation. Ensuring the longevity of your filter and the efficiency of your air purifier involves following a replacement schedule and implementing proper cleaning techniques.
Here are three key points to contemplate:
- Filter maintenance and longevity: Check the filter frequently and replace the filter material every 2-3 months to maintain peak performance. Keeping spare filter materials on hand can help you quickly replace them when needed.
- Replacement schedule for efficiency: Regularly replacing the filter material is vital for effective air purification. This simple step guarantees that your DIY air purifier continues to operate effectively and keeps the air in your space clean.
- Debris prevention and cleaning techniques: Clean the fan blades and housing periodically to prevent dust buildup, which can impact the purifier’s performance. Additionally, ensure proper ventilation around the air purifier to maximize its efficiency.
Benefits of DIY Air Purifier
Choosing to build your own air purifier comes with a range of benefits that include cost-effectiveness and impressive filtration capabilities. DIY air purifiers offer a cost-effective solution, providing comparable performance to high-end models by removing around 87% of smoke particles. Surprisingly, these homemade purifiers can outperform some $800 air purifiers regarding filtration while only costing about $50 to assemble, making them a budget-friendly alternative for those looking to improve indoor air quality without breaking the bank.
Moreover, DIY air purifiers can serve as an effective temporary air filtration option, particularly in emergency purification situations. While they may not offer a permanent solution, these homemade devices can be a lifesaver when faced with sudden air quality issues. Utilizing white felt filter material ensures reliable performance, allowing DIY air purifiers to deliver consistent results when you need it most.
Conclusion
To sum up, creating a DIY air purifier is a simple and cost-effective way to improve indoor air quality.
By using a furnace filter and a box fan, you can efficiently filter out pollutants and allergens from your living space.
With regular maintenance and filter replacement, you can enjoy clean and healthy air in your home.
Start making your DIY air purifier today and breathe easier tomorrow.