Step-by-Step Guide to Installing an Air Purifier in Your HVAC Vent
When it comes to enhancing the air quality in your home, installing an air purifier in your HVAC vent is a practical solution. Taking the necessary steps to guarantee proper installation can make a noticeable difference in the air you breathe every day. By following a few straightforward guidelines, you can seamlessly integrate this device into your existing system, providing cleaner and healthier air for your household. So, let’s explore how this process can be a game-changer for your indoor environment.
Turn off HVAC System
Let’s disable the HVAC system before proceeding with installing the air purifier to guarantee safety and a smooth installation process. It’s crucial to recognize that air purifiers work most efficiently when integrated into your HVAC system correctly.
By turning off the existing HVAC system, we establish a secure environment for installation, reducing the risk of electrical accidents and potential damage to the air purifier components. This step not only safeguards the installation process but also allows for a focused integration of the air purifier into the vent system without operational disruptions.
Locate Air Intake Vent
To begin the installation process effectively, identifying the air intake vent is essential for integrating the air purifier seamlessly into your HVAC system. The air intake vent serves as the entry point where your HVAC system pulls in air from your home for conditioning.
Here’s how to locate it:
- Look for a large vent cover: The air intake vent is usually accompanied by a sizable vent cover, distinguishing it from other vents in your home.
- Check near the return air duct: The air intake vent is commonly situated close to the return air duct, facilitating the flow of air throughout your HVAC system.
- Maintain cleanliness and accessibility: Keeping the air intake vent clean and unobstructed is important for efficient HVAC performance and the effective circulation of air in your home.
Remove Vent Cover
Let’s start by removing the vent cover to gain access to the ductwork. Identify the screws or clips holding the cover in place and use the appropriate tools to detach it.
Once removed, inspect the vent opening for any debris that may need cleaning before proceeding.
Accessing the Vent
Carefully unscrew the screws holding the vent cover in place to access the HVAC vent for installing the air purifier. Here’s how to access the vent efficiently:
- Use a screwdriver to remove the screws securing the vent cover.
- Gently lift the vent cover off the duct opening to reveal the HVAC vent.
- Handle the vent cover delicately to prevent any damage while taking it off.
Cleaning the Vent
Before proceeding with cleaning the vent, gently detach the vent cover using a screwdriver or the appropriate tool. Once the cover is removed, you can access the inside of the vent for cleaning and air purifier installation. It’s important to make sure the area around the vent is free of debris to maximize the performance of air purification systems and enhance indoor air quality. Cleaning the vent cover and duct opening facilitates better airflow, allowing the air purifier to effectively remove pollutants from the air. By maintaining a clean vent, you contribute to a healthier indoor environment.
| Vent Cleaning Steps | Benefits |
|---|---|
| Remove vent cover | Access for cleaning and installation |
| Clean vent interior | Improved airflow for air purification systems |
| Clear surrounding area | Optimal performance and enhanced indoor air quality |
| Maintain cleanliness | Healthier indoor environment |
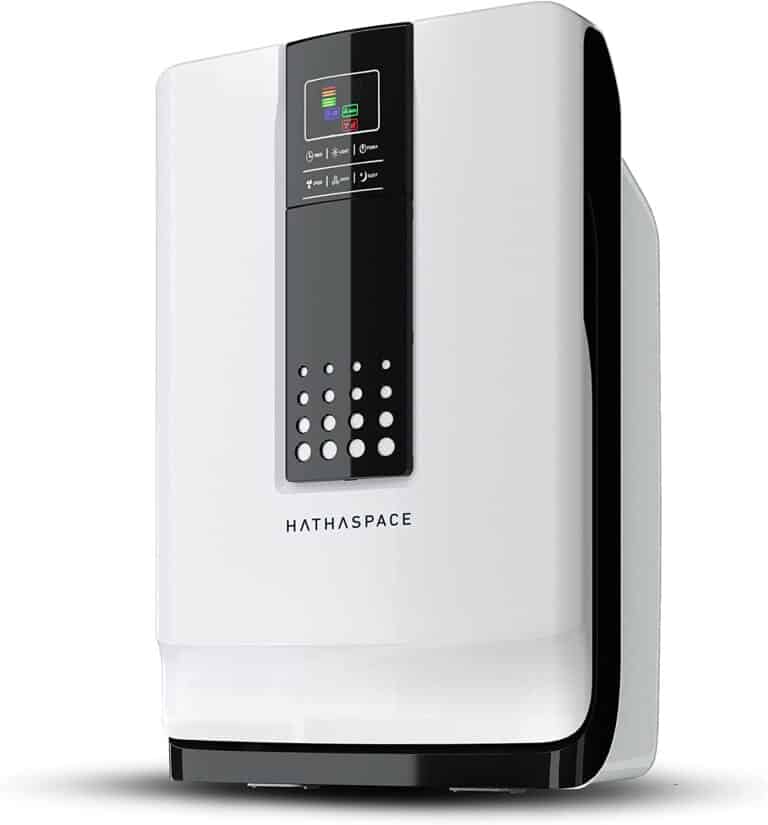
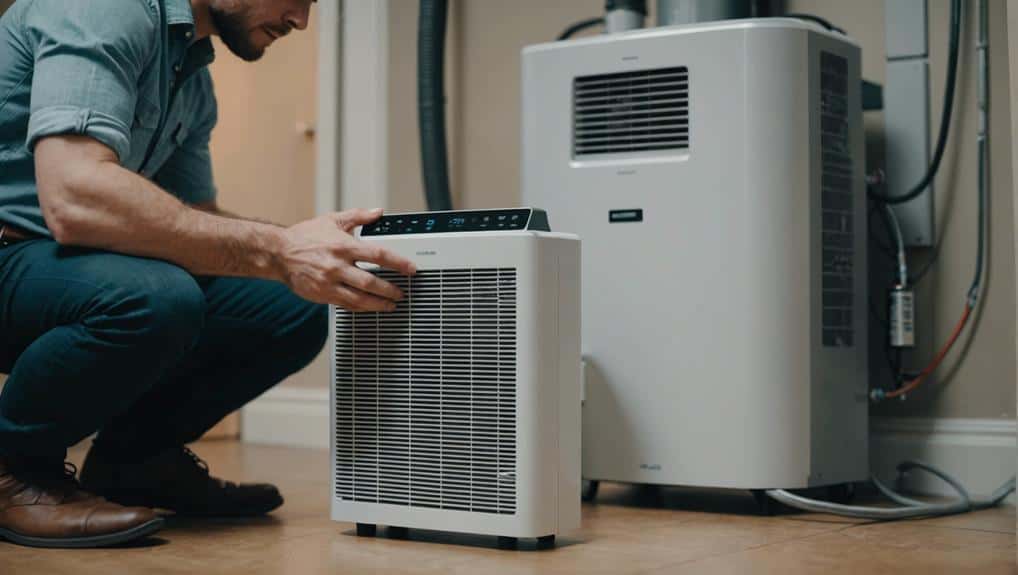
Place Air Purifier Inside
Once the appropriate location inside the HVAC vent is chosen, we need to confirm proper alignment and secure placement of the air purifier unit. To guarantee efficient air purification, follow these steps:
- Positioning: Carefully place the air purifier inside the HVAC vent, making sure it’s centered and aligned correctly to maximize air circulation.
- Securing: Use the provided mounting brackets or screws to secure the air purifier in place firmly, preventing any movement that could affect its performance.
- Checking Instructions: Refer to the manufacturer’s guidelines to verify that the air purifier is installed correctly, ensuring peak functionality.
Connect to Power Source
To power up the air purifier, locate a standard 120V outlet and connect the provided power cord for activation.
It’s essential to make sure the power source is stable and reliable to support the continuous operation of the air purifier system. Following the manufacturer’s instructions is vital to correctly connect the air purifier to the power source.
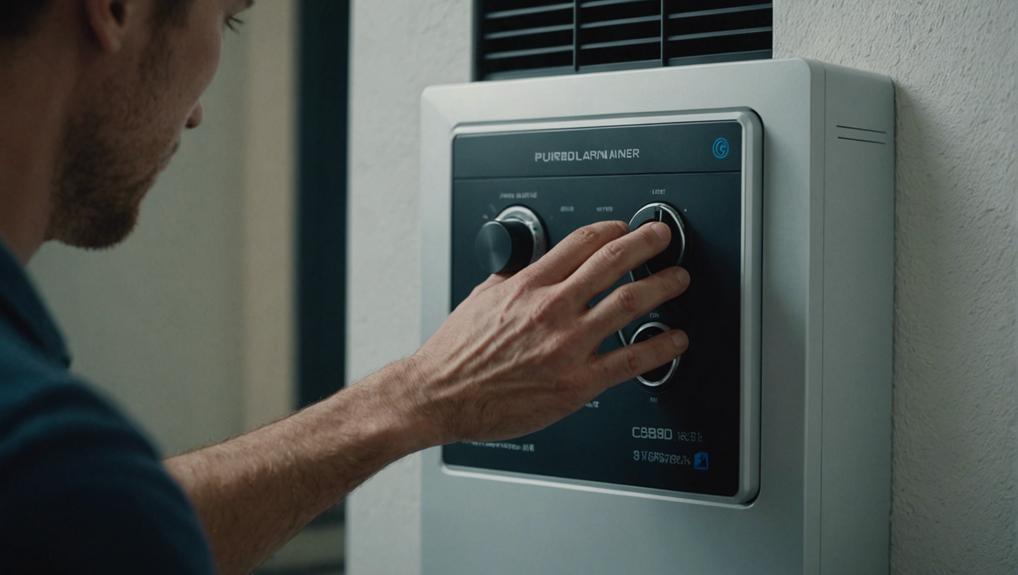
Turn on HVAC System
Let’s activate the HVAC system to guarantee proper airflow for the newly installed air purifier. Ensuring the HVAC system is running is essential to the successful operation of your air purifier. Here’s what you need to do:
- Check Thermostat Setting: Make sure your thermostat is set to a temperature that will trigger the HVAC system to kick in and start circulating air.
- Listen for Airflow: Stand near a vent and listen for the sound of air moving. This indicates that the HVAC system is operational and will help push the purified air throughout your home.
- Inspect Air Purifier: After turning on the HVAC system, check the air purifier to ensure it’s also running correctly. This step confirms that the installation was successful and that the air purifier is now actively working to clean the air in your home.
Perform Regular Maintenance
Let’s talk about the vital steps in maintaining your air purifier system.
We’ll cover the filter replacement schedule, cleaning air ducts, and checking airflow efficiency.
These tasks are essential to keep your HVAC vent operating at its best and maintaining good air quality in your home.
Filter Replacement Schedule
Regularly replacing air purifier filters every 6 to 12 months is vital for maintaining peak performance. To guarantee efficient air purification and prolong the life of your air purifier, following the manufacturer’s recommended schedule for filter replacement is essential.
Here are some key points to keep in mind for proper filter maintenance:
- Scheduled Replacements: Stick to the manufacturer’s recommended schedule for changing filters to maintain peak performance.
- Improved Air Quality: Clean filters help trap airborne particles, enhancing indoor air quality and preventing the spread of contaminants.
- Energy Efficiency: Timely filter replacements reduce strain on HVAC systems, leading to improved energy efficiency and cost savings over time.
Cleaning Air Ducts
For peak HVAC system performance, ensuring regular maintenance on air ducts is crucial. By cleaning air ducts, you can improve indoor air quality, enhance HVAC system efficiency, and promote a healthier living environment.
Removing accumulated dust, debris, and allergens through professional air duct cleaning services can prevent mold growth and microbial contamination. This maintenance not only optimizes airflow but also reduces the risk of air flow restrictions and ensures consistent temperature distribution throughout your home.
Professional air duct cleaning utilizes specialized equipment to thoroughly clean and sanitize the ductwork, guaranteeing excellent air quality. Regular maintenance on air ducts is essential for the overall efficiency and effectiveness of your HVAC system, leading to lower energy bills and a more comfortable indoor environment.
Check Airflow Efficiency
To guarantee peak performance of your HVAC system and air purifier, checking airflow efficiency through regular maintenance is essential. When it comes to maintaining proper airflow, consider the following:
- Regularly change clogged air filters: Clogged filters can hinder airflow, decreasing the efficiency of your air purifier.
- Clean vents and ducts: Ensuring clean vents and ducts promotes proper airflow and even distribution of purified air throughout your space.
- Inspect and clean the blower fan: A clean blower fan can enhance overall airflow in your HVAC system, optimizing the operation of your air purifier.
Enjoy Cleaner Air in Home
Breathing fresher, cleaner air in our homes becomes a reality with the installation of an air purifier in our HVAC vent. By integrating an air purifier into the HVAC system, airborne contaminants and allergens are effectively removed, ensuring better indoor air quality. The air purifier operates in tandem with the HVAC system to eliminate dust, pet dander, odors, and microscopic particles, providing thorough air purification throughout the house.
To better understand the benefits of installing an air purifier in your HVAC vent, consider the following comparison table:
| Without Air Purifier | With Air Purifier |
|---|---|
| Airborne contaminants present | Removes contaminants and allergens |
| Inconsistent air quality | Consistent, cleaner air |
| Limited filtration capabilities | Extensive air purification |
| Potential health risks | Improved indoor air quality |
Enhance your living environment by following the step-by-step guide to installing an air purifier in your HVAC vent and enjoy the benefits of cleaner, healthier air throughout your home.
Conclusion
Now that the air purifier is installed in our HVAC vent, we can breathe easier knowing that our indoor air quality is improved.
By following these simple steps and performing regular maintenance, we can enjoy cleaner and healthier air in our home.
It’s a small investment for a big impact on our well-being.