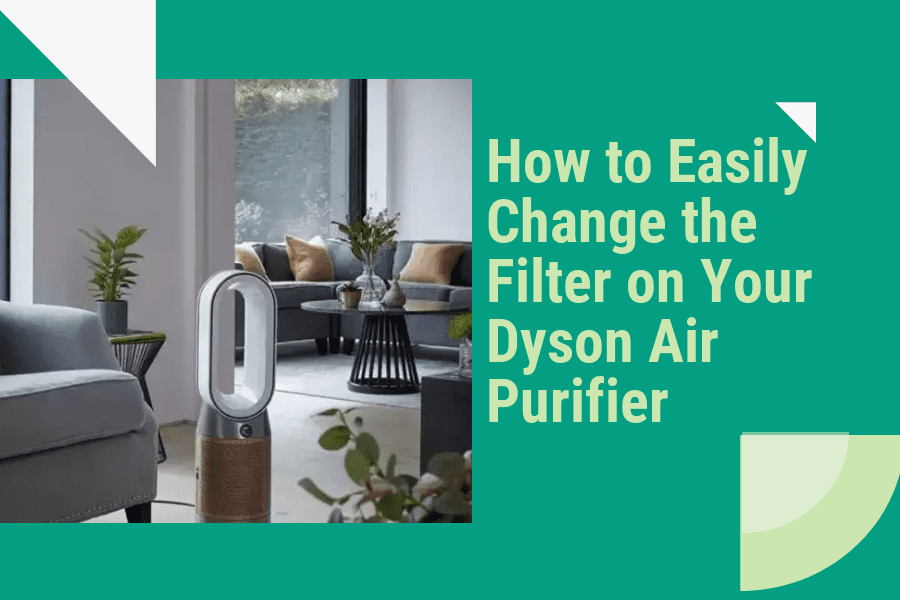
How to Easily Change the Filter on Your Dyson Air Purifier
The quality of the air we breathe is closely linked to our health, and an efficient air purifier can provide a great solution for promoting wellbeing. However, one of the challenges that come with using an air purifier is changing the filter in order to keep it functioning properly.
With Dyson’s range of air purifiers, this process can be simplified considerably; today’s article takes a look at exactly how you can easily change the filters on your Dyson Air Purifier.
We’ll cover all the steps involved so that you can complete this routine maintenance task without having to pay for expensive repair services or other assistance.
Preparing to Change the Filter
When it comes to preparing for a filter change on a Dyson Air Purifier, the process is fairly straightforward. Before you begin, make sure all the power switches are turned off and unplug the purifier from any wall socket.
Then you’ll need to carefully remove any attachments or switch accessories so that you can access the filter area in an unobstructed way. It’s also important to take note of what direction the existing filters were installed in order to ensure they’re correctly returned later on.
Once everything is ready, you’ll be able to locate your air purifier filters along one side of its back panel; these will usually look like cardboard frames with black circles inside them, often criss-crossed over each other depending on how many filters your machine has.
To safely extract a filter out of its holder, simply give it a gentle tug until it disconnects itself before carefully replacing it with fresh ones that should be facing the same direction as before. When finished with this part of the process, reset any accessories and rest assured that your Dyson Air Purifier will soon be filtering out airborne particles more efficiently than ever!
Dyson Air Purifier Model Comparison: Filters, Coverage, and Replacement Intervals
| Model | Filters | Coverage Area | Price of Replacement Filter | Filter Replacement Interval |
|---|---|---|---|---|
| Dyson Pure Cool TP04 | HEPA, activated carbon | 800 sq. ft. | $69.99 | 1 year |
| Dyson Pure Cool Me BP01 | HEPA, activated carbon | 250 sq. ft. | $69.99 | 1 year |
| Dyson Pure Cool DP04 | HEPA, activated carbon, glass | 800 sq. ft. | $69.99 | 1 year |
| Dyson Pure Hot+Cool HP04 | HEPA, activated carbon, glass | 800 sq. ft. | $69.99 | 1 year |
| Dyson Pure Humidify+Cool PH01 | HEPA, activated carbon, humidifier | 600 sq. ft. | $79.99 | 1 year (HEPA filter), 6 months (humidifier filter) |
| Dyson Pure Cryptomic TP06 | HEPA, activated carbon, Cryptomic | 800 sq. ft. | $99.99 | 1 year (HEPA filter), 12 months (Cryptomic filter) |
Note that the prices of the products and replacement filters may vary depending on the region or market. The filter replacement interval may also vary depending on usage and environmental conditions. The intervals listed above are based on the manufacturer’s recommendations.
How to Remove the Old Filter
Removing the old filter is an important part of maintaining your Dyson Air Purifier and improving air quality in your home.
To begin, unplug your device from the wall outlet and remove the power cord, taking care to store it in a safe place where it won’t be damaged.
Next, open up the back panel of the purifier which can easily be done by pressing two small buttons located either side near the bottom of the appliance. This will unlock and reveal its internal workings.
Once you have done this look for one large block-shaped item contained within–this is your filter! Now simply pull out gently; if necessary use a pair of tweezers or other household tool provided you exercise caution not to damage any other parts when pulling away from its frame.
With some models, all you need to do now is replace with a new compatible filter – so make sure that’s what you have ready before beginning this task!
If however yours requires additional steps such as cleaning first then revive follow guidelines included with manual carefully after removing from purifier body – if lost online copies are usually available download or contact customer support at manufacturer/seller for replacements – don’t take short cuts here as failure meet exact instructions safely may void warranty or cause further problems long term for machine operation!.
Installing the New Filter
Installing a new filter for your Dyson Air Purifier is an easy step-by-step process. Begin by opening the top panel of your air purifier, and you should be able to access the existing filter from there.
Detach any tools that secure it in place before gently removing the old filter from its slot. Once this has been done, you can slide in your new filter to replace it – making sure that all sides fit snugly into the compartment. After installing, make sure all edges are properly sealed for maximum efficiency when running your machine.
If your Dyson model includes additional filters, such as HEPA or activated charcoal options, follow essentially the same steps mentioned above to install them accordingly after replacing each one separately with a new unit within your air purifier’s internal compartments.
You’ll want to check manufacturer instructions as well so that you’re aware of any specific tips they may provide in regards to maintenance or installation tasks needed related to their specific system designs and setup configurations.
Overall though, changing out filters on these machines doesn’t take much time at all once you are familiar with the workflow involved providing good quality indoor air flow today along with longterm savings through timely maintenance upkeeps triples!
Resetting the Filter Life Indicator
One important part of the filter change process for Dyson Air Purifiers is resetting the Filter Life Indicator, which provides an accurate gauge on how long you can expect each filter to last before it needs to be replaced.
You are required to reset this indicator each time you replace a filter as it will not do so automatically – fortunately though, the process is quite straightforward and only requires that you complete a couple of steps.
The first step in changing the indicator involves opening up your purifier’s control panel; once open, locate the button marked ‘Filter Reset’ and press it firmly until it lights up solid blue. This action will effectively begin tracking the life-span of your new filter, which should last around half a year depending on usage frequency and environment type.
Additionally some models feature colored LEDs at different stages of operation; if these appear then hit Reset again when they reach mid-way through their cycle as this indicates that it’s time for replacement or cleaning (for washable filters). That’s all there is to resetting your Filter Life Indicator!
Cleaning the Purifier
Cleaning a Dyson air purifier involves changing the filter. This is not difficult, however it will require you to do some basic maintenance tasks in order to ensure that your filter works as best as possible and keeps the quality of the air inside your home high.
To begin, unplug the unit and remove any old filters from its housing. Once this has been done, check to make sure all dirt or debris stuck on top of the frame has been cleared away so that it can easily be reinserted into the unit later.
Make sure you have clean gloves on before starting the cleaning process; if necessary, use a vacuum cleaner hose attachment or damp cloth lightly sprayed with disinfectant cleaner to wipe down surfaces like grilles or vents where dust may have accumulated over time.
When finished, insert a new filter back into its place and securely close/seal its paneling before plugging in your purifier again – now you should start experiencing great improvements in indoor air quality!
Troubleshooting Tips
When it comes to troubleshooting any issue with your Dyson Air Purifier, the first step is to begin by assessing the root of problem.
Start by asking questions – what are the symptoms? What could be causing them? Your next step should be checking for a loose connection or power cable. Additionally, make sure that all switches and buttons on your purifier have been correctly placed in their correct positions.
If none of these solutions help solve the issue then you may need to consult with a Certified Technician Service (CTS) who can provide additional guidance based on years of experience in dealing with these types of issues.
In addition to assessing potential problems with external connections, other tips that can prove useful include always making sure that your filter is fitted and properly fit before powering up your machine; this ensures optimal performance from its filtration system as well as maintaining energy efficiency.
Also important is familiarizing yourself with whatever safety guidelines come attached to using any specific air purifier model and following those instructions carefully; this will not only prevent accidents but also maintain peak operation levels for longer periods of time without risk or interruption due malfunctions caused by improper usage habits.
Looking for a powerful yet compact air purifier for your desk? Read our article on the Dyson Desk Air Purifier to see how it stacks up. powerful yet compact air purifier
Are you a pet owner looking for ways to improve your indoor air quality? Check out our article on the benefits of a Dyson Air Purifier. benefits of a Dyson Air Purifier