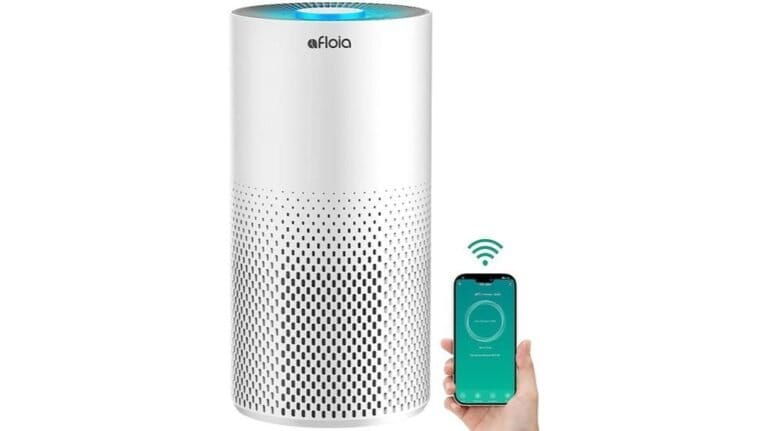
Step-by-Step Guide to DIY Natural Air Purifier
Creating your own natural air purifier can be a rewarding and cost-effective way to promote cleaner air in your living space. By following a systematic approach and utilizing easily accessible materials, you can take control of your indoor air quality.
From gathering the necessary components to positioning the unit strategically, each step plays an important role in achieving best results. Stay tuned for a detailed exploration of each stage in this DIY process to help you breathe easier at home.
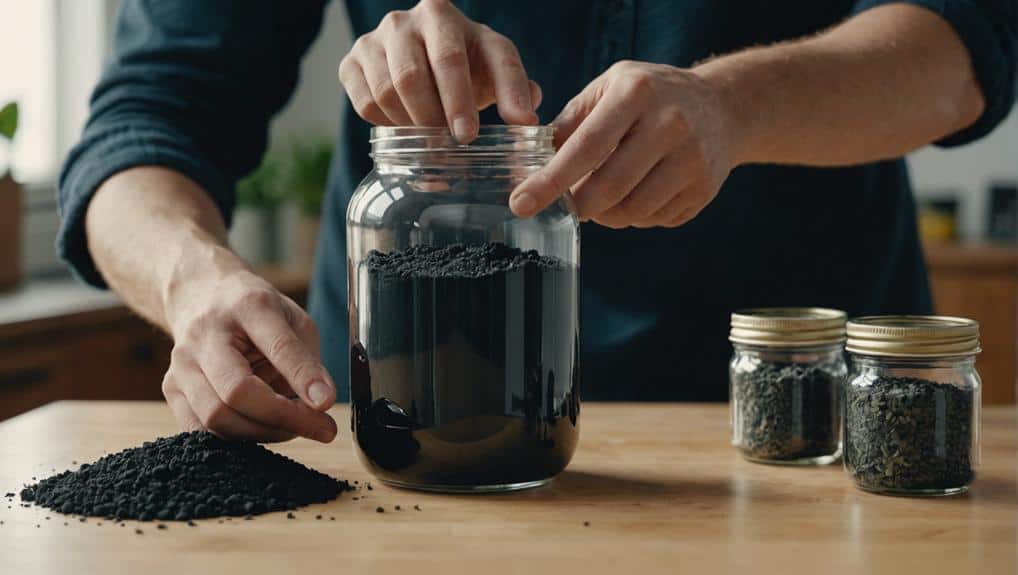
Gather Necessary Materials
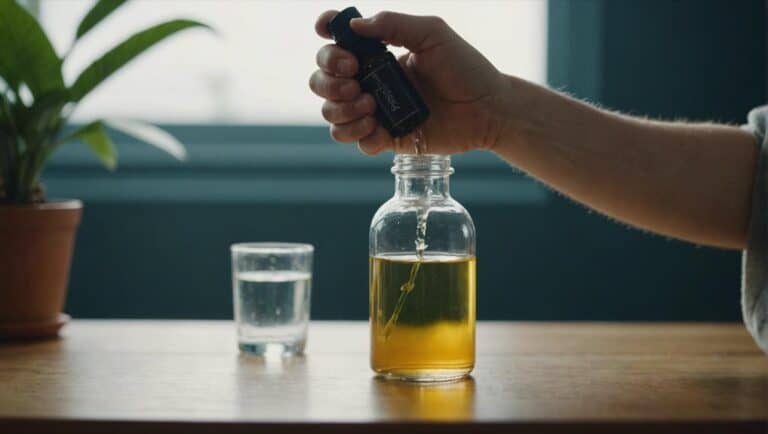
To create our DIY natural air purifier, we need to gather materials such as a large glass jar or container, bamboo charcoal, activated charcoal, and essential oils. The air purifier will consist of these key components that work together to cleanse the air effectively. Bamboo charcoal, known for its natural deodorizing properties, will help absorb impurities present in the air.
Activated charcoal, on the other hand, plays an important role in trapping toxins and pollutants, aiding in purifying the air within your living space.
Additionally, essential oils can be included in the mix to not only add a pleasant fragrance but also to enhance the air purification process. When choosing a container for your air purifier, opt for one with a lid for easy placement in different areas of your home while keeping the purifying elements contained.
Secure Filters to Fan
After gathering the necessary materials for our DIY natural air purifier, the next step is securing the filters to the fan using zip ties or bungee cords. Ensuring a tight and secure fit of the MERV 13 filters to the intake side of the box fan is essential for maximizing air quality in your space. To emphasize the importance of proper filter attachment, let’s look at the following table:
| Importance of Securely Attaching Filters |
|---|
| Prevents unfiltered air from bypassing filters |
| Maximizes air filtration efficiency |
| Maintains peak performance of the air purifier |
Enhance Filtration With More Filters
Enhancing filtration efficiency can be achieved by incorporating additional MERV 13 filters into your DIY air purification setup. By adding more filters, you increase the system’s surface area for capturing particles like smoke and viruses, while also reducing air resistance.
This enhancement allows for better airflow capacity within the system, improving air circulation and filtration effectiveness. With multiple filters in place, your DIY air purifier can optimize its performance, resulting in cleaner indoor air.
The increased filtration provided by multiple filters is particularly beneficial for those looking to maintain the quality of air in spaces where heating and cooling systems are used frequently. Overall, enhancing your DIY air purifier with more filters not only boosts its efficiency but also promotes a healthier indoor environment by trapping a wider range of airborne contaminants.
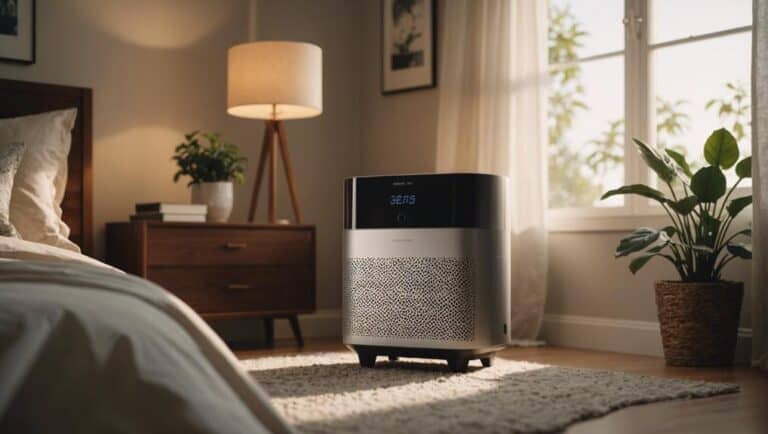
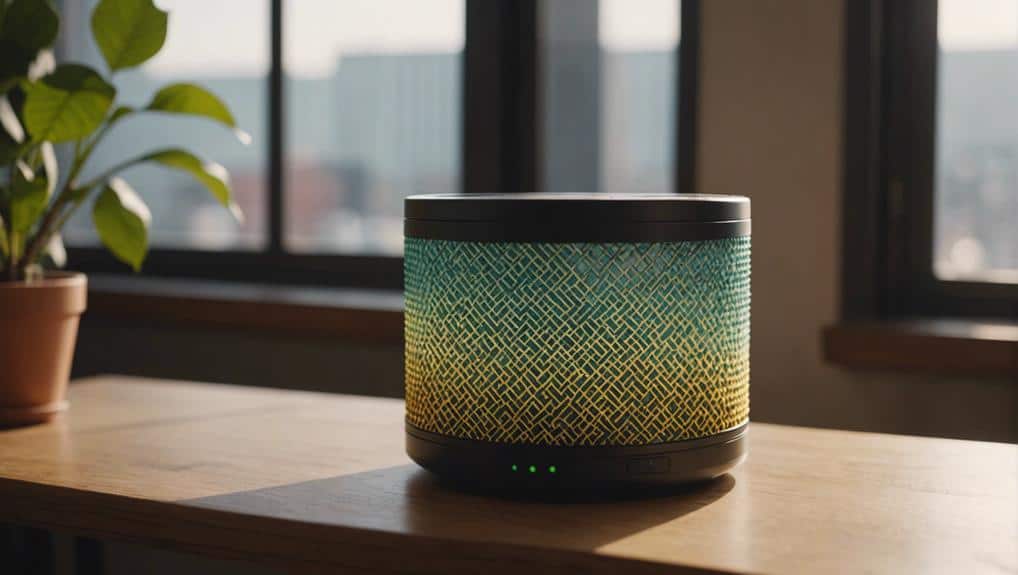
Position Unit for Optimal Airflow
Positioning the DIY air filtration unit strategically guarantees ideal airflow and efficient distribution of clean air throughout the room. Placing the unit centrally allows for the air to circulate evenly, ensuring that all corners receive the benefits of purified air. To maintain peak airflow and filtration efficiency, it’s essential to keep the intake and output areas of the unit unobstructed. This unrestricted airflow enables the unit to draw in polluted air effectively and expel clean, purified air back into the room.
When positioning the unit, consider placing it at a height that allows for unimpeded air intake and output. This placement ensures that the unit can operate efficiently without any hindrances. Additionally, locating the unit near areas with high traffic or where pollutants are generated can enhance its air purification capabilities by targeting areas with the most contaminants.
Regularly monitoring the positioning of the unit is vital to guarantee it continues to clean the air effectively. By following these guidelines, you can create an ideal environment for clean and purified air in your space.
Maintain by Replacing Filters Regularly
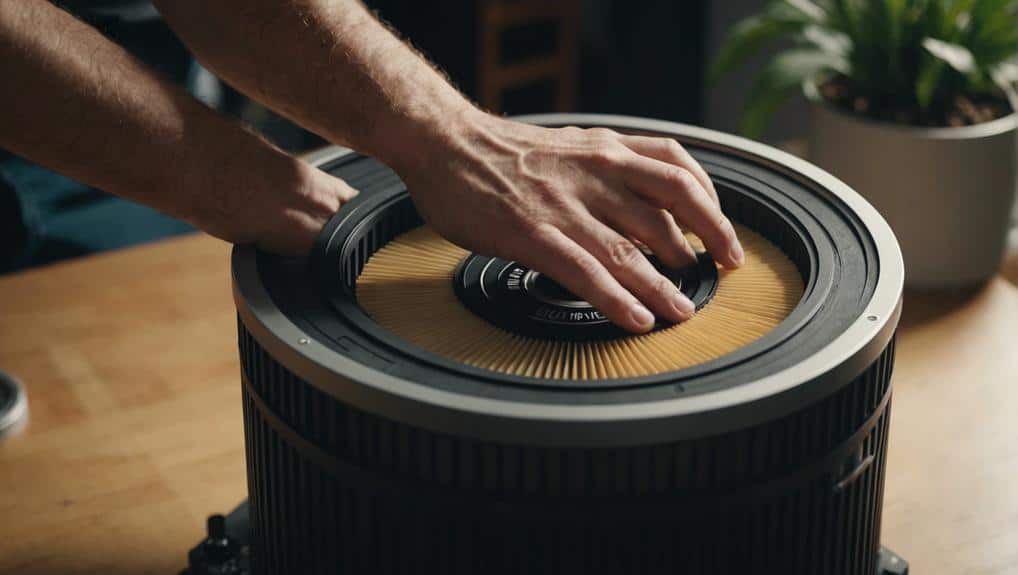
To guarantee peak efficiency in filtering small particulates like smoke and viruses, regularly replacing MERV 13 filters in the DIY air filtration system is essential. Make sure to follow manufacturer recommendations for filter replacement intervals, usually every 3 to 6 months depending on usage and air quality.
By checking filters periodically for visible particles or dust buildup, you can maintain consistent performance and know when it’s time for a replacement. Proper filter maintenance not only prolongs the lifespan of the DIY air purifier but also ensures continued effectiveness in improving indoor air quality.
To stay proactive in maintaining the DIY natural air purifier for clean and healthy air circulation, set reminders or create a schedule for filter replacement. Taking these steps will help you maintain a high level of air purification in your space and promote a healthier environment for you and your family.
Conclusion
In summary, creating a DIY natural air purifier is a simple and effective way to improve indoor air quality.
By following the steps outlined in this guide, you can easily assemble your own air purifier using basic materials and techniques.
Remember to regularly maintain and replace filters to guarantee top performance and enjoy cleaner, fresher indoor air.
Start purifying your air naturally today!